课堂课程记录——小球滚动
所有变量与物体名的命名原则都是见名知意
一、创建一个unity项目
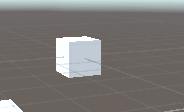
二、Create所需3Dobject
1.Player
 2.walls

三、添加属性:
1.添加在Player上
a.添加Rigidbody组件
b.添加new script组件,并命名为PlayMove,代码如下:
using System.Collections;
using System.Collections.Generic;
using UnityEngine;

public class playMove : MonoBehaviour
{
    public Rigidbody rd;
    public float speadAutoMove=5;
    public float speadMoveUpandDown=20;
    // Start is called before the first frame update
    void Start()
    {
        rd=gameObject.GetComponent<Rigidbody>();
    }

    // Update is called once per frame
    void Update()
    {
        PlayerAutoMove();
        PlayerMoveUpandDown();
    }
    private void PlayerAutoMove(){
        rd.AddForce(Vector3.right*speadAutoMove);   //前进
    }
    private void PlayerMoveUpandDown()
    {
        float v=Input.GetAxis("Vertical");  //上下
        rd.AddForce(v*Vector3.up*speadMoveUpandDown);//给一个上下的力量

    }
}
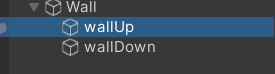
2.添加到walls上
a.首先create empty将wall包含
b.在Wall上添加new script组件,代码如下:
using System.Collections;
using System.Collections.Generic;
using UnityEngine;

public class wallControl : MonoBehaviour
{
    private float offset;
    public GameObject player;
    // Start is called before the first frame update
    void Start()
    {
        offset=gameObject.transform.position.x-player.transform.position.x;
    }

    // Update is called once per frame
    void Update()
    {
        FollowPlayMove();
    }
    void FollowPlayMove(){
        gameObject.transform.position=new Vector3(player.transform.position.x+offset,0,0);
    }
}
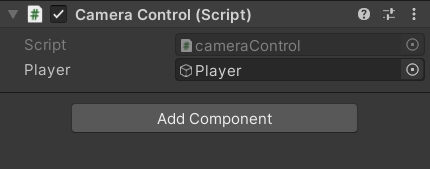
3.实现相机跟随
a.在相机上添加new script 组件并命名为cameraControl,代码如下:
using System.Collections;
using System.Collections.Generic;
using UnityEngine;

public class cameraControl : MonoBehaviour
{
    public GameObject player;
    private float offset_camera;
    // Start is called before the first frame update
    void Start()
    {
        offset_camera=gameObject.transform.position.x-player.transform.position.x;
    }

    // Update is called once per frame
    void Update()
    {
        FollowCameraMove();
    }
    void FollowCameraMove(){
        gameObject.transform.position=new Vector3(offset_camera+player.transform.position.x,gameObject.transform.position.y,gameObject.transform.position.z);
    }
}
b.将script中设置的player变量赋值:
至此基本的小球滚动游戏就完成了。

继续上节课的内容:
4.将player的形状改为球形
左键选中player的属性:
将mesh属性由cube改为sphere
5.创建障碍预制体
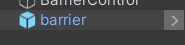
a.先创建一个3D物体cube,将其命名为barrier。
b.在project的asset中创建prefab预制体文件

并将之前创建的barrier直接拖拽到prefab中。
若对prefab预制体的作用不理解的话,可访问如下链接:
预制体的制作与功能
若barrier物体变为蓝色,则创建成功。
6.随机生成障碍物
a.创建一个空物体,然后命名为barrierControl。
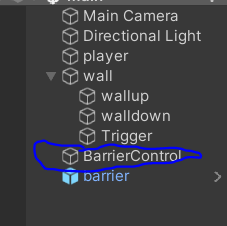
b.在该物体上添加new script的组件,C#代码如下:
using System.Collections;
using System.Collections.Generic;
using UnityEngine;

public class BarrierControl : MonoBehaviour {
    public int barrierInterval=5;
    public GameObject player;
    public GameObject CurrentBarrier;
    public GameObject BarrierPre;
	// Use this for initialization
	void Start () {

	}

	// Update is called once per frame
	void Update () {
        AutoCreatBarrier();

    }
    // 障碍物自动生成
    public void AutoCreatBarrier()
    {
        if(player.transform.position.x>CurrentBarrier.transform.position.x)
        {
            //生成新的障碍物
            float targetX = CurrentBarrier.transform.position.x + barrierInterval;
            float targetY = RandomBarrierPosition();
            Vector3 targetPos = new Vector3(targetX,targetY,0);
            GameObject g = Instantiate(BarrierPre,targetPos,Quaternion.identity);
            //随机大小
           g.transform.localScale = new Vector3(g.transform.localScale.x, RandomBarrierSize((int)g.transform.position.y), g.transform.localScale.z);
            //判断障碍更换
            CurrentBarrier = g;
        }
    }
    //障碍随机大小
    public float RandomBarrierSize(int r)
    {
        int rAbs = Mathf.Abs(r);
        if(rAbs==0)
        {
            return 6;
        }
        else
        {
            return (3-rAbs)*2+1;
        }
    }
    //障碍物随机位置
    public float RandomBarrierPosition()
    {
       int r = Random.Range(-3,3);
        Debug.Log(r);
        return r;
    }

}
到目前为止障碍物就能不断的在与小球的距离控制下产生了。
7.障碍的清除
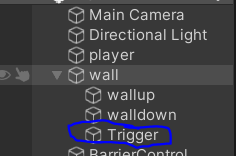
a.在之前的wall文件夹中创建一个新cube物体,命名为trigger,控制大小长度在略小于上下wall之间,以便过滤掉与其接触的barrier(切记不要接触上下的wall,否则游戏一开始就会将上下的wall给消除,小球一下就掉下去了)。
b.右键选中trigger,在右侧的属性栏,移除Cube(Mesh Filter)和Mesh Renderer属性。

使trigger成为透明状态:

c.给trigger添加new script组件,C#代码如下:
using System.Collections;
using System.Collections.Generic;
using UnityEngine;

public class AutoDestoryBarriers : MonoBehaviour {

    private void OnTriggerEnter(Collider other)
    {
        Destroy(other.gameObject);
    }
}
8.给障碍物添加随机产生颜色功能:
using System.Collections;
using System.Collections.Generic;
using UnityEngine;

public class BarrierColor : MonoBehaviour {
    public Material[] barrierMaterial;
	// Use this for initialization
	void Start () {
        int i = Random.Range(0,barrierMaterial.Length);
        gameObject.GetComponent<Renderer>().material = barrierMaterial[i];
	}

	// Update is called once per frame
	void Update () {

	}
}

9.碰到障碍物颜色提示

C#代码如下:
using System.Collections;
using System.Collections.Generic;
using UnityEngine;

public class PlayerColorControl : MonoBehaviour
{
        private void OnCollisionEnter(Collision collision)
        {
           // Debug.Log("1");
           //分数减少
           UIcontrol._instance.AddScore(-10);
            gameObject.GetComponent<Renderer>().material.color=Color.red;
        }
        private void OnCollisionExit(Collision collision)
        {
            gameObject.GetComponent<Renderer>().material.color=Color.white;
        }
}
9.分数记录

C#代码如下:
using System.Collections;
using System.Collections.Generic;
using UnityEngine;
 using UnityEngine.UI;

public class UIcontrol : MonoBehaviour
{
   public Text scoreText;
   public int score=0;


    //单列模式
    public static UIcontrol _instance;
    private void Awake()
    {
        _instance=this;
    }
    public void AddScore(int x)
    {
        score+=x;
        scoreText.text="得分:"+score;
    }
}
并在barrierControl中添加如下代码进行分数增加

在Playcolorcontrol中添加分数减少代码:

完整画面如下:
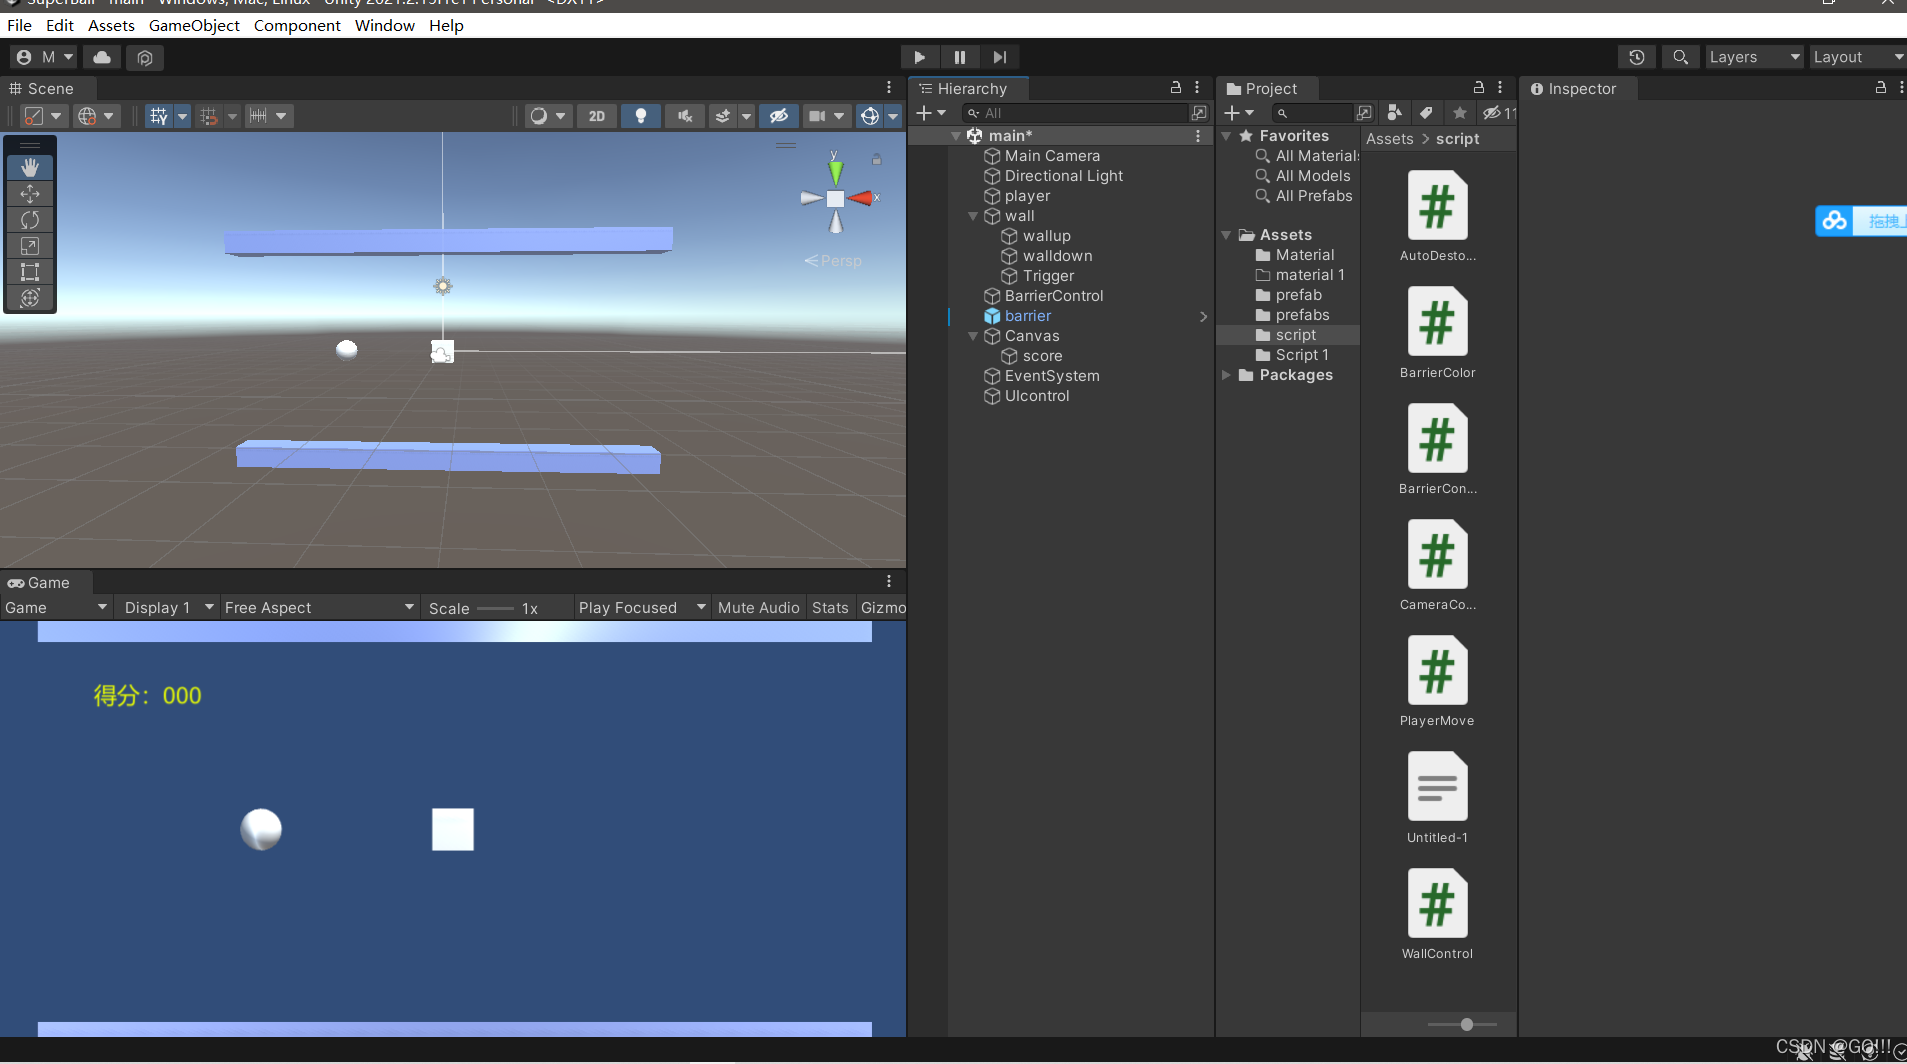
以上小球酷跑课程内容就结束了,稍后我会对游戏进行进一步的完善功能。