三、将best.onnx转为RKNN格式
这一步就需要我们进入到Ubuntu20.04系统中了,我的Ubuntu系统中已经下载好了anaconda,使用anaconda的好处就是可以方便的安装一些库,而且还可以利用conda来配置虚拟环境,做到环境与环境之间相互独立。
对于我来说,使用了以下命令创建了一个名为rknn_ceshi的虚拟环境
conda create -n rknn_ceshi python=3.8
之后,点击GitHub - rockchip-linux/rknn-toolkit2把整个项目给下载下来,解压后,我们进入刚刚创立虚拟环境下安装rknn-toolkit2。进入doc目录后,输入命令
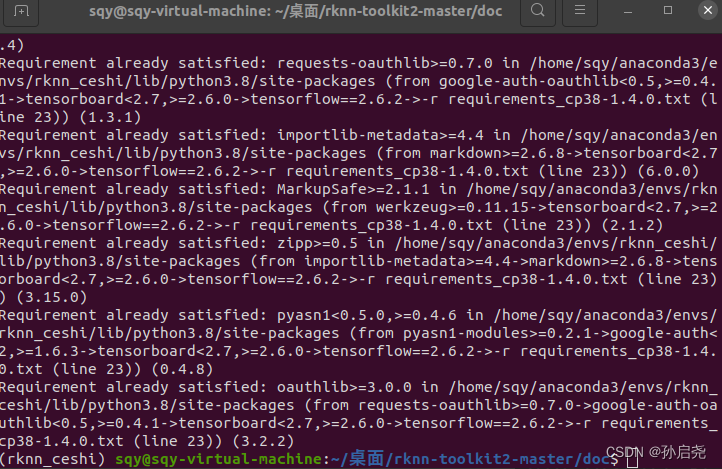
pip install -r requirements_cp38-1.4.0.txt -i https://mirror.baidu.com/pypi/simple
这里一定要带上百度的镜像源,要不然会报错,这个坑折磨了我整整3小时。
安装完成后,出现下面的界面就说明已经安装好了
接下来,我们进入packages文件夹,输入一下命令
pip install rknn_toolkit2-1.4.0_22dcfef4-cp38-cp38-linux_x86_64.whl
出现以下界面,但是这里一定要注意,有一个超级大坑,超级大坑,超级大坑,后续我也是询问了大佬才解决的这个问题,这个地方安装的是rknn-toolkit2-1.4.0-22dcfef4!!!

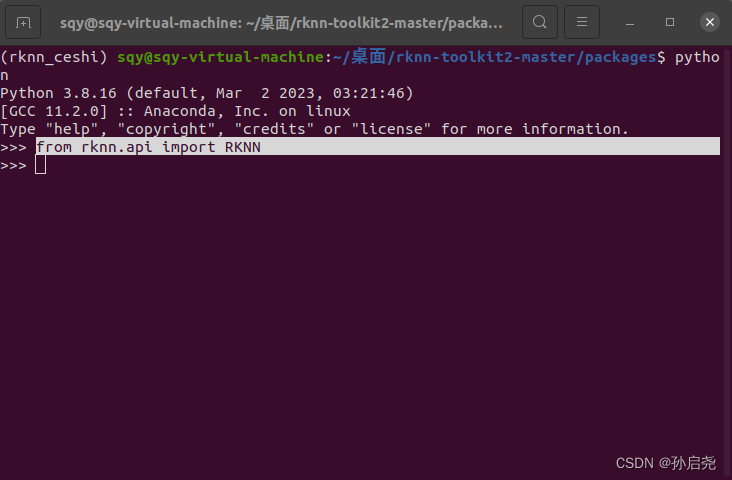
出现上面那个界面后,我们在终端输入python,再输入以下命令,如果没有报错,则证明我们的环境已经搭载好了
from rknn.api import RKNN
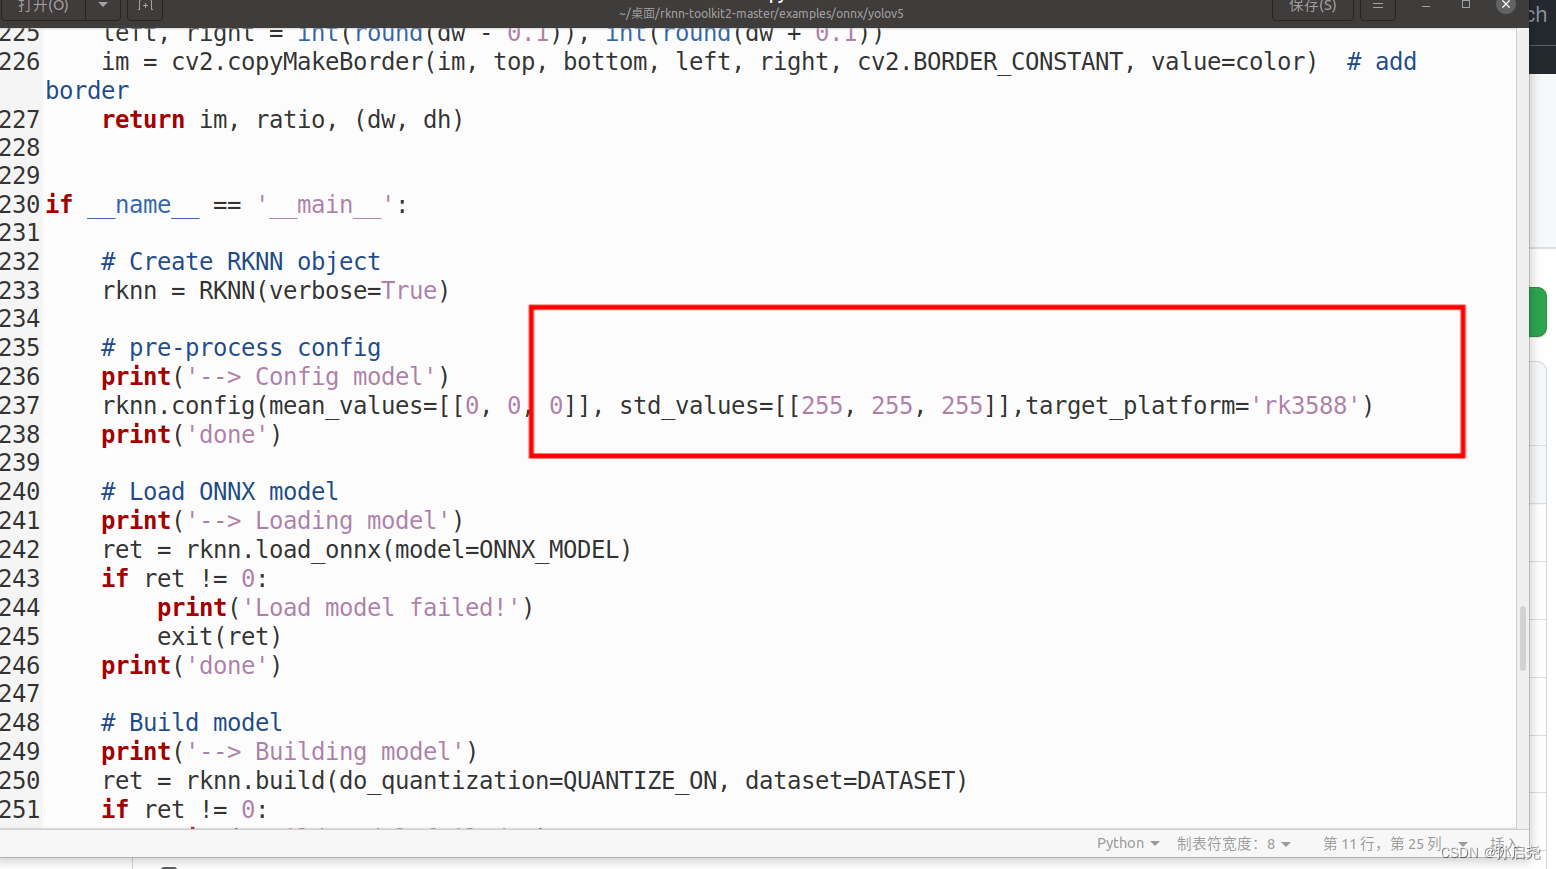
接下来,我们要做的就是修改test.py里面的一些内容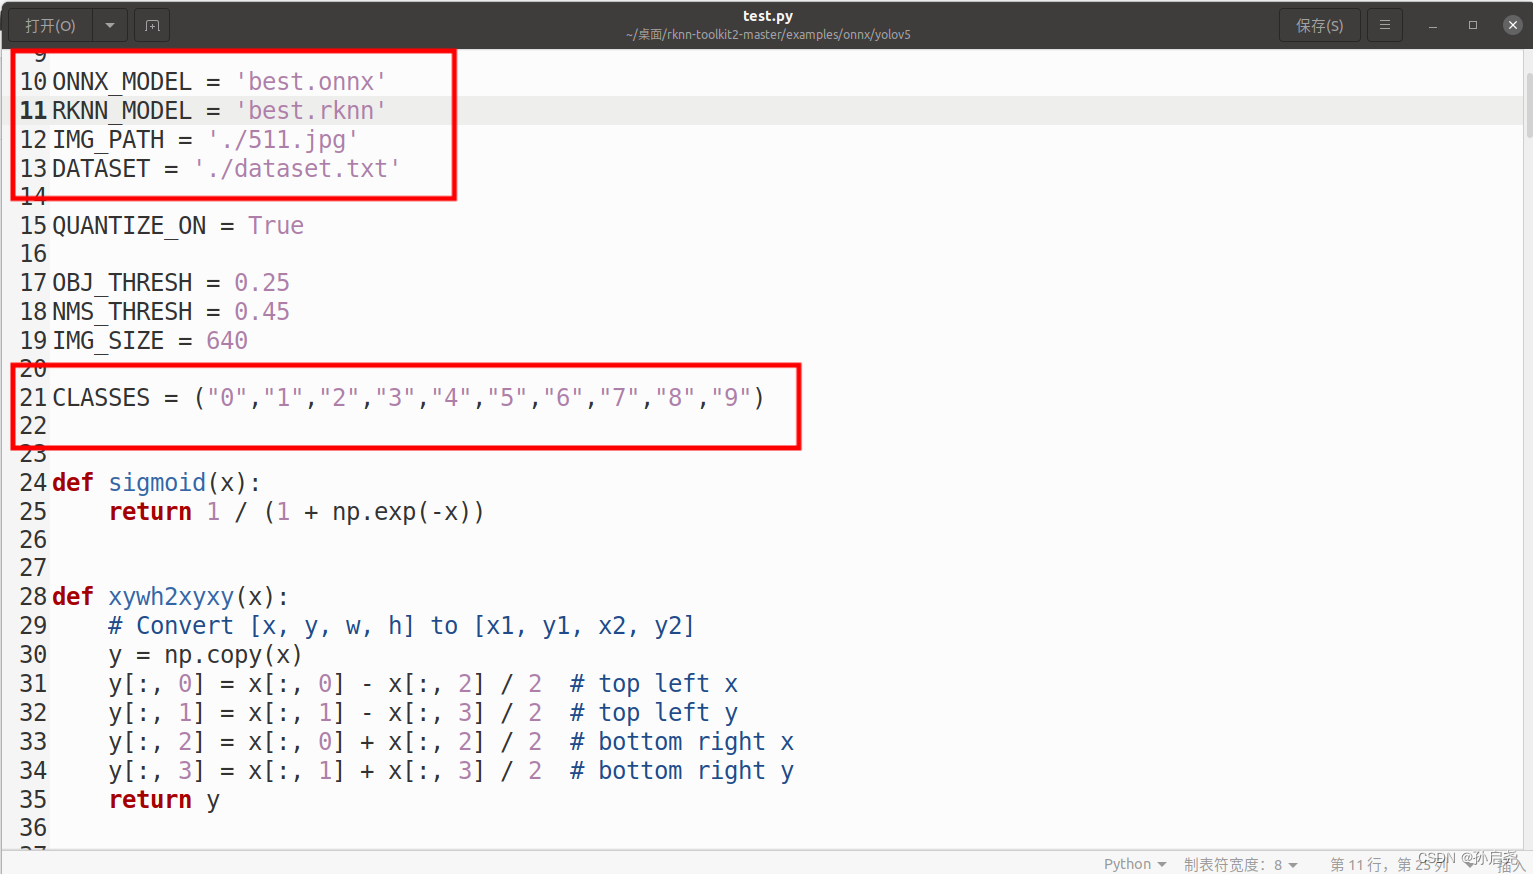
我第一次做的时候,报了错误,当时提示的是没有这个2-1.4.0-22dcfef4版本,我就跑到conda的环境包下,把所有的2-1.4.0-22dcfef4版本改成了2-1.4.0,才解决这个问题。
可是当我这一次在执行这个文件的时候,就没报这个错误,直接就跑起来了。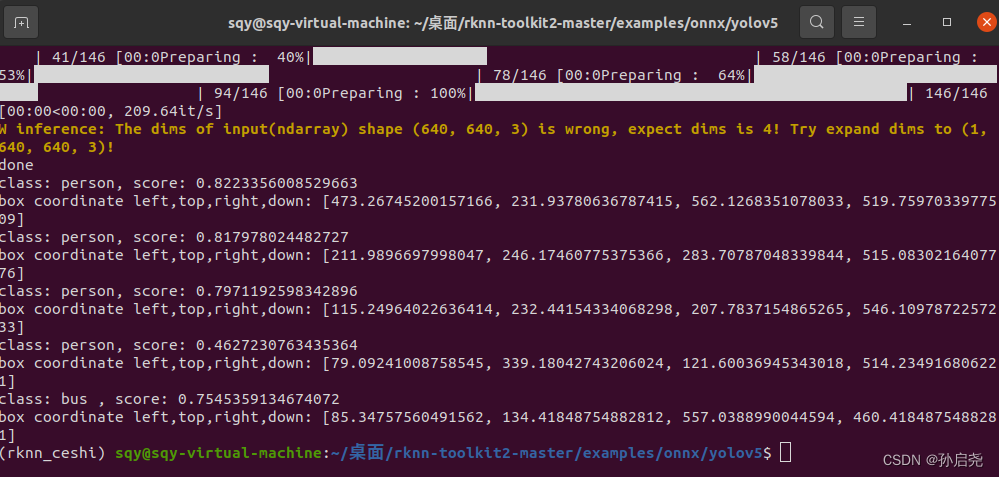
之后在我们的文件夹下出现了best.rknn这样就可以到香橙派5上部署了!!!
四、香橙派5部署rknn实现NPU加速YOLOV5视频推理
这里给大家强调一下,我使用的是RKNN的python版本来实现NPU加速的,这里我们需要到Github上下载RKNN官方教程,下载完成后进入该文件夹,输入指令
cd /examples/onnx/yolov5
进入文件夹后,创建一个名为demo.py的文件,将以下代码复制即可,我已经实现了实时视频为了保护隐私,这里我依旧采用官方的yolov5s.rknn模型,而没有用我自己的
import os
import urllib
import traceback
import time
import datetime as dt
import sys
import numpy as np
import cv2
from rknnlite.api import RKNNLite


RKNN_MODEL = 'yolov5s.rknn'
DATASET = './dataset.txt'

QUANTIZE_ON = True

OBJ_THRESH = 0.25
NMS_THRESH = 0.45
IMG_SIZE = 640

CLASSES = ("person", "bicycle", "car", "motorbike ", "aeroplane ", "bus ", "train", "truck ", "boat", "traffic light",
           "fire hydrant", "stop sign ", "parking meter", "bench", "bird", "cat", "dog ", "horse ", "sheep", "cow", "elephant",
           "bear", "zebra ", "giraffe", "backpack", "umbrella", "handbag", "tie", "suitcase", "frisbee", "skis", "snowboard", "sports ball", "kite",
           "baseball bat", "baseball glove", "skateboard", "surfboard", "tennis racket", "bottle", "wine glass", "cup", "fork", "knife ",
           "spoon", "bowl", "banana", "apple", "sandwich", "orange", "broccoli", "carrot", "hot dog", "pizza ", "donut", "cake", "chair", "sofa",
           "pottedplant", "bed", "diningtable", "toilet ", "tvmonitor", "laptop	", "mouse	", "remote ", "keyboard ", "cell phone", "microwave ",
           "oven ", "toaster", "sink", "refrigerator ", "book", "clock", "vase", "scissors ", "teddy bear ", "hair drier", "toothbrush ")


def sigmoid(x):
    return 1 / (1 + np.exp(-x))


def xywh2xyxy(x):
    # Convert [x, y, w, h] to [x1, y1, x2, y2]
    y = np.copy(x)
    y[:, 0] = x[:, 0] - x[:, 2] / 2  # top left x
    y[:, 1] = x[:, 1] - x[:, 3] / 2  # top left y
    y[:, 2] = x[:, 0] + x[:, 2] / 2  # bottom right x
    y[:, 3] = x[:, 1] + x[:, 3] / 2  # bottom right y
    return y


def process(input, mask, anchors):

    anchors = [anchors[i] for i in mask]
    grid_h, grid_w = map(int, input.shape[0:2])

    box_confidence = sigmoid(input[..., 4])
    box_confidence = np.expand_dims(box_confidence, axis=-1)

    box_class_probs = sigmoid(input[..., 5:])

    box_xy = sigmoid(input[..., :2])*2 - 0.5

    col = np.tile(np.arange(0, grid_w), grid_w).reshape(-1, grid_w)
    row = np.tile(np.arange(0, grid_h).reshape(-1, 1), grid_h)
    col = col.reshape(grid_h, grid_w, 1, 1).repeat(3, axis=-2)
    row = row.reshape(grid_h, grid_w, 1, 1).repeat(3, axis=-2)
    grid = np.concatenate((col, row), axis=-1)
    box_xy += grid
    box_xy *= int(IMG_SIZE/grid_h)

    box_wh = pow(sigmoid(input[..., 2:4])*2, 2)
    box_wh = box_wh * anchors

    box = np.concatenate((box_xy, box_wh), axis=-1)

    return box, box_confidence, box_class_probs


def filter_boxes(boxes, box_confidences, box_class_probs):
    """Filter boxes with box threshold. It's a bit different with origin yolov5 post process!
    # Arguments
        boxes: ndarray, boxes of objects.
        box_confidences: ndarray, confidences of objects.
        box_class_probs: ndarray, class_probs of objects.
    # Returns
        boxes: ndarray, filtered boxes.
        classes: ndarray, classes for boxes.
        scores: ndarray, scores for boxes.
    """
    boxes = boxes.reshape(-1, 4)
    box_confidences = box_confidences.reshape(-1)
    box_class_probs = box_class_probs.reshape(-1, box_class_probs.shape[-1])

    _box_pos = np.where(box_confidences >= OBJ_THRESH)
    boxes = boxes[_box_pos]
    box_confidences = box_confidences[_box_pos]
    box_class_probs = box_class_probs[_box_pos]

    class_max_score = np.max(box_class_probs, axis=-1)
    classes = np.argmax(box_class_probs, axis=-1)
    _class_pos = np.where(class_max_score >= OBJ_THRESH)

    boxes = boxes[_class_pos]
    classes = classes[_class_pos]
    scores = (class_max_score* box_confidences)[_class_pos]

    return boxes, classes, scores


def nms_boxes(boxes, scores):
    """Suppress non-maximal boxes.
    # Arguments
        boxes: ndarray, boxes of objects.
        scores: ndarray, scores of objects.
    # Returns
        keep: ndarray, index of effective boxes.
    """
    x = boxes[:, 0]
    y = boxes[:, 1]
    w = boxes[:, 2] - boxes[:, 0]
    h = boxes[:, 3] - boxes[:, 1]

    areas = w * h
    order = scores.argsort()[::-1]

    keep = []
    while order.size > 0:
        i = order[0]
        keep.append(i)

        xx1 = np.maximum(x[i], x[order[1:]])
        yy1 = np.maximum(y[i], y[order[1:]])
        xx2 = np.minimum(x[i] + w[i], x[order[1:]] + w[order[1:]])
        yy2 = np.minimum(y[i] + h[i], y[order[1:]] + h[order[1:]])

        w1 = np.maximum(0.0, xx2 - xx1 + 0.00001)
        h1 = np.maximum(0.0, yy2 - yy1 + 0.00001)
        inter = w1 * h1

        ovr = inter / (areas[i] + areas[order[1:]] - inter)
        inds = np.where(ovr <= NMS_THRESH)[0]
        order = order[inds + 1]
    keep = np.array(keep)
    return keep


def yolov5_post_process(input_data):
    masks = [[0, 1, 2], [3, 4, 5], [6, 7, 8]]
    anchors = [[10, 13], [16, 30], [33, 23], [30, 61], [62, 45],
               [59, 119], [116, 90], [156, 198], [373, 326]]

    boxes, classes, scores = [], [], []
    for input, mask in zip(input_data, masks):
        b, c, s = process(input, mask, anchors)
        b, c, s = filter_boxes(b, c, s)
        boxes.append(b)
        classes.append(c)
        scores.append(s)

    boxes = np.concatenate(boxes)
    boxes = xywh2xyxy(boxes)
    classes = np.concatenate(classes)
    scores = np.concatenate(scores)

    nboxes, nclasses, nscores = [], [], []
    for c in set(classes):
        inds = np.where(classes == c)
        b = boxes[inds]
        c = classes[inds]
        s = scores[inds]

        keep = nms_boxes(b, s)

        nboxes.append(b[keep])
        nclasses.append(c[keep])
        nscores.append(s[keep])

    if not nclasses and not nscores:
        return None, None, None

    boxes = np.concatenate(nboxes)
    classes = np.concatenate(nclasses)
    scores = np.concatenate(nscores)

    return boxes, classes, scores


def draw(image, boxes, scores, classes, fps):
    """Draw the boxes on the image.
    # Argument:
        image: original image.
        boxes: ndarray, boxes of objects.
        classes: ndarray, classes of objects.
        scores: ndarray, scores of objects.
        fps: int.
        all_classes: all classes name.
    """
    for box, score, cl in zip(boxes, scores, classes):
        top, left, right, bottom = box
        print('class: {}, score: {}'.format(CLASSES[cl], score))
        print('box coordinate left,top,right,down: [{}, {}, {}, {}]'.format(top, left, right, bottom))
        top = int(top)
        left = int(left)
        right = int(right)
        bottom = int(bottom)

        cv2.rectangle(image, (top, left), (right, bottom), (255, 0, 0), 2)
        cv2.putText(image, '{0} {1:.2f}'.format(CLASSES[cl], score),
                    (top, left - 6),
                    cv2.FONT_HERSHEY_SIMPLEX,
                    0.6, (0, 0, 255), 2)

def letterbox(im, new_shape=(640, 640), color=(0, 0, 0)):
    # Resize and pad image while meeting stride-multiple constraints
    shape = im.shape[:2]  # current shape [height, width]
    if isinstance(new_shape, int):
        new_shape = (new_shape, new_shape)

    # Scale ratio (new / old)
    r = min(new_shape[0] / shape[0], new_shape[1] / shape[1])

    # Compute padding
    ratio = r, r  # width, height ratios
    new_unpad = int(round(shape[1] * r)), int(round(shape[0] * r))
    dw, dh = new_shape[1] - new_unpad[0], new_shape[0] - new_unpad[1]  # wh padding

    dw /= 2  # divide padding into 2 sides
    dh /= 2

    if shape[::-1] != new_unpad:  # resize
        im = cv2.resize(im, new_unpad, interpolation=cv2.INTER_LINEAR)
    top, bottom = int(round(dh - 0.1)), int(round(dh + 0.1))
    left, right = int(round(dw - 0.1)), int(round(dw + 0.1))
    im = cv2.copyMakeBorder(im, top, bottom, left, right, cv2.BORDER_CONSTANT, value=color)  # add border
    return im, ratio, (dw, dh)

# ==================================
# 如下为改动部分,主要就是去掉了官方 demo 中的模型转换代码,直接加载 rknn 模型,并将 RKNN 类换成了 rknn_toolkit2_lite 中的 RKNNLite 类
# ==================================

rknn = RKNNLite()

# load RKNN model
print('--> Load RKNN model')
ret = rknn.load_rknn(RKNN_MODEL)

# Init runtime environment
print('--> Init runtime environment')
# use NPU core 0 1 2
ret = rknn.init_runtime(core_mask=RKNNLite.NPU_CORE_0_1_2)
if ret != 0:
    print('Init runtime environment failed!')
    exit(ret)
print('done')

# Create a VideoCapture object and read from input file
# If the input is the camera, pass 0 instead of the video file name
cap = cv2.VideoCapture(0)

# Check if camera opened successfully
if (cap.isOpened()== False):
  print("Error opening video stream or file")

# Read until video is completed
while(cap.isOpened()):
    start = dt.datetime.utcnow()
    # Capture frame-by-frame
    ret, img = cap.read()
    if not ret:
        break

    img = cv2.cvtColor(img, cv2.COLOR_BGR2RGB)
    img = cv2.resize(img, (IMG_SIZE, IMG_SIZE))

    # Inference
    print('--> Running model')
    outputs = rknn.inference(inputs=[img])
    print('done')

    # post process
    input0_data = outputs[0]
    input1_data = outputs[1]
    input2_data = outputs[2]

    input0_data = input0_data.reshape([3, -1]+list(input0_data.shape[-2:]))
    input1_data = input1_data.reshape([3, -1]+list(input1_data.shape[-2:]))
    input2_data = input2_data.reshape([3, -1]+list(input2_data.shape[-2:]))

    input_data = list()
    input_data.append(np.transpose(input0_data, (2, 3, 0, 1)))
    input_data.append(np.transpose(input1_data, (2, 3, 0, 1)))
    input_data.append(np.transpose(input2_data, (2, 3, 0, 1)))

    boxes, classes, scores = yolov5_post_process(input_data)
    duration = dt.datetime.utcnow() - start
    fps = round(10000000 / duration.microseconds)

    # draw process result and fps
    img_1 = cv2.cvtColor(img, cv2.COLOR_RGB2BGR)
    cv2.putText(img_1, f'fps: {fps}',
            (20, 20),
            cv2.FONT_HERSHEY_SIMPLEX,
            0.6, (0, 125, 125), 2)
    if boxes is not None:
        draw(img_1, boxes, scores, classes, fps)

    # show output
    cv2.imshow("post process result", img_1)

    # Press Q on keyboard to  exit
    if cv2.waitKey(25) & 0xFF == ord('q'):
        break

# When everything done, release the video capture object
cap.release()

# Closes all the frames
cv2.destroyAllWindows()
这里我开启了CPU定频,可是并没有提高多少NPU的使用率,干脆我也不再把代码放上来了,等到以后有时间我再研究一下。
之后在终端中,运行命令
python demo.py
效果我放到了B站,感兴趣的小伙伴可以点进去看一下B站视频
本文内容由网友自发贡献,版权归原作者所有,本站不承担相应法律责任。如您发现有涉嫌抄袭侵权的内容,请联系:hwhale#tublm.com(使用前将#替换为@)