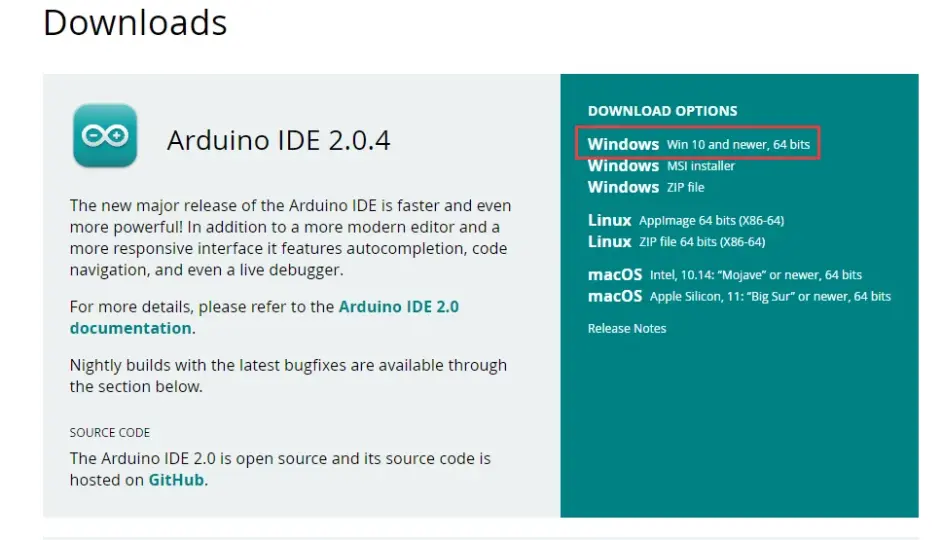
1.在arduino官网下载安装包并安装.
下载地址:https://www.arduino.cc/en/software
2.安装Arduino对ESP32支持
1.添加ESP32开发板管理器地址
点击文件->首选项->其他开发板管理器地址. 添加ESP32的地址

2.安装ESP32开发板管理器
点击左侧的开发板管理器搜索ESP32找到并点击安装。

3.选择对应的开发板型号
点击工具->开发板->ESP32->选择自己的型号
我这里提供一个简单的LED灯闪烁的程序作为测试程序
const int led0 = 12;
const int led1 = 13;

void setup() {
    // put your setup code here, to run once:
    pinMode(led0, OUTPUT);
    pinMode(led1, OUTPUT);
}

void loop() {
    // put your main code here, to run repeatedly:
    digitalWrite(led0, HIGH);
    digitalWrite(led1, HIGH);
    delay(500);
    digitalWrite(led0, LOW);
    digitalWrite(led1, LOW);
    delay(500);
}
4.点击下载即可

5.注意事项
我用的开发板为合宙的ESP32C3开发板,要把flashmode设置为DIO才能正常运行。
工具->flash mode-> DIO 作者:梵蒂冈那点地儿 https://www.bilibili.com/read/cv23088287 出处:bilibili