深度学习标注工具 LabelMe 的使用教程(Windows 版本)
2018-11-21 20:12:53
精灵标注助手:http://www.jinglingbiaozhu.com/
LabelMe:https://github.com/CSAILVision/LabelMeAnnotationTool
1. install anaconda:
https://www.anaconda.com/download/
2. 打开刚刚安装好的 Anaconda Prompt
![](https://img2018.cnblogs.com/blog/821593/201811/821593-20181121201647876-528876842.png)
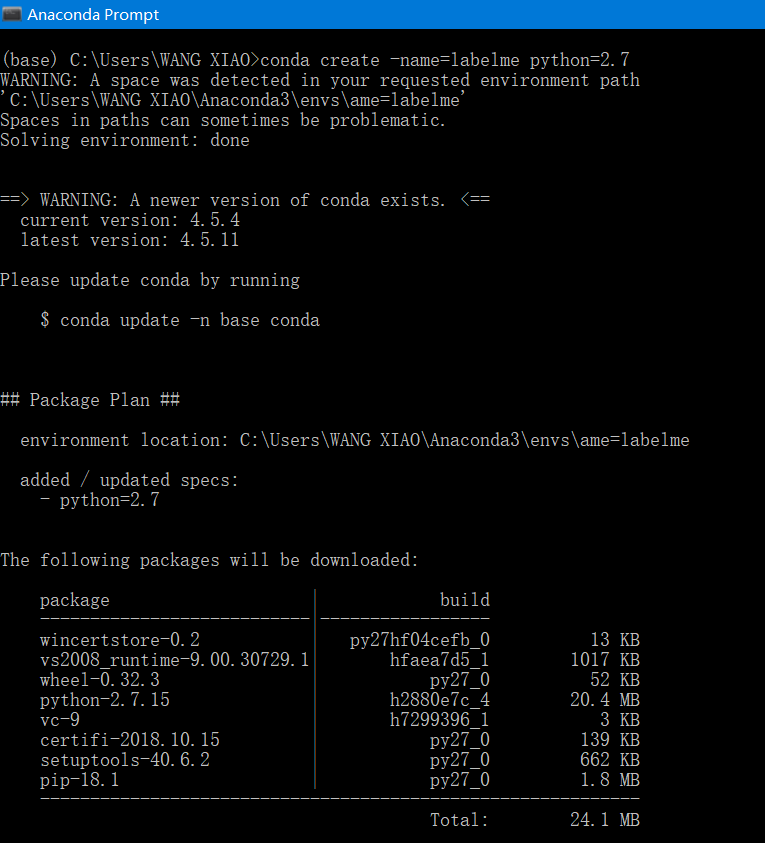
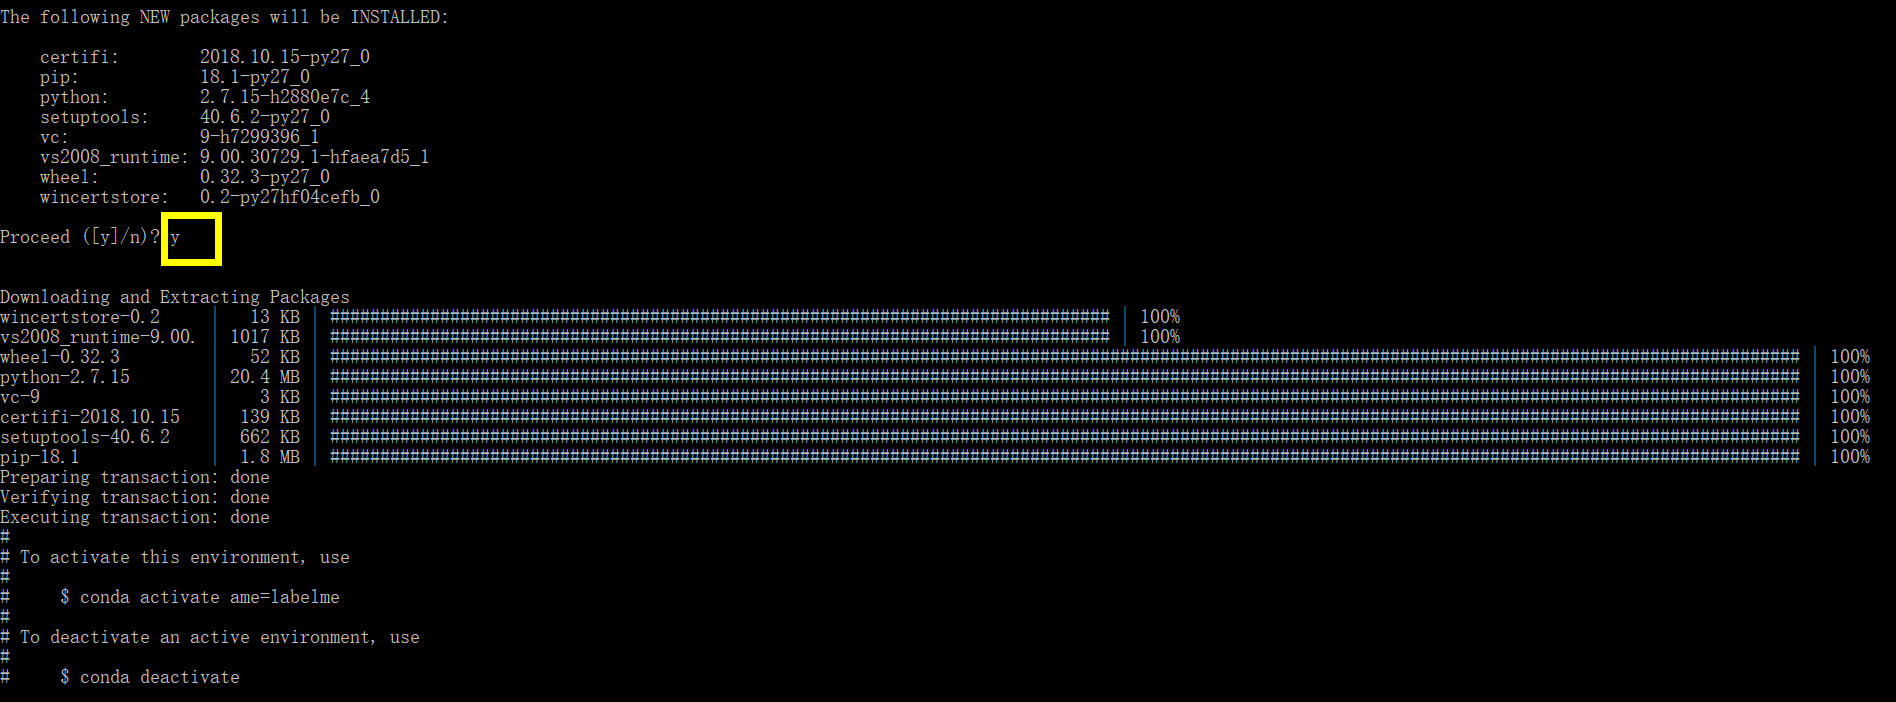
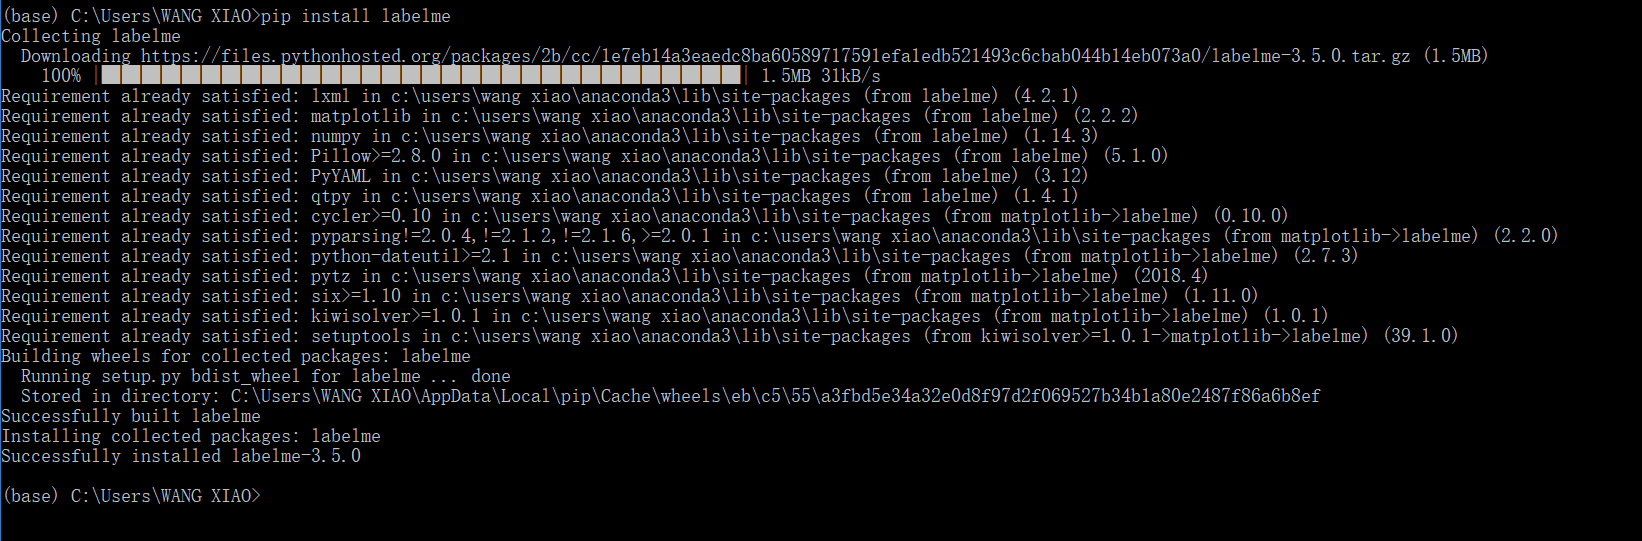
3. 在打开的 prompt 终端中输入:
conda create –name=labelme python=2.7
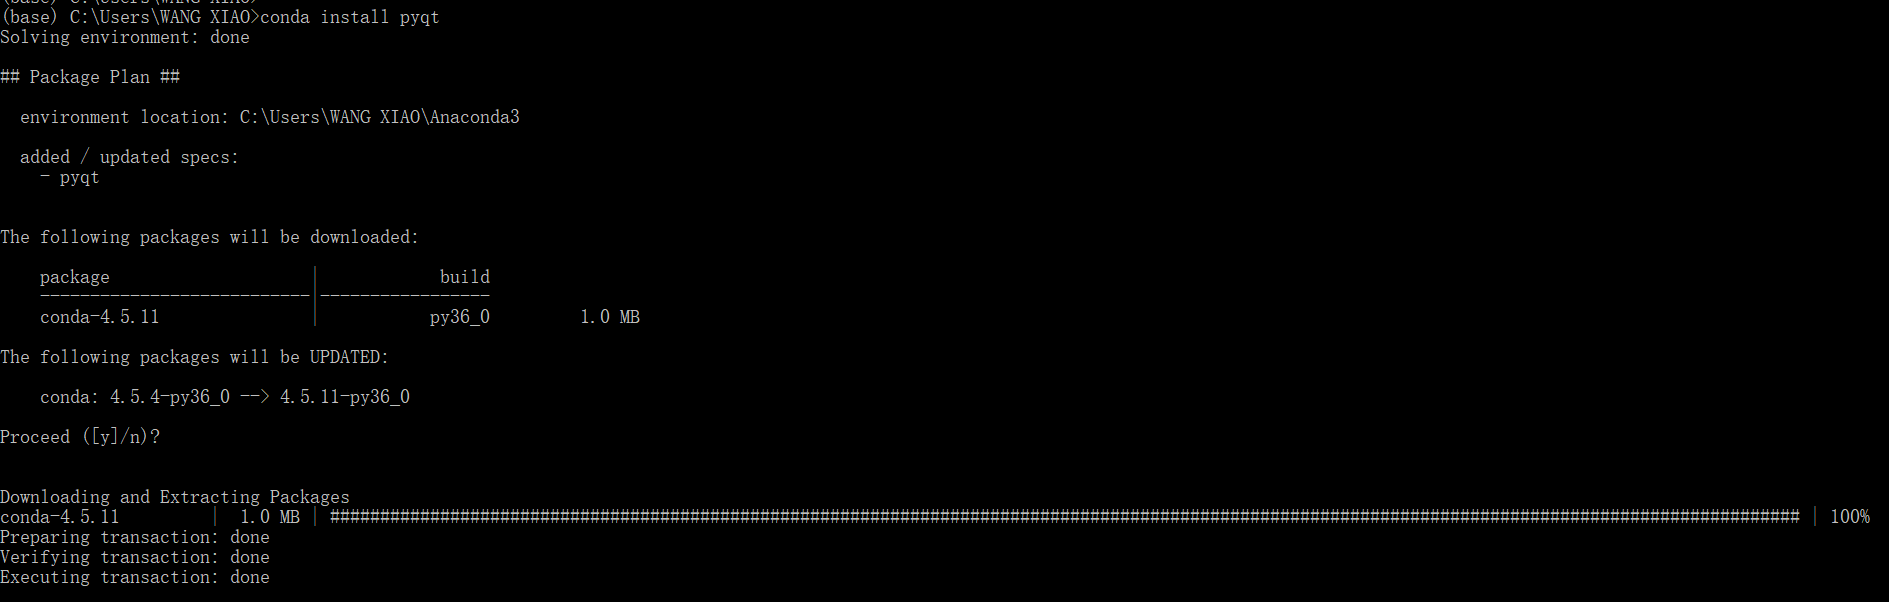
conda install pyqt
pip install labelme
![](https://img2018.cnblogs.com/blog/821593/201811/821593-20181121202039431-884157940.png)
![](https://img2018.cnblogs.com/blog/821593/201811/821593-20181121202201888-1847362802.png)
![](https://img2018.cnblogs.com/blog/821593/201811/821593-20181121202342931-195835731.png)
![](https://img2018.cnblogs.com/blog/821593/201811/821593-20181121203445697-1351112816.png)
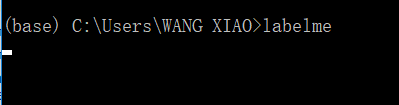
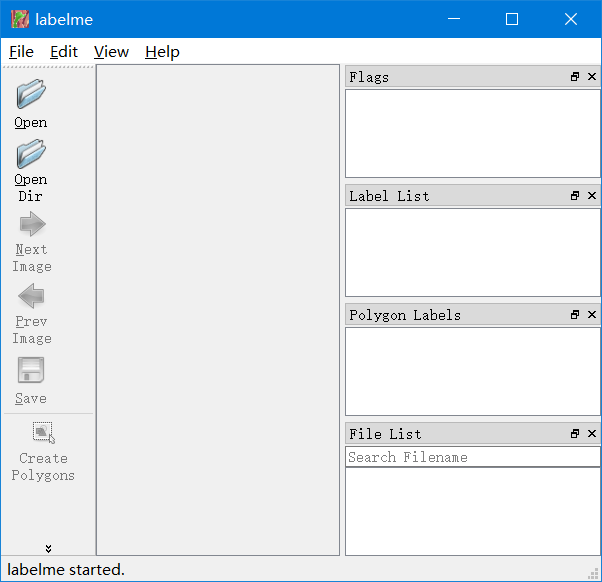
4. 在终端中输入:labelme,就可以打开 labelme 这个软件了。
![](https://img2018.cnblogs.com/blog/821593/201811/821593-20181121203638441-1912436338.png)
![](https://img2018.cnblogs.com/blog/821593/201811/821593-20181121203557256-307540267.png)
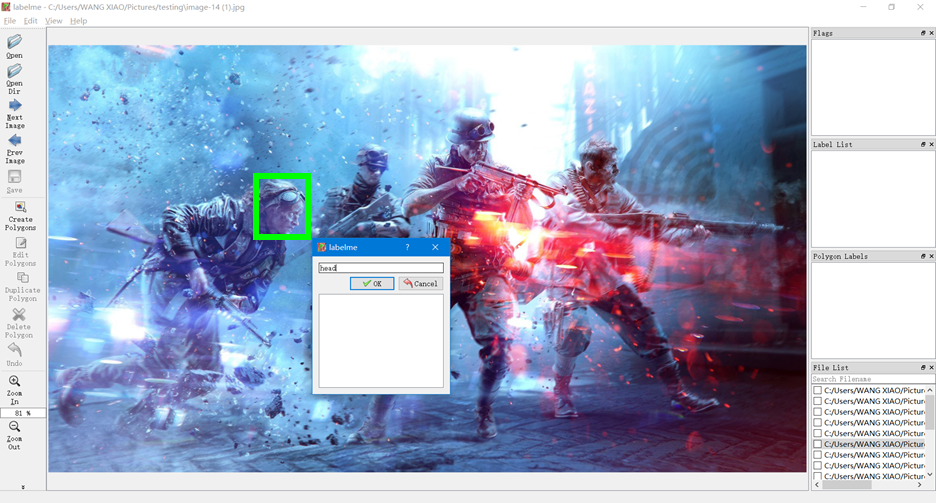
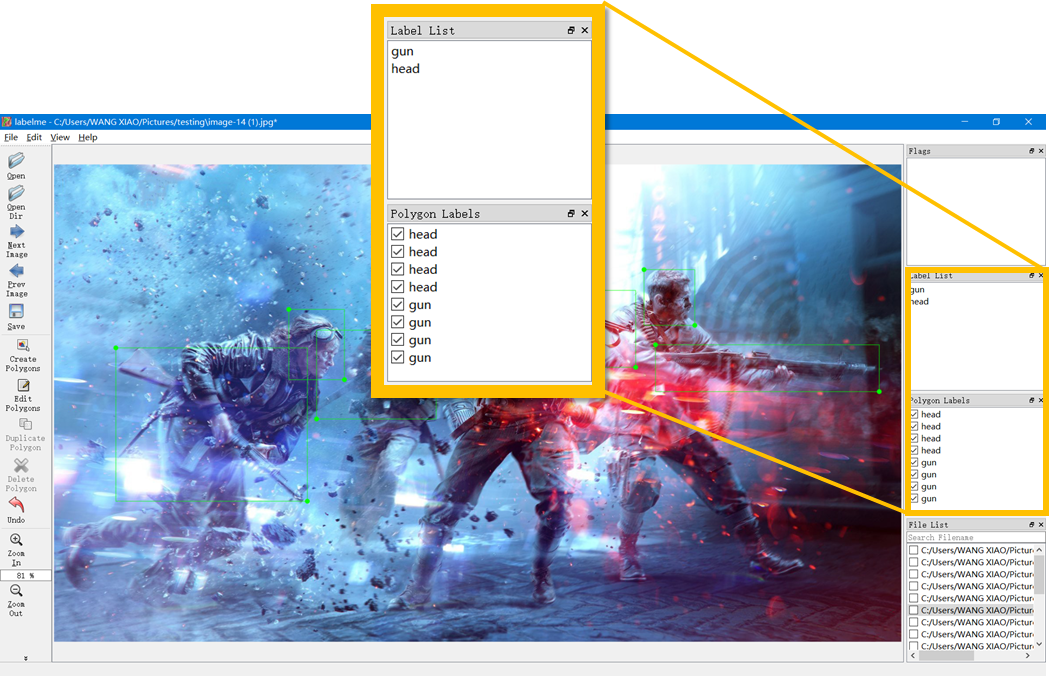
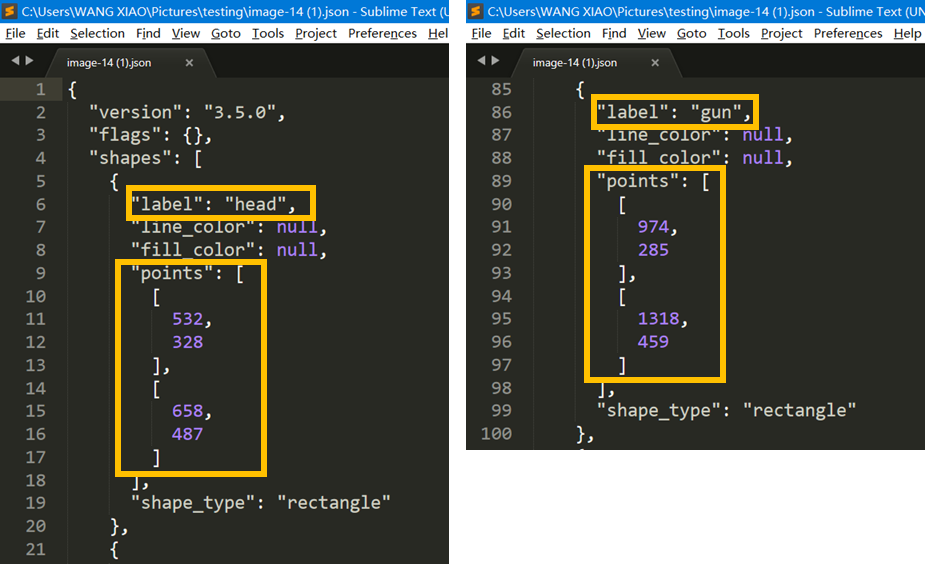
5. 各种BBox 以及 细粒度的像素级的标注都是支持的:
![](https://img2018.cnblogs.com/blog/821593/201811/821593-20181121213653951-1189902528.png)
![](https://img2018.cnblogs.com/blog/821593/201811/821593-20181121213722443-88632570.png)
![](https://img2018.cnblogs.com/blog/821593/201811/821593-20181121213752847-271461293.png)
![](https://img2018.cnblogs.com/blog/821593/201811/821593-20181121213824413-1611035025.png)
![](https://img2018.cnblogs.com/blog/821593/201811/821593-20181121213918031-1301684242.png)
转载于:https://www.cnblogs.com/wangxiaocvpr/p/9997690.html
本文内容由网友自发贡献,版权归原作者所有,本站不承担相应法律责任。如您发现有涉嫌抄袭侵权的内容,请联系:hwhale#tublm.com(使用前将#替换为@)