1、服务器购买
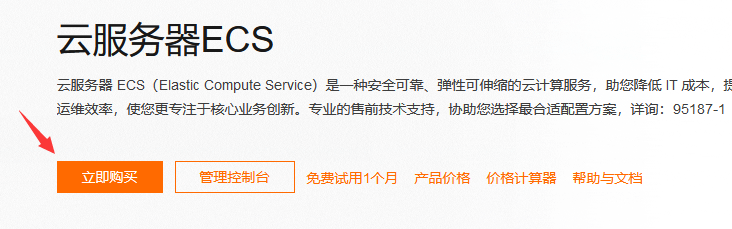
https://www.aliyun.com/ 打开网址,注册账号。按下图一步步操作。

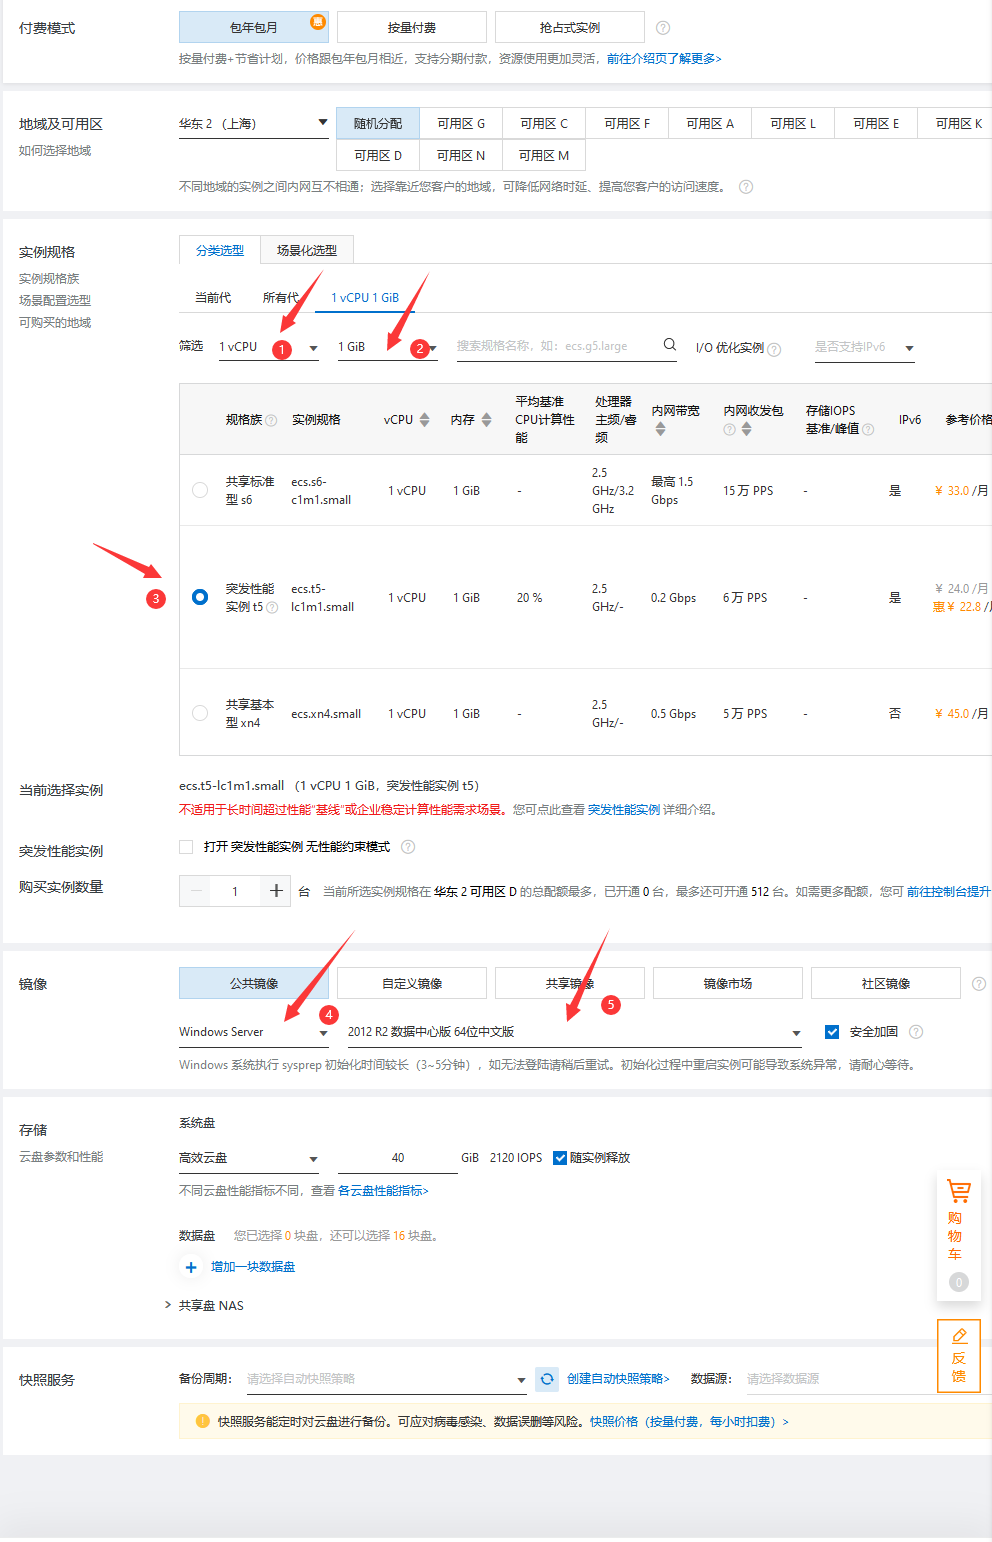
由于实验为主,购买低配,安装windows 64位服务器,如步骤④⑤所示。
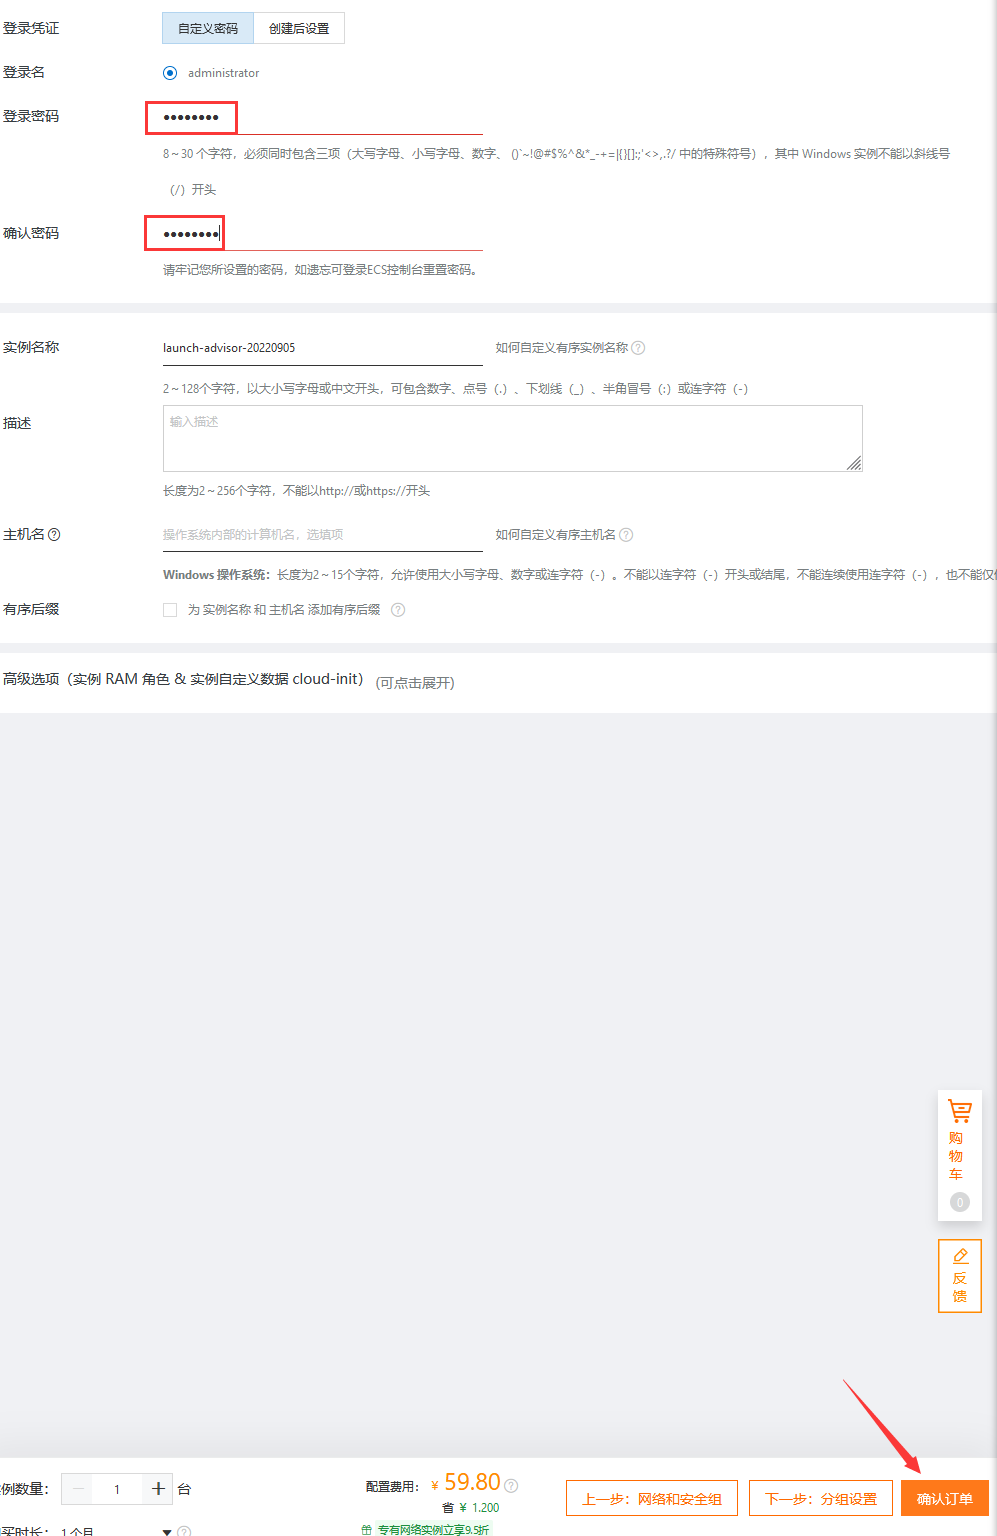
进行系统配置。

设置登录密码,后面远程登录会用到。
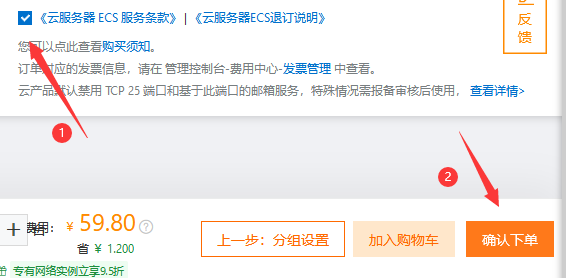
购买完成后,直接点击“管理控制台”进行配置,主要配置规则。
首先点击左侧的“安全组”。这里简单讲下为什么要配置安全组,比如你要去参观朋友居住的寝室,那么会事先跟朋友讲好,你要过来了,把你住的的寝室门打开,这样到时你才能进去,而别的寝室由于没有打招呼就一直是关着的。其实这里的“门”相当于端口,由于以后会涉及到各种各样的端口,我们就直接把所有的端口都打开,这也是我们为什么配置安全组的原因。
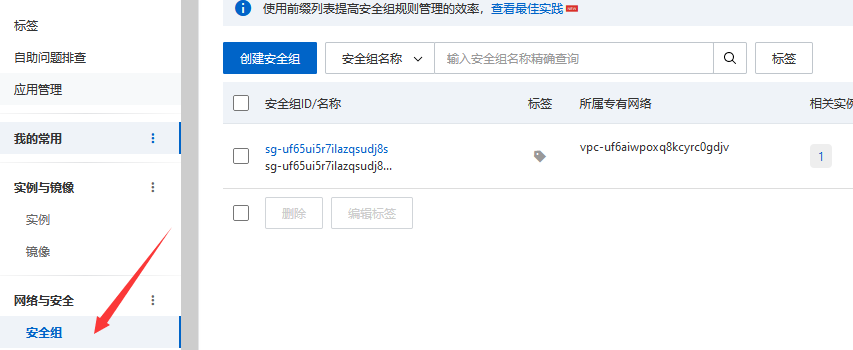
看到右侧有“配置规则”,点击进入。

在“入方向”和“出方向”都要进行配置,先进行“入方向”配置,手动添加。
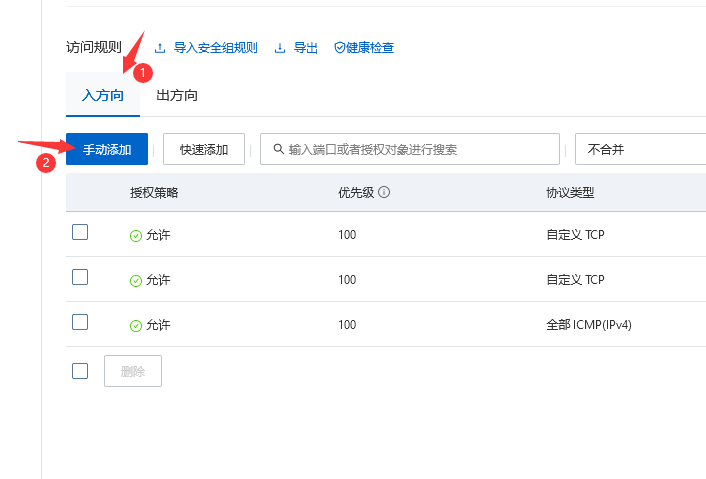
根据下图配置

进行“出方向”配置,同理于“入方向”配置。


购买的服务器配置到此为止。
2、远程登录
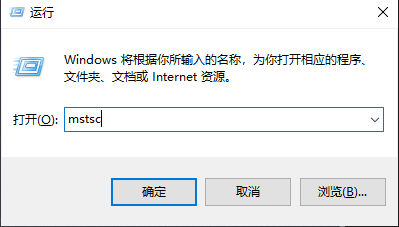
按住键盘的WIN+R,输入“mstsc”。
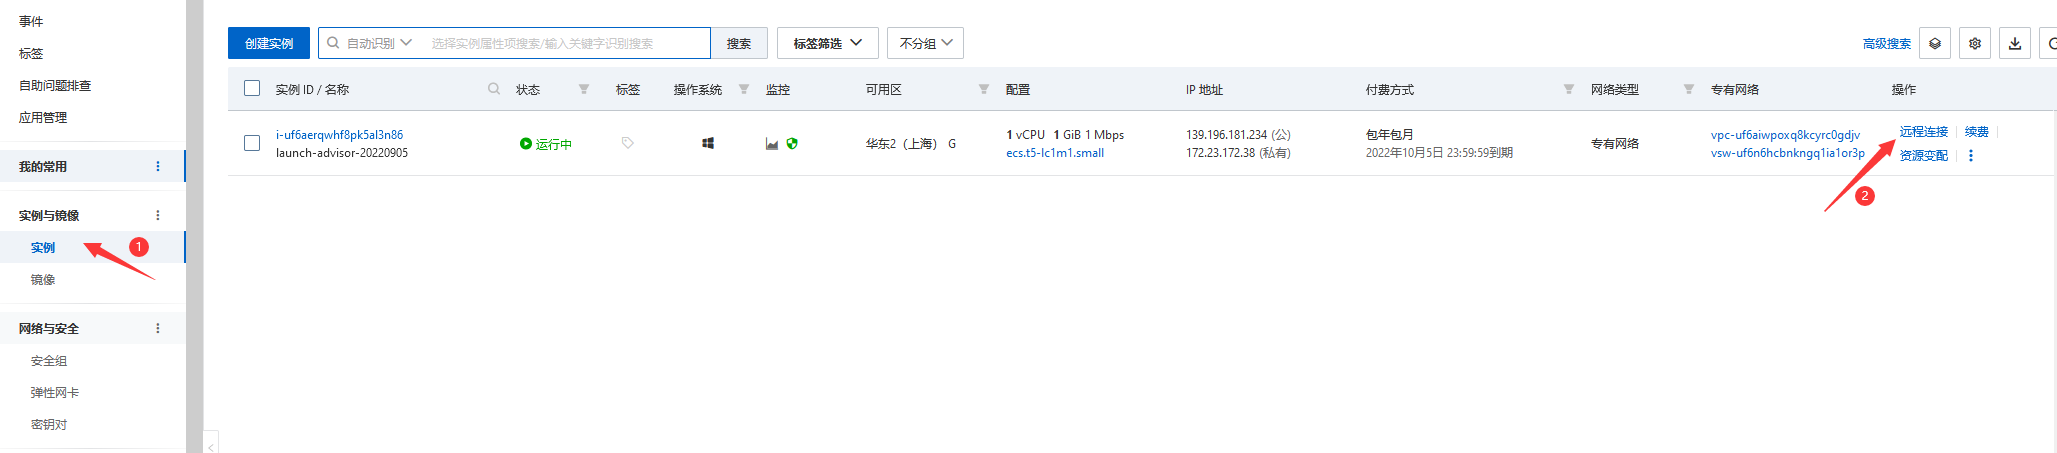
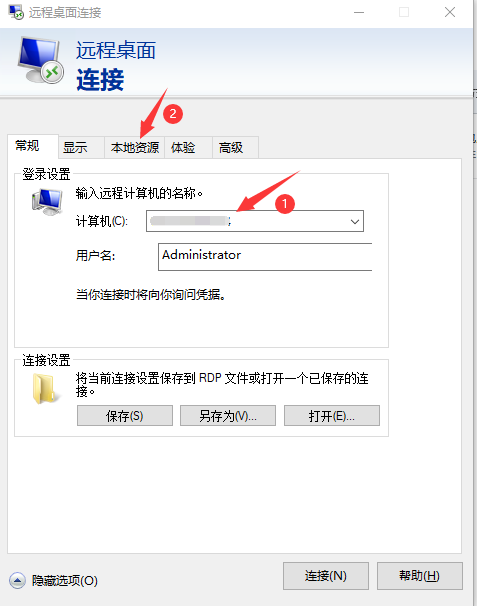
在①处输入购买的服务器公有IP地址。由于有需要将本地电脑中的资料复制到云服务器,将建立本地电脑和云服务器的连接,点击②处。
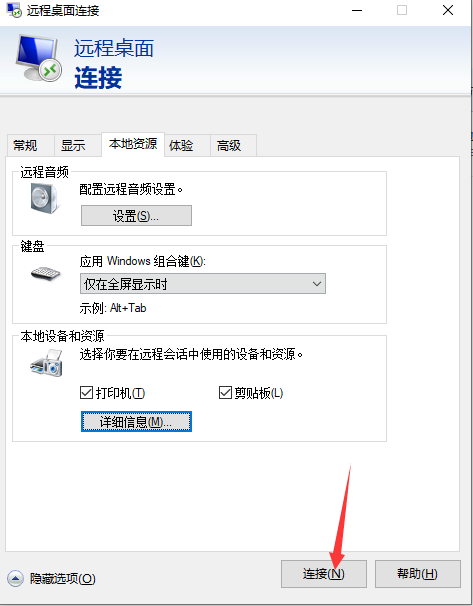
点击“详细信息”。

勾选“I”盘,大家根据需要勾选,因为我的资料都在I盘。

确认后,点击“连接”。
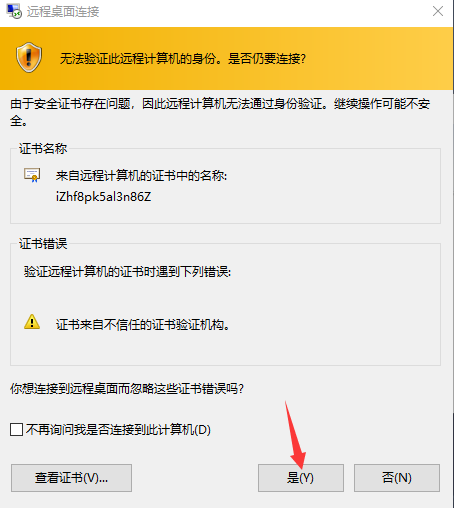
输入之前设置的密码。

按要求操作。
进入服务器以后,可以看到本地电脑的I盘了。

3、mqtt平台搭建
在云服务器中搭建mqtt平台需要用到两个文件,在本地电脑中如下图所示。

链接:https://pan.baidu.com/s/1soetUhqIDHqpUrbXuDgPwg?pwd=udbe
提取码:udbe
在云服务器中打开I盘,将本地I盘中的formqtt文件夹复制到云服务器中的C盘,如下图所示,将其中的压缩包解压。(注意:由于购买的服务器配置低,解压速度慢,有考虑先在本地电脑解压,再复制。这样有一定的风险,文件容易丢失,因此最好压缩包复制过去,在云服务器中解压)。接下去操作均在云服务器中操作!!

在云服务其中按下图的路径复制 msvcv120.dll文件。
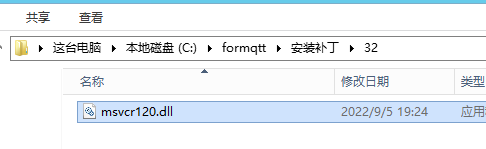
复制到下图路径。

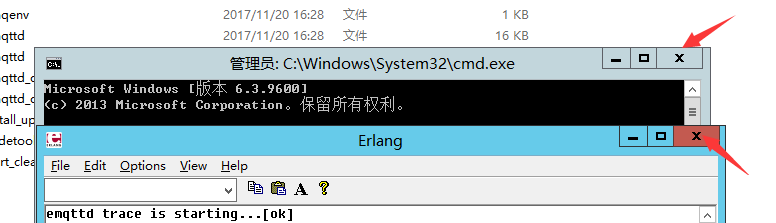
打开下图路径,接下去需要运行emqttd文件。根据以往知识,首先要在命令框中打开对应路径,再运行,这里教大家一个简单方法,在下图箭头地方直接输入cmd.

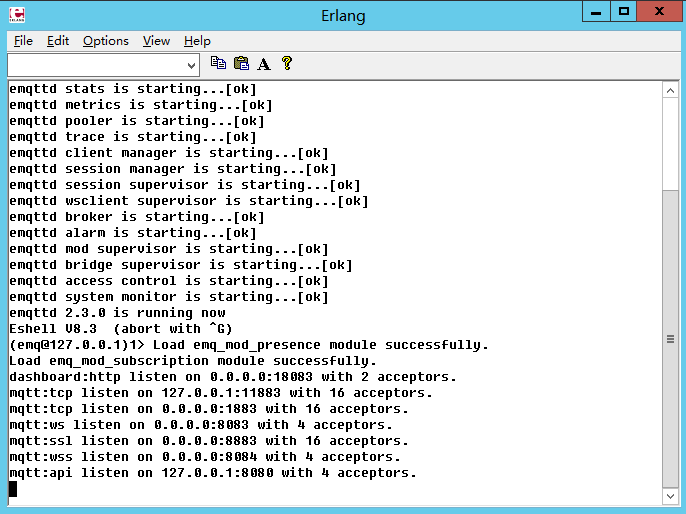
从命令框中我们知道已经进入了bin文件夹,输入指令 emqttd console

第一次启动的时候可能没反应,再重新运行一次,如下图,启动成功。
在网页输入http://IP地址:18083,提示输入账号密码。默认的账号:admin。密码:public。

如下图,配置完成。

在实际使用过程中涉及到mqtt的账号和密码,但我们不知道,我们就直接修改MQTT用户名和密码。
首先关闭mqtt服务器。
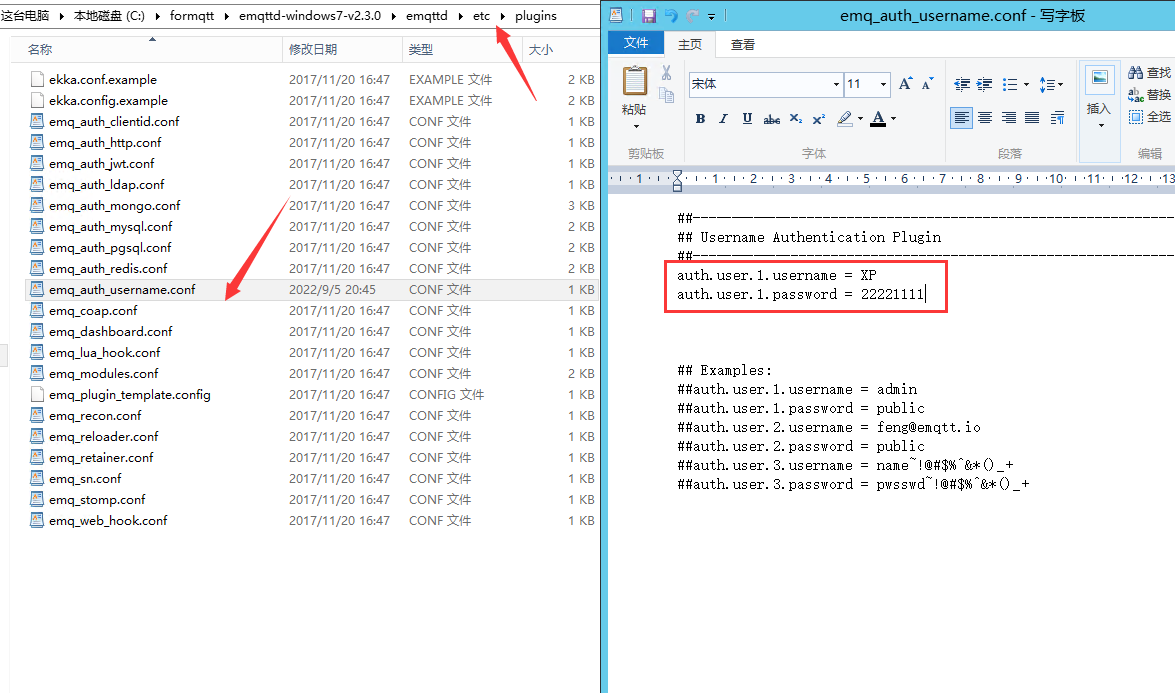
根据文件夹路径找到文件,以写字板方式打开,不要用记事本方式打开!!!

将“true”改成“false”。

在“plugins”文件夹下找到emq_auth_username.conf文件,添加账号和密码。
到此为止修改完成!!
本文内容由网友自发贡献,版权归原作者所有,本站不承担相应法律责任。如您发现有涉嫌抄袭侵权的内容,请联系:hwhale#tublm.com(使用前将#替换为@)