软件下载:
【名称】:UG NX 10.0
【语言】:简体中文
【安装环境】:Windows
【下载链接】:
链接: https://pan.baidu.com/s/1SkskLU2CYLQznfGWM7O4HQ
提取码: ersv
安装中有问题请咨询管家微信:dongrewq
软件介绍:
UG NX 是一款工业设计辅助软件,通过该软件,您可以在电脑上设计出更加丰富的机械设备,在大型工业设备的开发中,西门子公司一直都是业界比较领先的软件设计公司,西门子发布的设备设计系统包括了很多行业,支持医疗设备、工业设备、航天设备等类型设计,提供了领先世界的建模系统以及CNC加工系统,让你在钣金设计、装配设计、3DCAD模型设计等方面获取最佳的开发平台!
安装教程:
- 下载后,鼠标右击压缩包选择自动解压(或解压到当前文件夹均可)

2. 打开破解文件夹下的“NX10.0_JAVA-x64位”文件

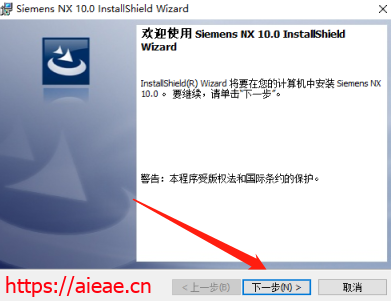
3. 点击“下一步”。

4. 点击“下一步”。

5. 选择安装路径

6. 关闭窗口。

7. 右击计算机.选择“属性”。

8. 点击“更改设置”。

9. 复制“计算机全名”。

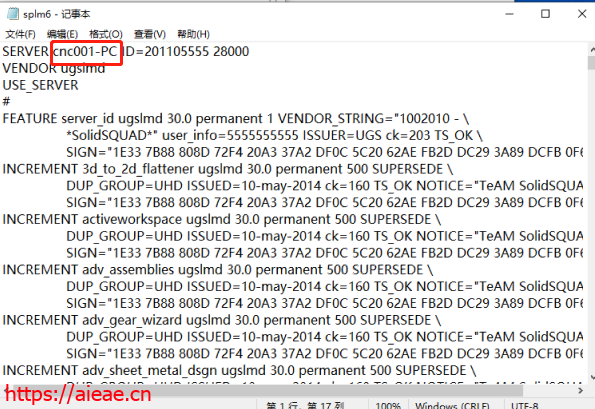
10. 打开“破解文件”目录下的PLMLicenseServer文件夹,右击“splm6“ ,选择”打开方式“。

11. 选择“记事本“,然后点击”确定“。

12. 将“cnc001-PC“替换成刚才复制的计算机名,保存并关闭。
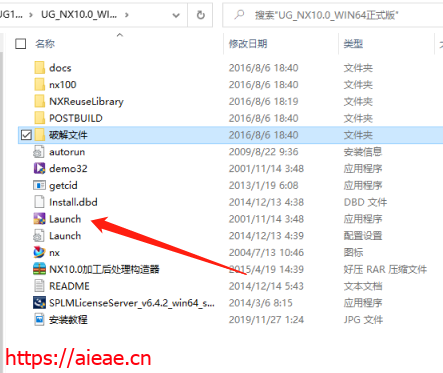
13. 打开文件夹,双击“Launch“。1
- 点击第二个“Install Lincense Server“。

15. 点击“next“。

16. 选择安装目录

17. 选择刚才更改计算机名的破解文件里PLMLicenseServer下的splm6.lic文件,点击“Next“。

18. 点击“Install“。

19. 点击“ok“。

20. 点击“Done”。

21. 选择第三个点击。

22. 选择默认,点击“确定”。

23. 点击“下一步”。
24. 选择“完整安装”

25. 选择安装目录

- 点击“下一步”。

27. 然后点击“下一步”。

28. 点击“安装”。

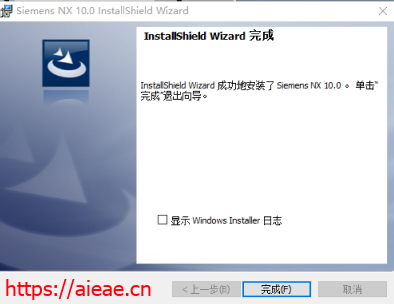
29. 点击“完成”。
30. 打开”破解文件”文件夹,复制前两个文件夹。

31. 打开安装目录下的Siemens文件夹,粘贴替换刚才复制的文件。

32. 打开目录下的PLMLicenseServer文件夹里的lmtools.exe文件。

33. 在Config Services中,保持默认,点击“Save Services”

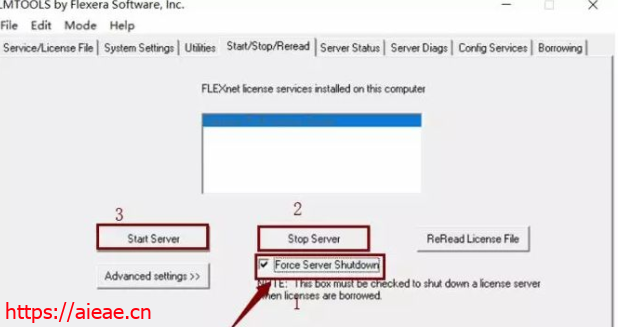
34. 在Start/Stop/Reread中选中下方复选框,勾选“Force Sever”,点击"Stop Server",点击"StartServer",在下方显示ServerStart Successful,关闭窗口。
35. 安装完成。
