由于K版本已经比较老了,甚至连源都已经不怎么找得到了,但是有时候为了一些特定的需求,需要安装K版本,这就比较麻烦,本文找了一个较为简单的方法来安装,并且是单机安装。
准备工作
先修改主机名

添加解析

重启一下
名字已修改

安装ntp服务
yum install ntp
# systemctl enable ntpd.service
# systemctl start ntpd.service
# ntpq -c peers
# ntpq -c assoc

安装
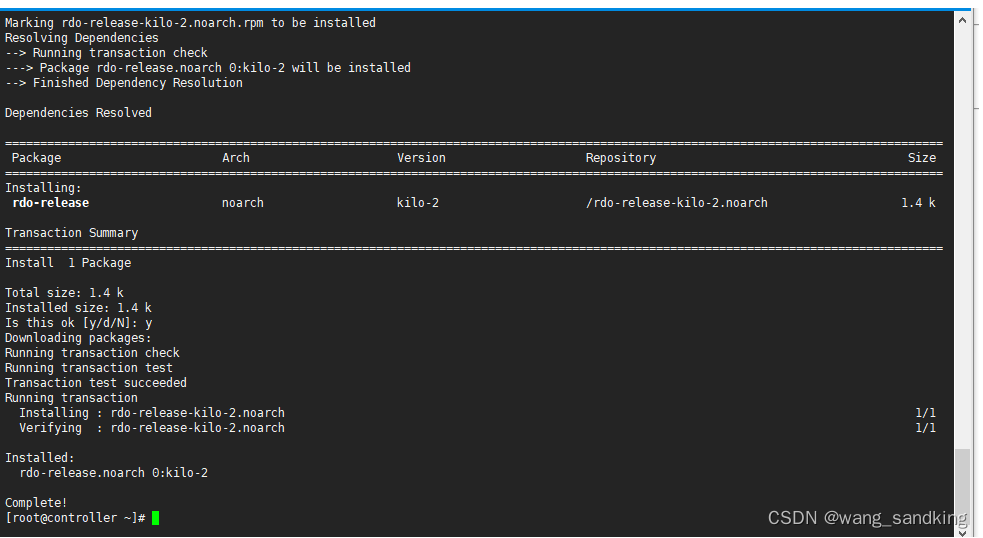
安装kilo的源
yum install -y https://repos.fedorapeople.org/repos/openstack/EOL/openstack-kilo/rdo-release-kilo-2.noarch.rpm
如果链接不可用,可以手动下载后安装
安装完之后会发现他指向的库已经不存在了,可以修改一下别的库
baseurl=Index of /centos-vault/7.3.1611/cloud/x86_64/openstack-kilo/ | 清华大学开源软件镜像站 | Tsinghua Open Source Mirror

修改完之后执行 yum makecache
可能会报错

修复办法也很简单,就把报错中的修复方法的第3 第4步的命令执行一下即可,再次执行就可以成功了

做完上面的基本配置,接下来开始我们将使用all in one的方式来安装
将repo文件修改成2份,一份yum源来自openstack-kilo 一份来自传统的yum源
传统:
[base]
name=CentOS-$releasever - Base
baseurl=Index of /centos-vault/7.3.1611/cloud/x86_64/openstack-kilo/ | 清华大学开源软件镜像站 | Tsinghua Open Source Mirror
gpgcheck=1
gpgkey=file:///etc/pki/rpm-gpg/RPM-GPG-KEY-CentOS-SIG-Cloud
#released updates
[updates]
name=CentOS-$releasever - Updates
baseurl=Index of /centos-vault/7.3.1611/cloud/x86_64/openstack-kilo/ | 清华大学开源软件镜像站 | Tsinghua Open Source Mirror
gpgcheck=1
gpgkey=file:///etc/pki/rpm-gpg/RPM-GPG-KEY-CentOS-SIG-Cloud
#additional packages that may be useful
[extras]
name=CentOS-$releasever - Extras
mirrorlist=http://mirrorlist.centos.org/?release=$releasever&arch=$basearch&repo=extras&infra=$infra
baseurl=Index of /centos-vault/7.3.1611/cloud/x86_64/openstack-kilo/ | 清华大学开源软件镜像站 | Tsinghua Open Source Mirror
gpgcheck=1
gpgkey=file:///etc/pki/rpm-gpg/RPM-GPG-KEY-CentOS-SIG-Cloud
#additional packages that extend functionality of existing packages
[centosplus]
name=CentOS-$releasever - Plus
baseurl=Index of /centos-vault/7.3.1611/cloud/x86_64/openstack-kilo/ | 清华大学开源软件镜像站 | Tsinghua Open Source Mirror
gpgcheck=1
enabled=0
gpgkey=file:///etc/pki/rpm-gpg/RPM-GPG-KEY-CentOS-SIG-Cloud

OpenStack:
[base]
name=CentOS-$releasever - Base
mirrorlist=http://mirrorlist.centos.org/?release=$releasever&arch=$basearch&repo=os&infra=$infra
baseurl=http://mirror.centos.org/centos/$releasever/os/$basearch/
gpgcheck=1
gpgkey=file:///etc/pki/rpm-gpg/RPM-GPG-KEY-CentOS-7
#released updates
[updates]
name=CentOS-$releasever - Updates
mirrorlist=http://mirrorlist.centos.org/?release=$releasever&arch=$basearch&repo=updates&infra=$infra
baseurl=http://mirror.centos.org/centos/$releasever/updates/$basearch/
gpgcheck=1
gpgkey=file:///etc/pki/rpm-gpg/RPM-GPG-KEY-CentOS-7
#additional packages that may be useful
[extras]
name=CentOS-$releasever - Extras
mirrorlist=http://mirrorlist.centos.org/?release=$releasever&arch=$basearch&repo=extras&infra=$infra
baseurl=Index of /centos-vault/7.3.1611/cloud/x86_64/openstack-kilo/ | 清华大学开源软件镜像站 | Tsinghua Open Source Mirror
baseurl=http://mirror.centos.org/centos/$releasever/extras/$basearch/
gpgcheck=1
gpgkey=file:///etc/pki/rpm-gpg/RPM-GPG-KEY-CentOS-7
#additional packages that extend functionality of existing packages
[centosplus]
name=CentOS-$releasever - Plus
mirrorlist=http://mirrorlist.centos.org/?release=$releasever&arch=$basearch&repo=centosplus&infra=$infra
baseurl=http://mirror.centos.org/centos/$releasever/centosplus/$basearch/
gpgcheck=1
enabled=0
gpgkey=file:///etc/pki/rpm-gpg/RPM-GPG-KEY-CentOS-7

接下来先使用传统repo,安装一些预制插件,这些都是反复安装后报出来缺失的部分有的是安装数据库需要的 有的是keystone需要的,如果想要自己试验的话 可以直接使用all in one 安装 然后再根据缺失部分,一个一个安装
yum install -y puppet libselinux-ruby hiera openssh-clients tar nc rubygem-json iptables-services
yum install -y python-docutils
yum -y install python-pip
pip install python-ldap(yum install python-ldap) #看一下哪一个能装上就用哪一个。
yum install -y python-zope-interface python-mako PyPAM python-zope-interface python-paste
yum -y install targetcli
yum install -y sysfsutils libcgroup-tools python-jinja2 libvirt-python python-libguestfs ipmitool
yum install -y keepalived dnsmasq-utils libxslt-python mod_wsgi httpd xinetd php tk
yum -y install mariadb-galera-server
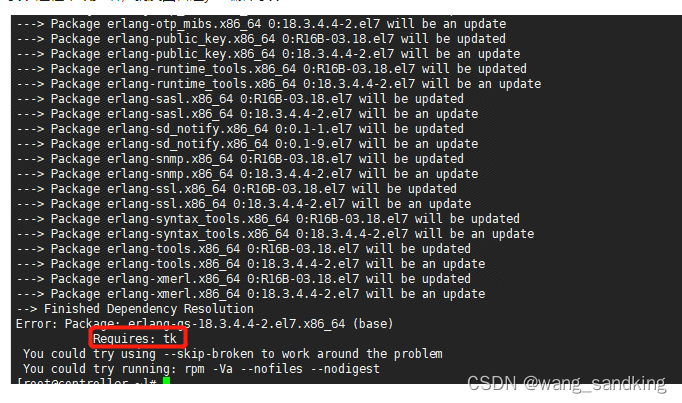
yum -y install erlang
有些插件可能没有安装成功,暂时没有关系,接下来将repo切换成 openstack的,然后 yum clean all yum makecache执行一次

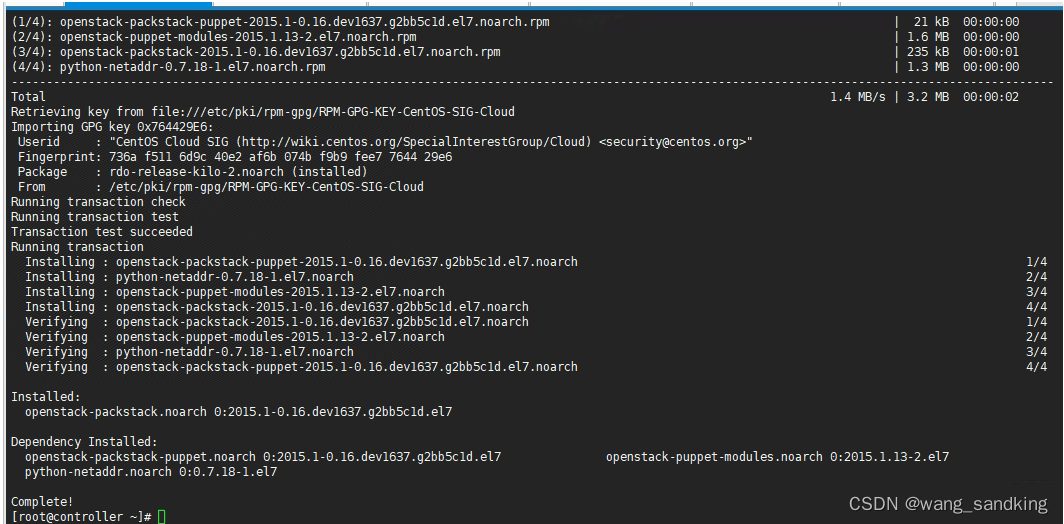
接下来我们先安装all in one 依赖的软件 openstack packstack
yum install -y openstack-packstack
安装过程中缺少啥,就反回普通yum源下安装
开始安装
生成安装文件
packstack --gen-answer-file=answer
可以修改生成文件的参数(如果是各模块分开部署的,这一在这里面配置分别的信息,本文单机安装,就不用修改此文件了)

接下来就开始正式安装(安装一定要在openstack的yum源下安装)
packstack --answer-file=answer

问题讲解:
安装过程中会有类似的报错,这时候你手动安装一次,看详细报错中缺少什么依赖,你就切换到 常规yum源下去安装

2. 遇到这个报错,是因为上绵那个问题,在安装mariadb的时候缺少一些插件,切换到正常yum下,安装了一次,然后当前不能重复安装所以报错,这时候在卸载一次,重新安装即可,这里使用yum erase的方式卸载,不要使用rpm的方式强制卸载

本文内容由网友自发贡献,版权归原作者所有,本站不承担相应法律责任。如您发现有涉嫌抄袭侵权的内容,请联系:hwhale#tublm.com(使用前将#替换为@)