
案例1:
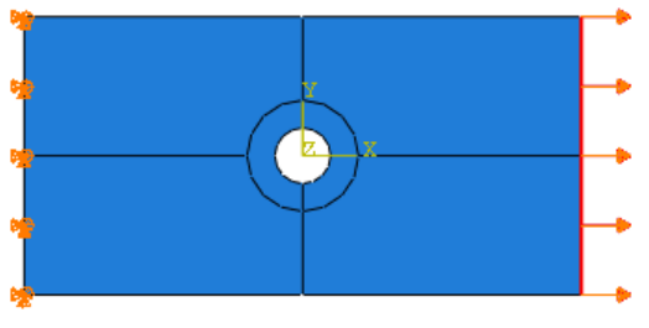
创建开孔矩形复合材料常规壳层合板,层合板一端固定,另一端施加拉伸载荷,对模型进行分析,查看每层单方向的应力,对比云图和加载时的铺层额方向,理解铺层方向与lamina材料的概念。
0
1建立几何模型
- 利用Abaqus中composite layup快速创建复合材料模型
- 建立几何模型(薄壳)
- Part:100mmX50mm,中间圆孔直径D为10mm.并对几何进行切割


0
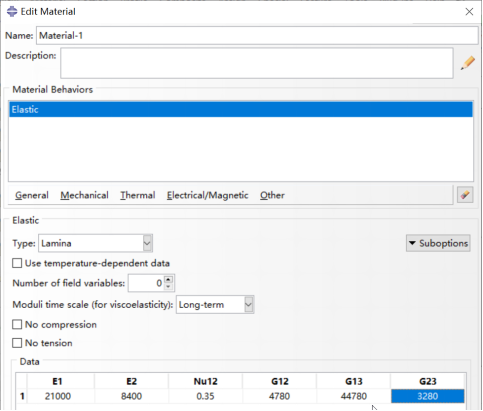
2定义材料
0
3铺层


0
4查看方向

0
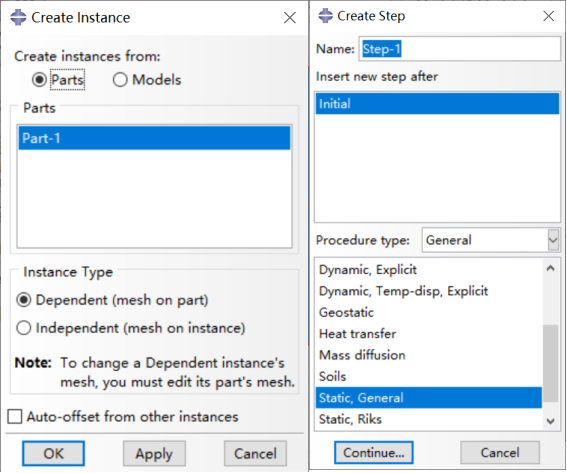
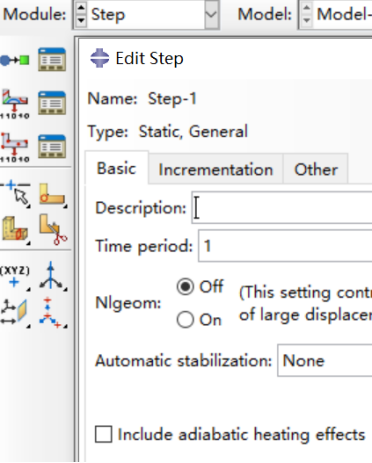
5分析步
0
6输出
- 选择输出区域
- 输出频率
- 输出的结果类型
- 复合材料铺层截面点输出

0
7边界条件

0
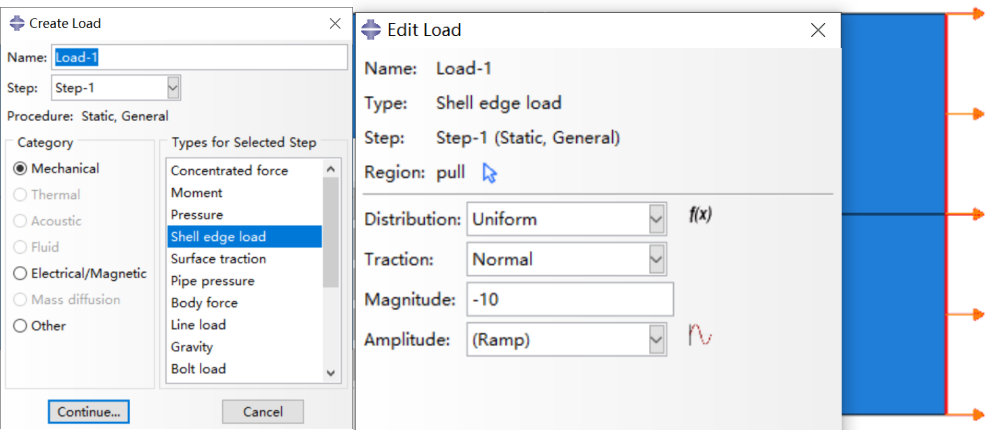
8载荷
0
9单元类型
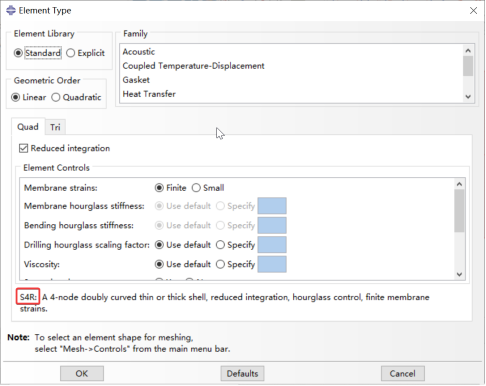
10
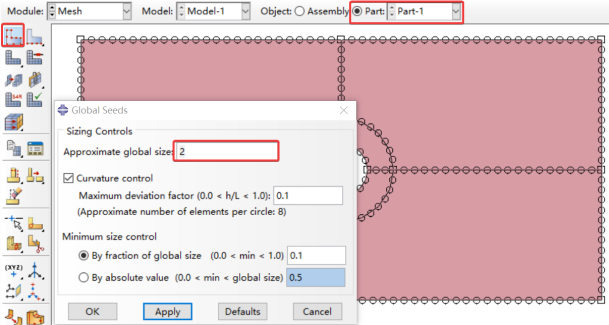
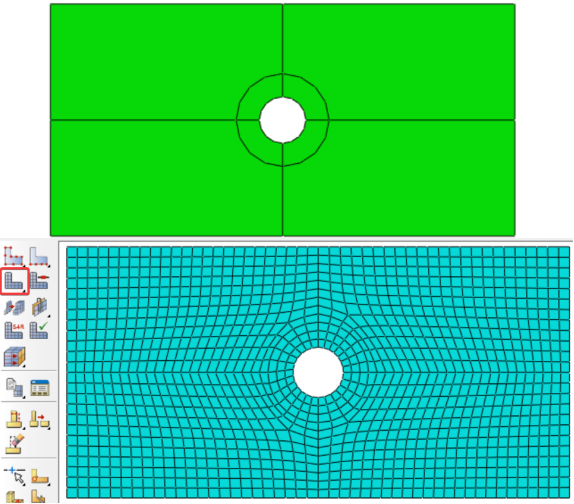
网格划分

11
提交作业
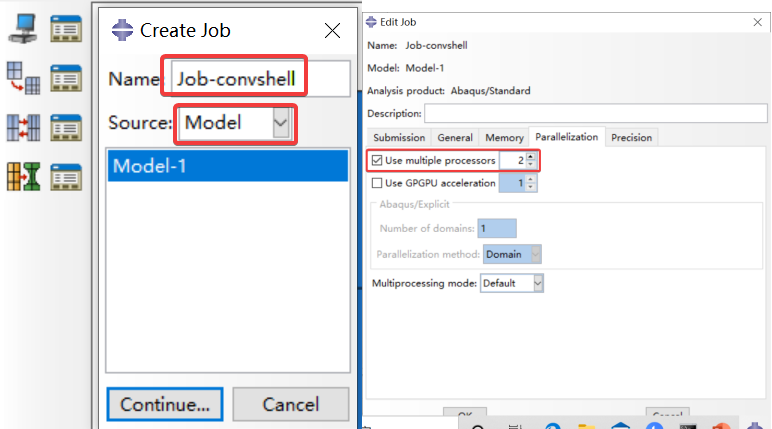
11
后处理

12
建模流程
- 创建几何模型
- 创建材料
- 创建复合材料铺层
- 查看铺层方向
- 创建装配实例
- 创建分析步
- 编辑变量输出
- 创建边界条件及载荷
- 划分网格及选择单元类型
- 提交计算
- 后处理

来都来了,点个赞再走吧~~~
