使用uniapp开发程序时,不管是小程序,还是H5界面,它们只是一个显示界面,也就是只充当前台界面,那么我们后台使用.net6 webapi写业务逻辑,然后前端访问后端,即可实现前后端分离开发软件的模式。
下面使用.net6 webapi作为后端,uniapp作为前端,实现简单的数据显示的功能。
目录
一、后端
二、前端
一、后端
1.首先使用vs2022建立一个webapi项目
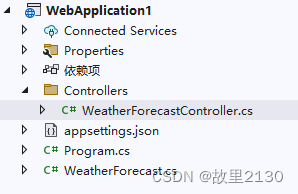
2.WeatherForecastController类的代码
using Microsoft.AspNetCore.Mvc;

namespace WebApplication1.Controllers
{
    [ApiController]
    [Route("api/[controller]/[action]")]
    public class WeatherForecastController : ControllerBase
    {
        private static readonly string[] Summaries = new[]
        {
        "Freezing", "Bracing", "Chilly", "Cool", "Mild", "Warm", "Balmy", "Hot", "Sweltering", "Scorching"
    };

        private readonly ILogger<WeatherForecastController> _logger;

        public WeatherForecastController(ILogger<WeatherForecastController> logger)
        {
            _logger = logger;
        }

        [HttpGet]
        public IEnumerable<WeatherForecast> Get()
        {
            return Enumerable.Range(1, 5).Select(index => new WeatherForecast
            {
                Date = DateTime.Now.AddDays(index),
                TemperatureC = Random.Shared.Next(-20, 55),
                Summary = Summaries[Random.Shared.Next(Summaries.Length)]
            })
            .ToArray();
        }
        [HttpGet]
        public string Get1()
        {
            return "123";
        }
    }
}
3.运行效果
点击Get1方法,可以看到返回的结果是123,此时后端算是完成了。

二、前端
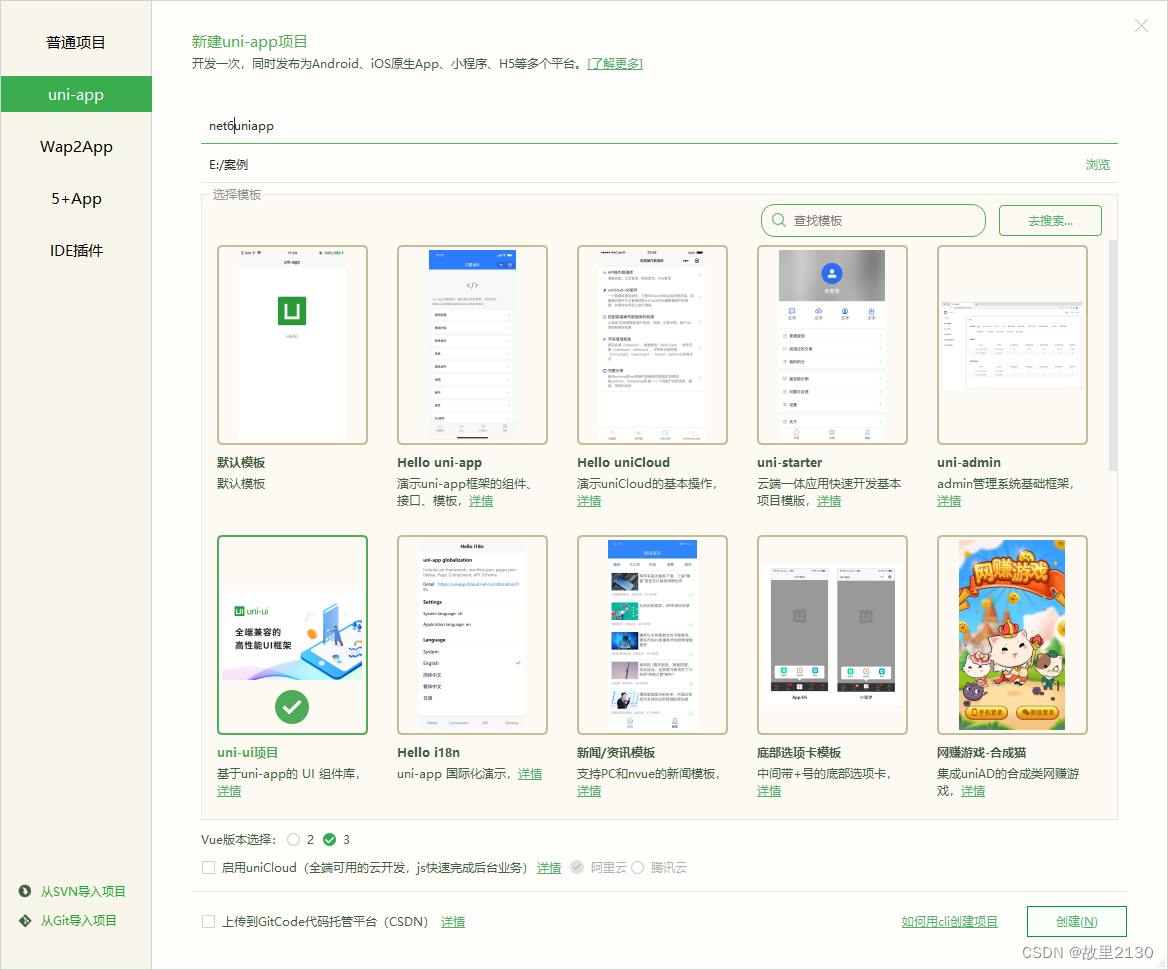
1.打开HBuilder X软件,取名后,选择如图所示,下面选择vue3
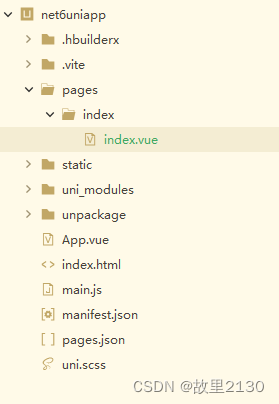
2.点击创建后如下
文件目录就不介绍了,可以去官网自己看
3.修改index.vue中的代码
因为自带的不是setup写法,本人喜欢setup写法,所以对script脚本中的代码进行修改,其他不变化
<template>
	<view class="container">

		<view class="intro">本项目已包含uni ui组件,无需import和注册,可直接使用。在代码区键入字母u,即可通过代码助手列出所有可用组件。光标置于组件名称处按F1,即可查看组件文档。</view>
		<text class="intro">详见:</text>
		<uni-link :href="href" :text="href"></uni-link>
	</view>
</template>

<script setup>
	import {
		onMounted,
		ref
	} from "vue";
	import {
		request
	} from '../../apiRequest.js'

	const href = ref('https://uniapp.dcloud.io/component/README?id=uniui')

	//初始化
	onMounted(() => {
		aaa()
	})

	const aaa = async () => {
		request.get(`/api/WeatherForecast/Get1`).then(res => {
			console.log('请求数据')
			console.log(1)
			console.log(res)
		})
	}
</script>

<style>
	.container {
		padding: 20px;
		font-size: 14px;
		line-height: 24px;
	}
</style>
4.插件市场安装,点击导入插件
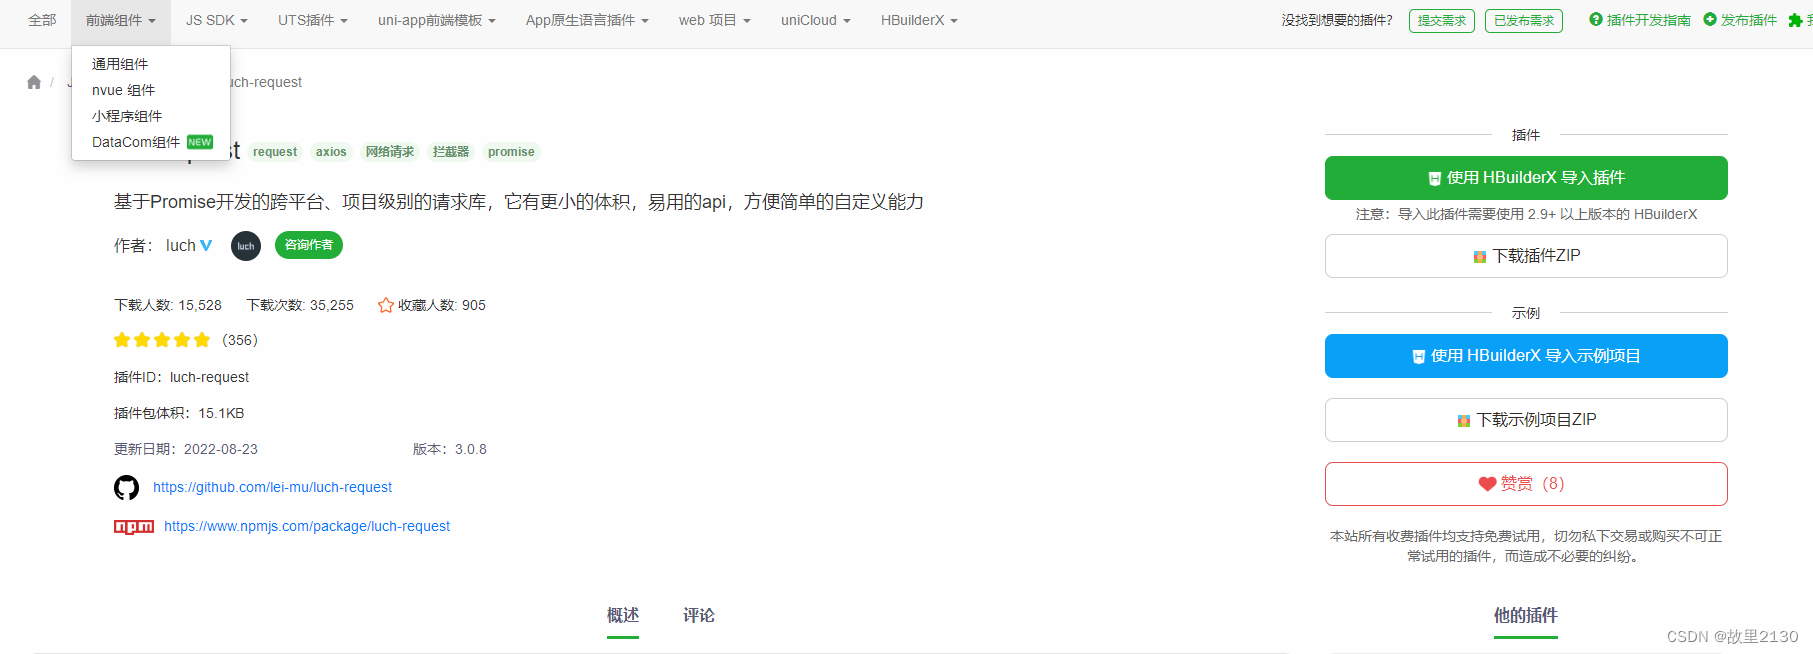
插件市场
luch-request - DCloud 插件市场
官网luch-request
其实就是类似于Axios的使用,可以参考下面的,只是微信小程序不支持Axios
VUE3中,使用Axios_故里2130的博客-CSDN博客_vue3使用axios
5.安装成功标志
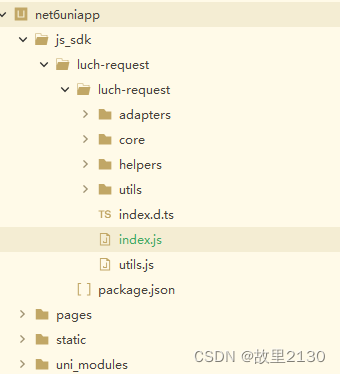
6.新建一个apiRequest.js文件
import Request from './js_sdk/luch-request/luch-request/index.js' //此处注意,使用插件市场和命令安装的导入路径不一样

const BASE_URL = 'https://localhost:7150'
const request = new Request();

/* 设置全局配置 */
request.setConfig((config) => {
	config.baseURL = BASE_URL
	return config
})

/* 请求以前拦截器 */
request.interceptors.request.use((config) => {
	config.header["Content-Type"] = "application/json"
	config.header = {
		...config.header
	}
	console.log('请求之前')
	uni.showLoading({
		title: '加载中...'

	})
	// 权限认证
	//config.header.Authorization = uni.getStorageSync("token")
	return config
}, config => { // 可使用async await 做异步操作
	return Promise.reject(config)
})

/* 请求以后拦截器 */
request.interceptors.response.use(async (res) => {

	if (res.statusCode != 200) {
		return Promise.reject(res)
	}
	console.log('请求后把结果返回给界面,界面去接收值')
	uni.hideLoading()
	return res.data
}, (error) => { //  请求出现错误后 在这里处理
	console.log(error.errMsg)
	// if (error.statusCode == 401) {
	// 	// 登录态失效则清除token:没有携带token、token没法再刷新
	// 	let msg = error.data.message || error.data
	// 	if (msg == null || msg == undefined) msg = '当前登录状态过期,请重新登录'
	// 	uni.clearStorageSync()
	// 	uni.showToast({
	// 		title: msg,
	// 		icon: 'none',
	// 		success() {
	// 			setTimeout(() => {
	// 				// 跳转到登录页
	// 				uni.navigateTo({
	// 					url: "/pages/login/login"
	// 				})
	// 			}, 1000)
	// 		}
	// 	})
	// } else {
	// 	let msg = error.data.message || error.data
	// 	uni.showToast({
	// 		title: msg,
	// 		icon: 'none',
	// 		duration: 2000
	// 	})
	// }
	return Promise.reject(error)
})

export {
	request
}
7.效果
使用代码,就是步骤3中的代码
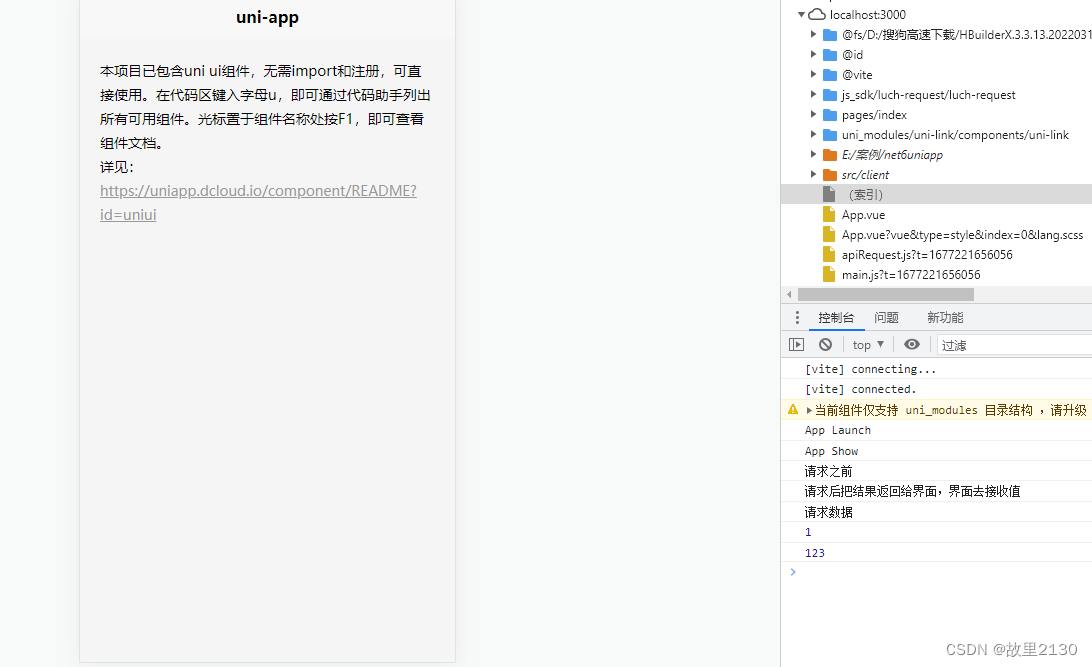
数值123就是
其他写法参考官网即可
3.x文档 | luch-request
8.微信中显示
运行微信开发者工具
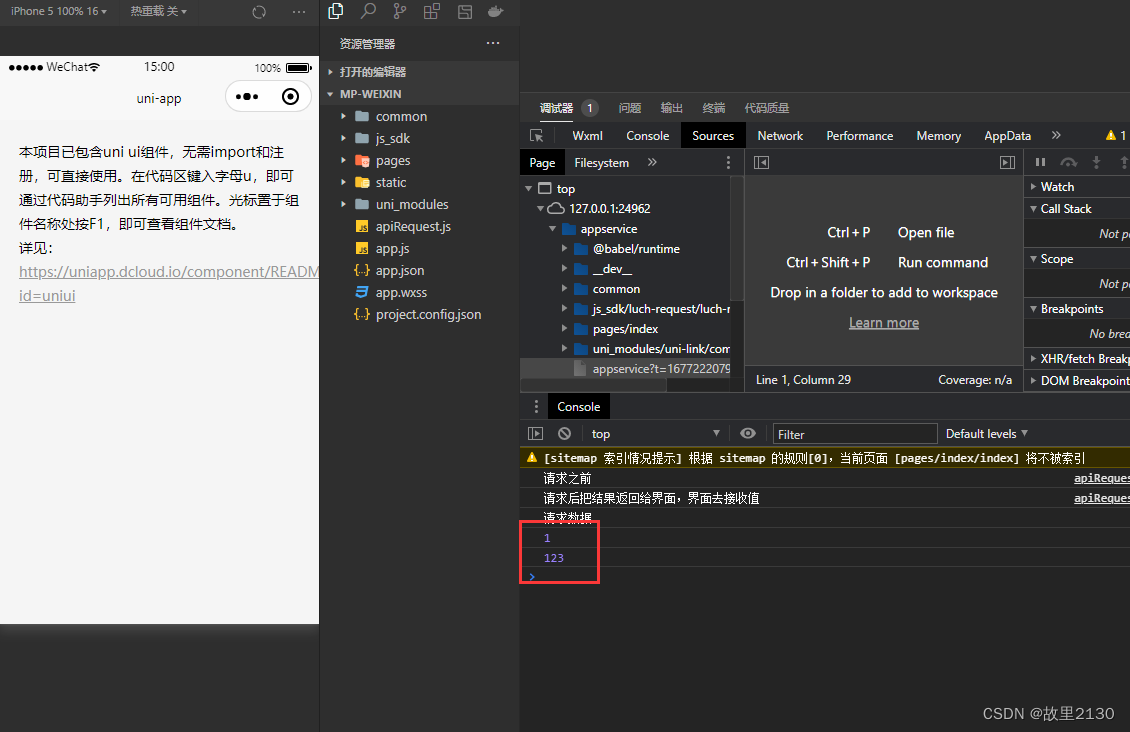
至此,uniapp中调用.net6 webapi就完成了
本文内容由网友自发贡献,版权归原作者所有,本站不承担相应法律责任。如您发现有涉嫌抄袭侵权的内容,请联系:hwhale#tublm.com(使用前将#替换为@)