1.准备镜像文件
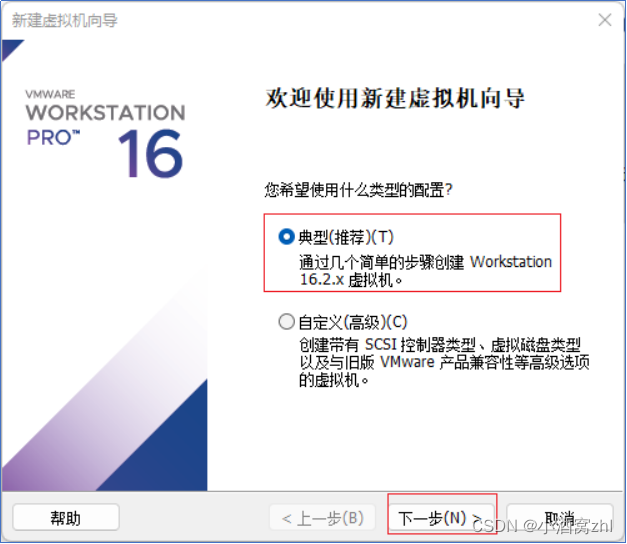
Cen1. 创建新的虚拟机
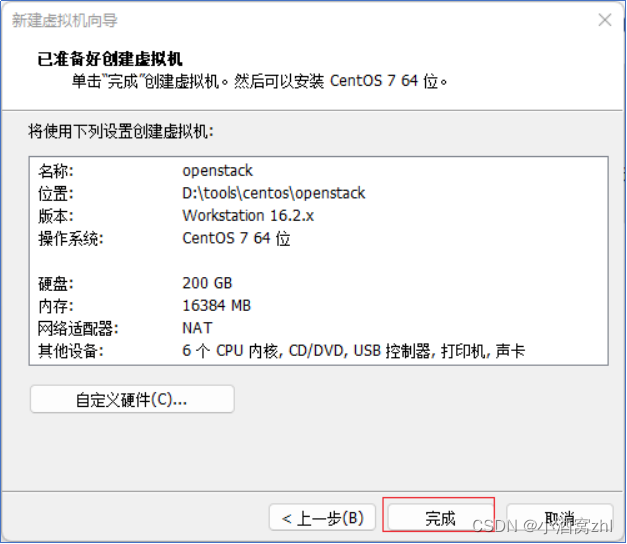
1. 创建虚拟机


点击关闭

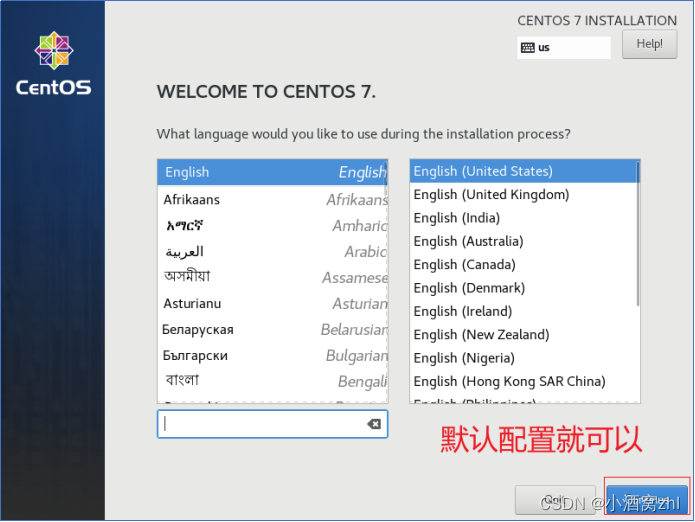
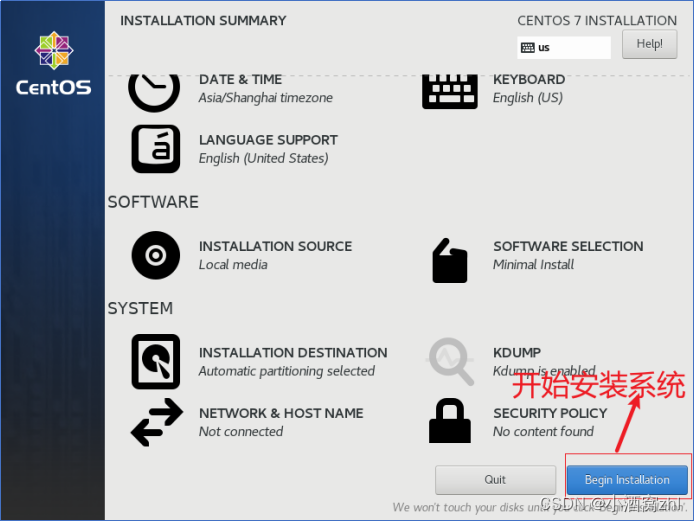
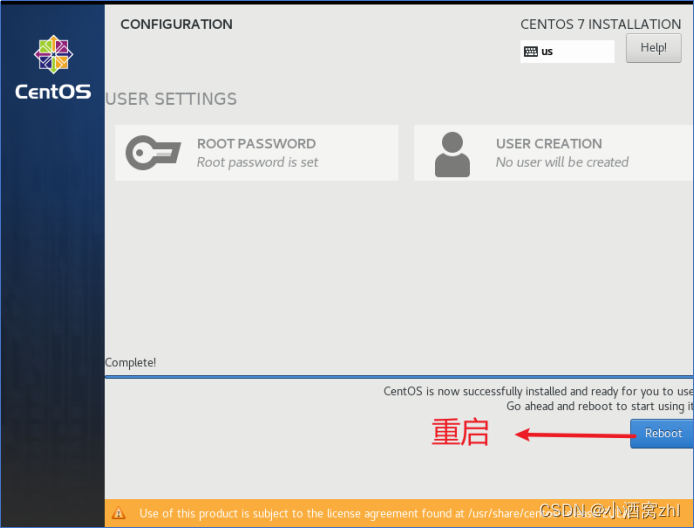
2.安装Centos7


密码自己设置,不用跟着一样


2.生成动态IP地址
| [root@localhost ~] dhclient |
3.查看生成的IP地址
| [root@localhost ~] ip addr |
4. 修改网络
| 进入到指定的目录 [root@localhost ~]# cd /etc/sysconfig/network-scripts/ [root@localhost network-scripts]# ls [root@localhost network-scripts]# vi ifcfg-ens33 |
修改完成后,退出保存就可以
5. 重启网卡
| [root@localhost network-scripts]# systemctl restart network #测试网络是否能连通 [root@localhost network-scripts]# ping www.baidu.com |
6. 禁止防火墙开机启动
| [root@localhost network-scripts]# systemctl disable firewalld |
7. 禁止SELinux
| [root@localhost network-scripts]# vi /etc/selinux/config |
重启系统
8. 停用NetWorkManager服务
| [root@localhost ~]# systemctl disable NetworkManager Removed symlink /etc/systemd/system/multi-user.target.wants/NetworkManager.service. Removed symlink /etc/systemd/system/dbus-org.freedesktop.nm-dispatcher.service. Removed symlink /etc/systemd/system/network-online.target.wants/NetworkManager-wait-online.service. [root@localhost ~]# [root@localhost ~]# systemctl stop NetworkManager [root@localhost ~]# systemctl enable network network.service is not a native service, redirecting to /sbin/chkconfig. Executing /sbin/chkconfig network on [root@localhost ~]# systemctl start network |
9. 修改主机名以及映射
| [root@localhost ~]# hostnamectl set-hostname node-a [root@localhost ~]# [root@localhost ~]# vi /etc/hosts [root@localhost ~]# [root@localhost ~]# |
在文件结尾添加如下内容
| 192.168.32.131 node-a node-a.localdomain |
使用ping命令测试
| [root@localhost ~]# ping node-a PING node-a (192.168.32.131) 56(84) bytes of data. 64 bytes from node-a (192.168.32.131): icmp_seq=1 ttl=64 time=0.011 ms 64 bytes from node-a (192.168.32.131): icmp_seq=2 ttl=64 time=0.023 ms |
10. 安装时间同步软件
| [root@localhost ~]# yum install -y chrony |
11. 添加NTP服务地址
| [root@localhost ~]# vi /etc/chrony.conf |
添加如下内容
| server ntp1.aliyun.com iburst |
12. 准备所需的软件库
| [root@localhost ~]# yum -y update |
| [root@localhost ~]# yum -y install centos-release-openstack-train |
13. 安装packstack安装器
| [root@localhost ~]# yum -y update |
| [root@localhost ~]# yum -y install openstack-packstack |
14. 运行packstack安装OpenStack
| [root@localhost ~]# packstack --allinone |
查看当前安装版本
| [root@localhost ~]# nova-manage --version 20.6.0 |
整个安装过程完成。
本文内容由网友自发贡献,版权归原作者所有,本站不承担相应法律责任。如您发现有涉嫌抄袭侵权的内容,请联系:hwhale#tublm.com(使用前将#替换为@)