一、腾讯云配置
1.购买COS,新人可以1元购相当于白嫖

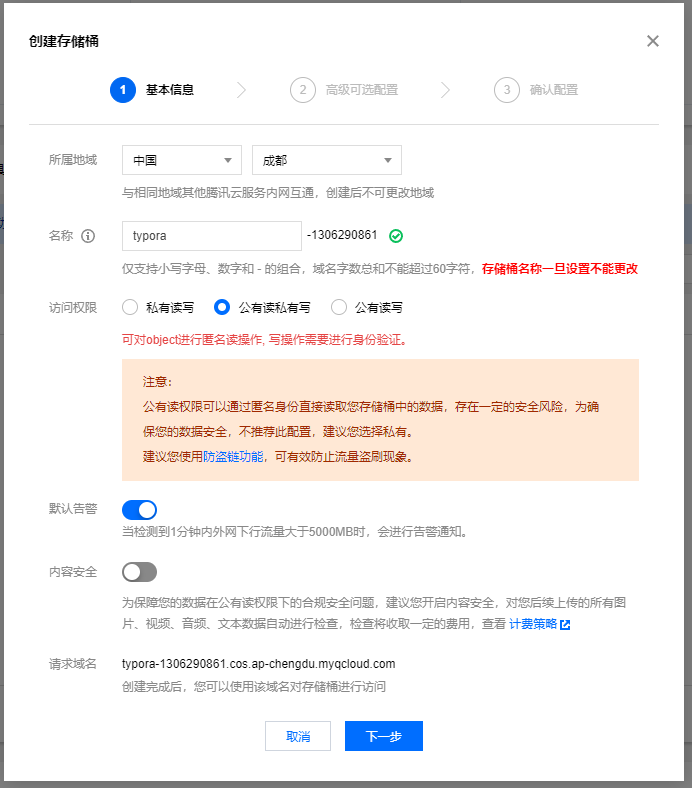
2.前往对象存储页面创建存储桶
访问腾讯云对象存储COS的控制台,进入存储桶列表页面
3.在存储桶中创建文件夹

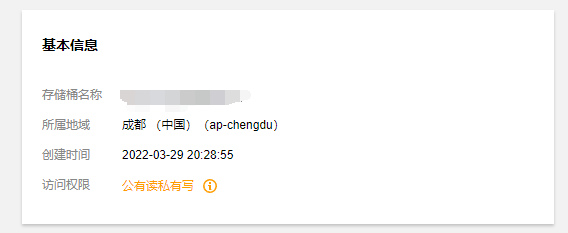
4.回到概览获取基本信息
5.获取用户密钥管理
点击【密钥管理】->【API密钥】->【新建密钥】

二、配置PicGo
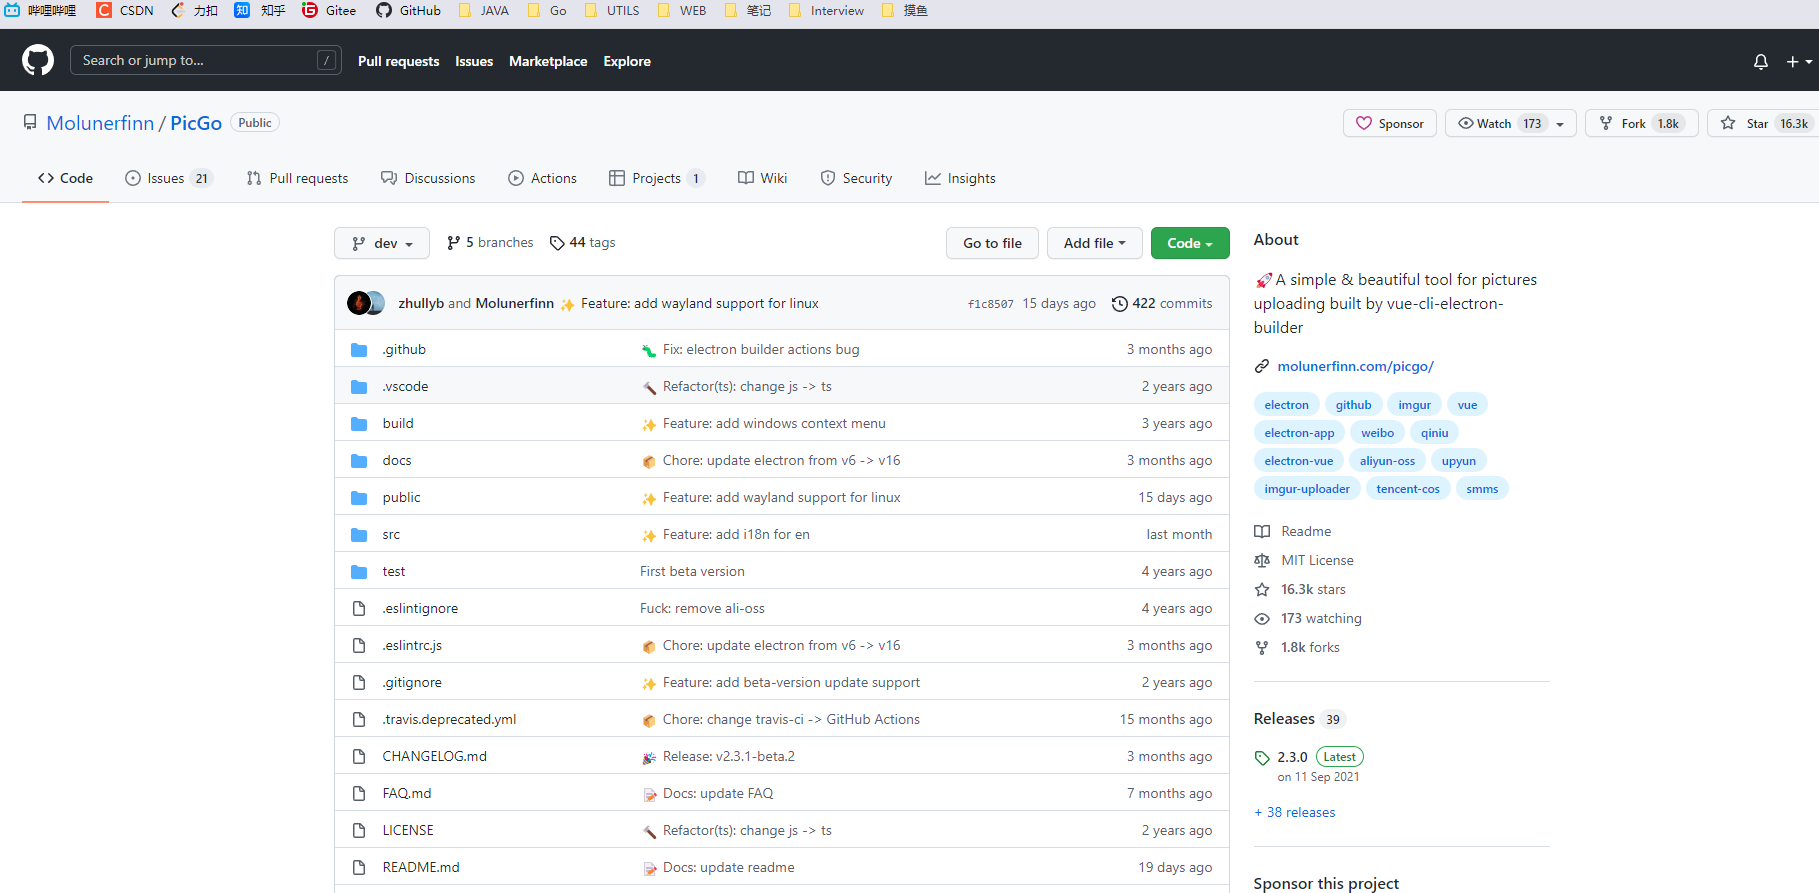
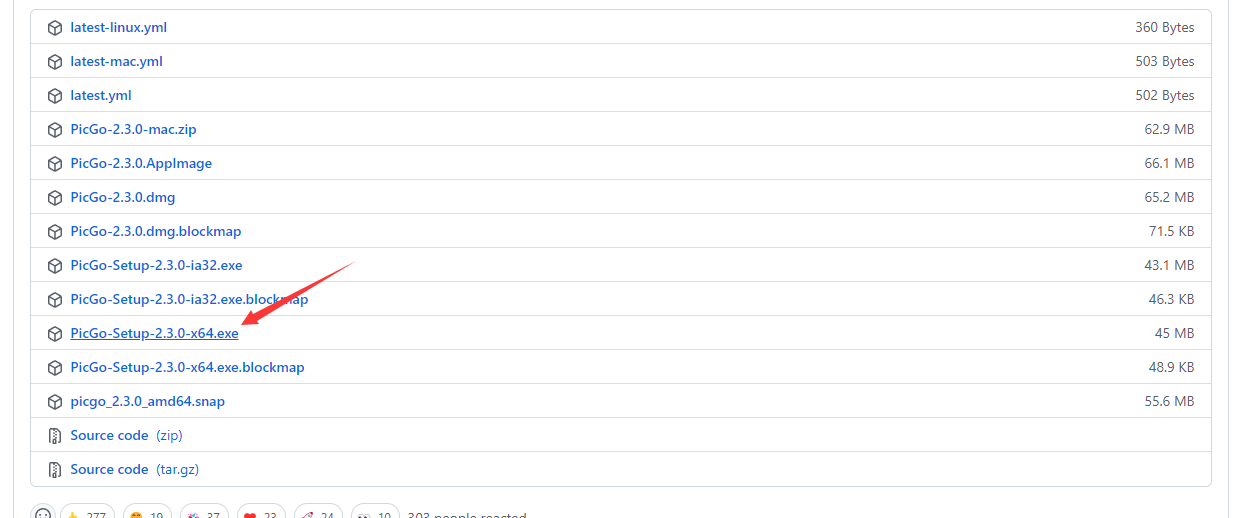
1.下载安装PicGo
国内用户如果慢可以使用山东大学的镜像下载
2.配置PicGo
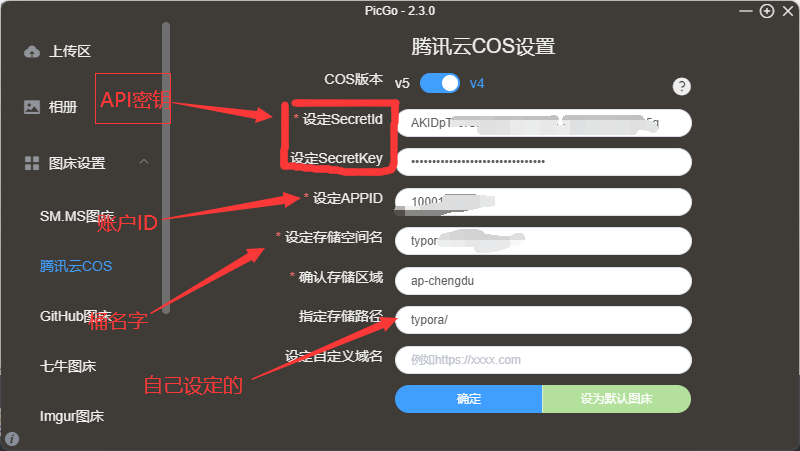
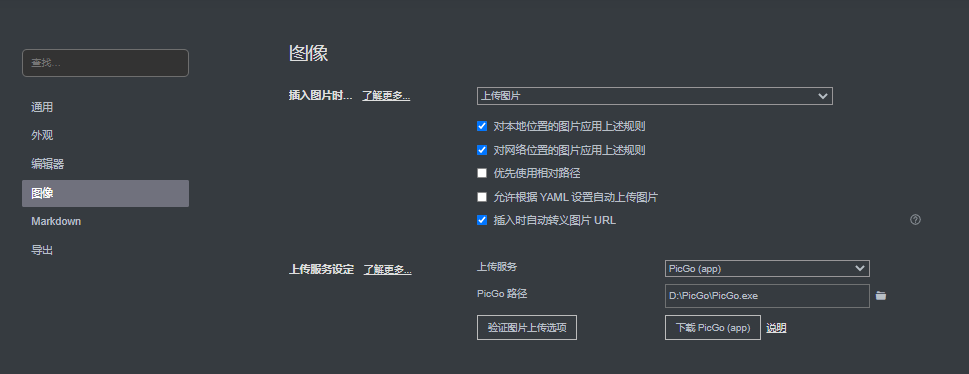
三、typora配置PicGo自动上传
【文件】-> 【偏好设置】->【图像】
四、报错解决
1.上传失败
我刚安装时遇到过上传失败然后可以查看C:\Users\你的用户名\AppData\Roaming\picgo\data.json(Windows用户)我的是tcyun中的那个配置里面version是v4你修改为v5然后重启就行
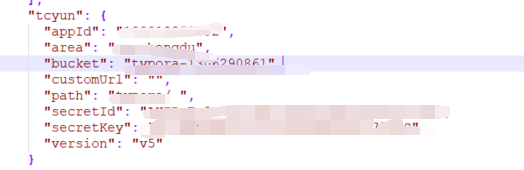
修改为v5然后重启就行