Wsl2-Ubuntu安装
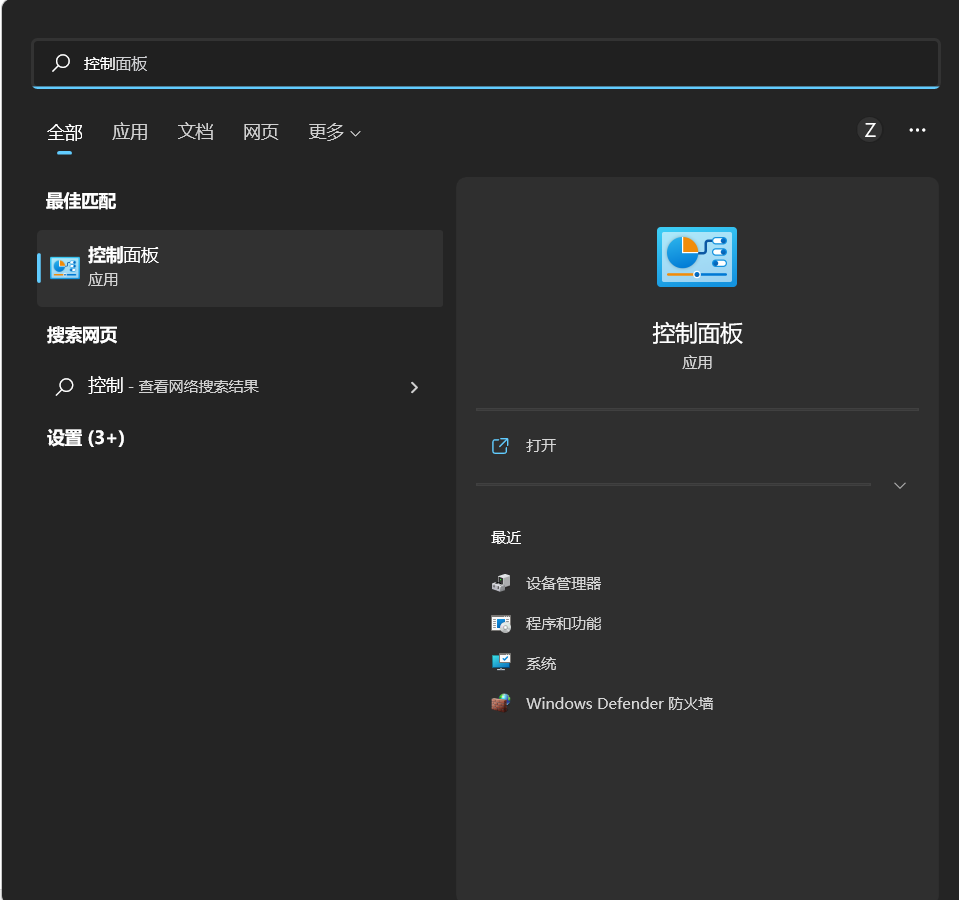
1、在windows搜索控制面板,并打开控制面板
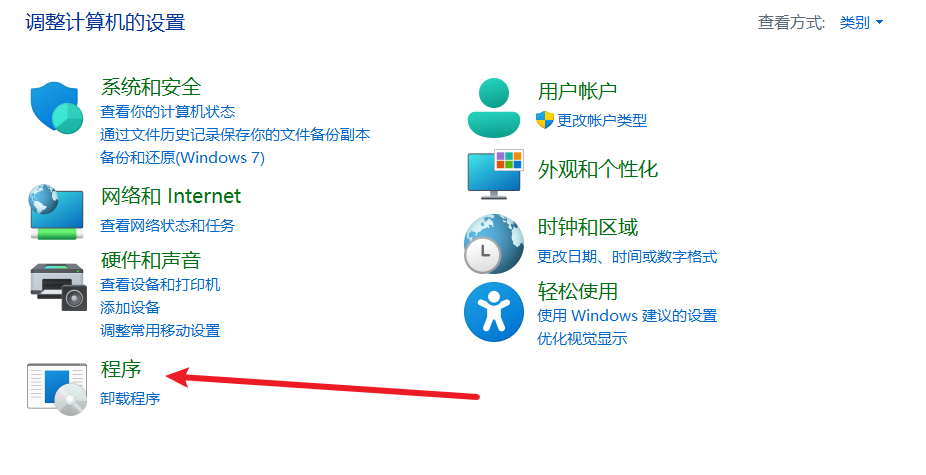
2、选择程序
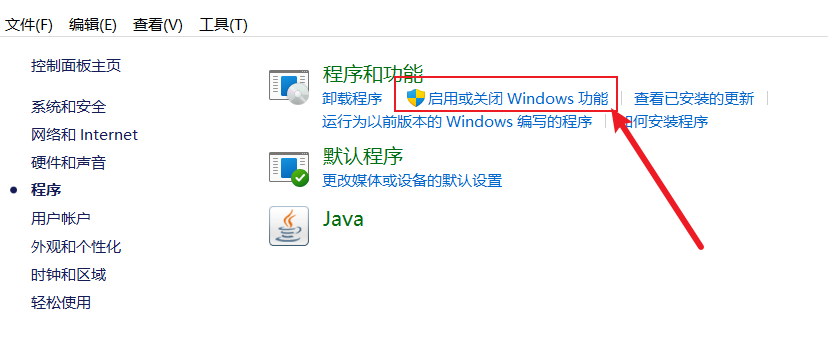
3、选择启动或关闭Windows功能选项
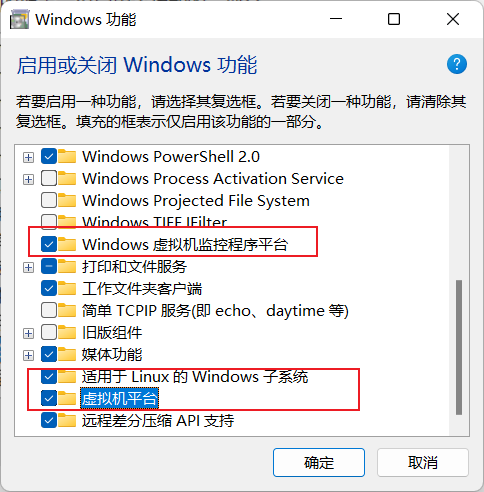
4、勾选下图框住的三个选项,点击确定。
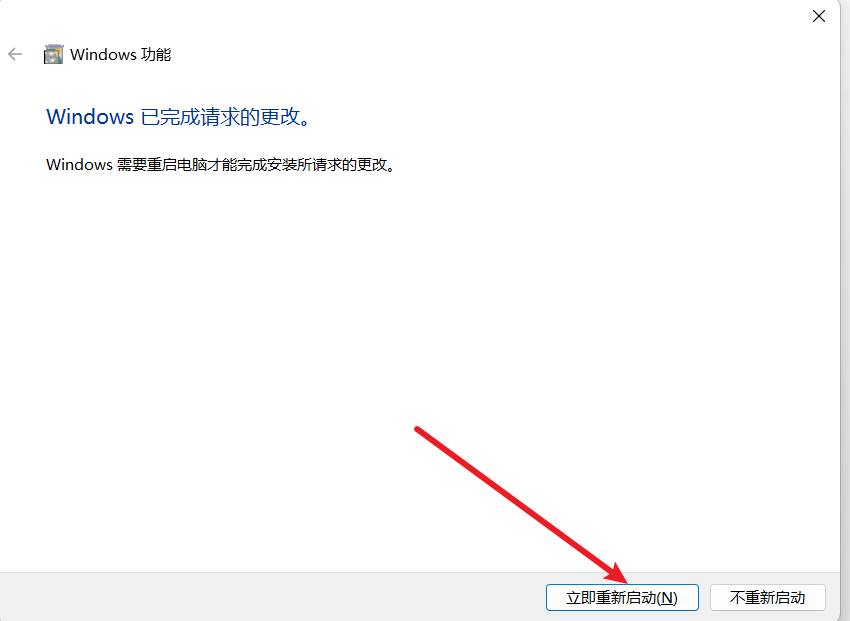
5、选择立即重启,等待重启。
6、更新Wsl
必须更新,不然会报错
在powershell中执行下列命令
❯ wsl --set-default-version 2
有关与 WSL 2 的主要区别的信息,请访问 https://aka.ms/wsl2
操作成功完成。
❯ wsl --update
正在检查更新...
无更新使用。
内核版本: 5.10.102.1
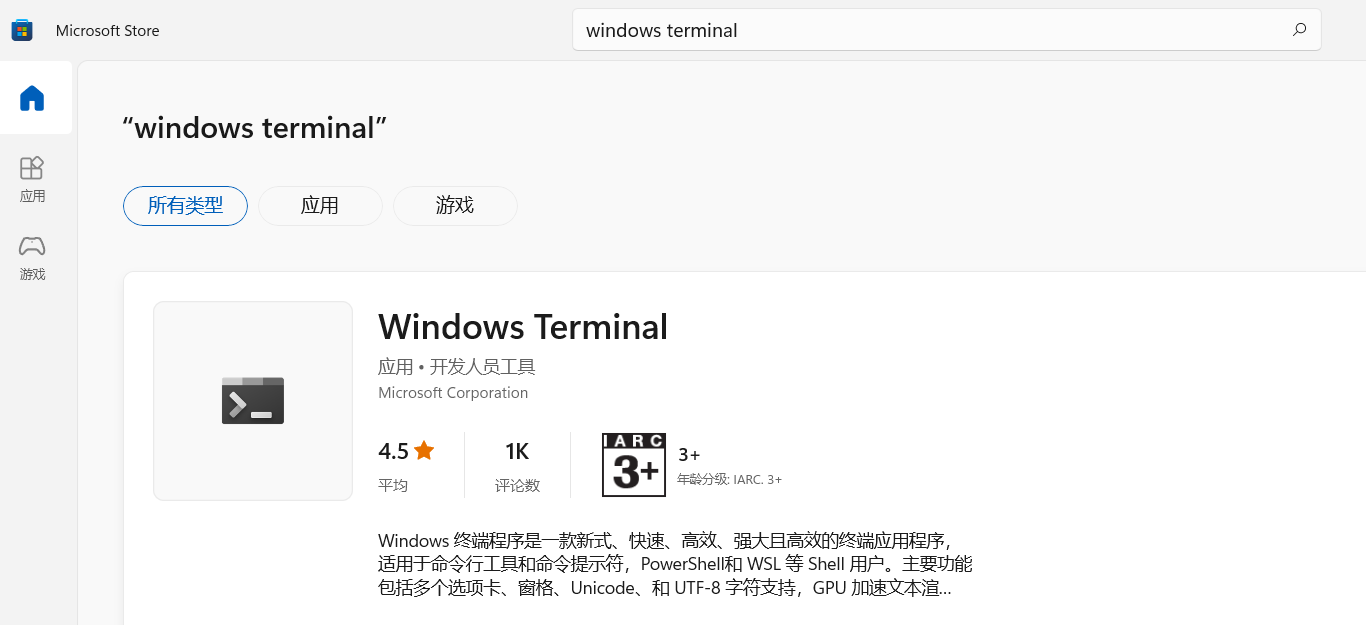
7、安装windows terminal
windows 11在应用商店直接搜索安装
8、安装wsl-ubuntu-1804
-
点击此处下载 wsl-ubuntu-1804 独立安装版
-
下载后文件如下:

-
修改后缀为.zip,并解压到非系统盘(安装时文件系统会生成在解压后的目录里面,因此选择一个容量较大的盘,避免后期扩容)

-
双击安装程序
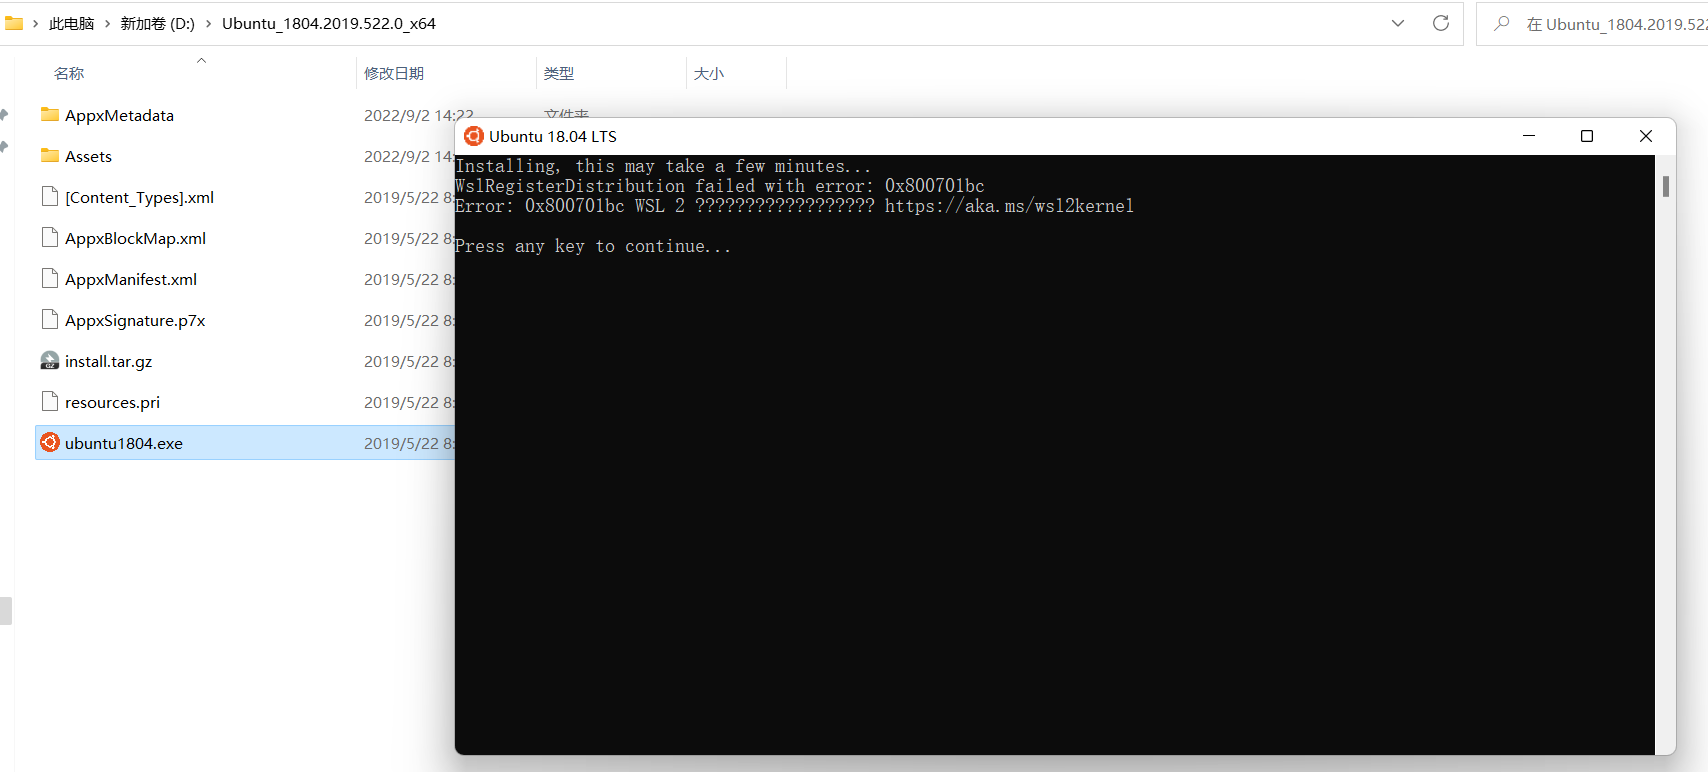
title:出现问题
~~~
Installing, this may take a few minutes...
WslRegisterDistribution failed with error: 0x800701bc
Error: 0x800701bc WSL 2 ?????????????????? https://aka.ms/wsl2kernel

Press any key to continue...
~~~
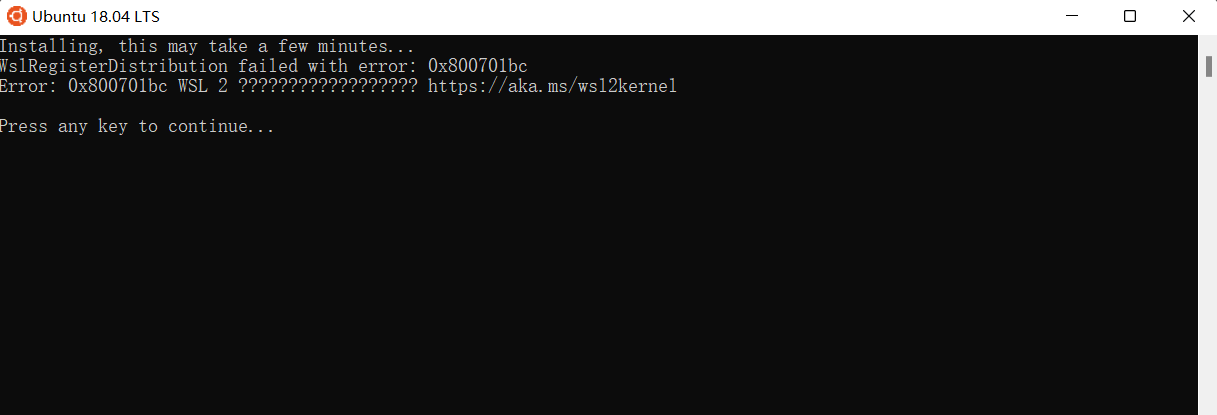
出现原因:未执行第6步更新wsl
解决办法:
1、使用快捷键win+X,选择Windows终端管理员
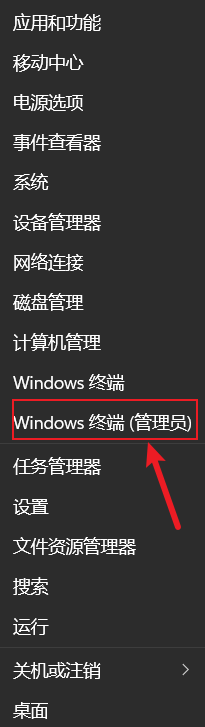
输入wsl --update并执行,在输入wsl --shutdown
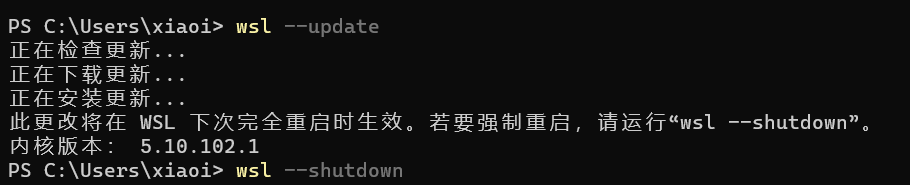
成功解决
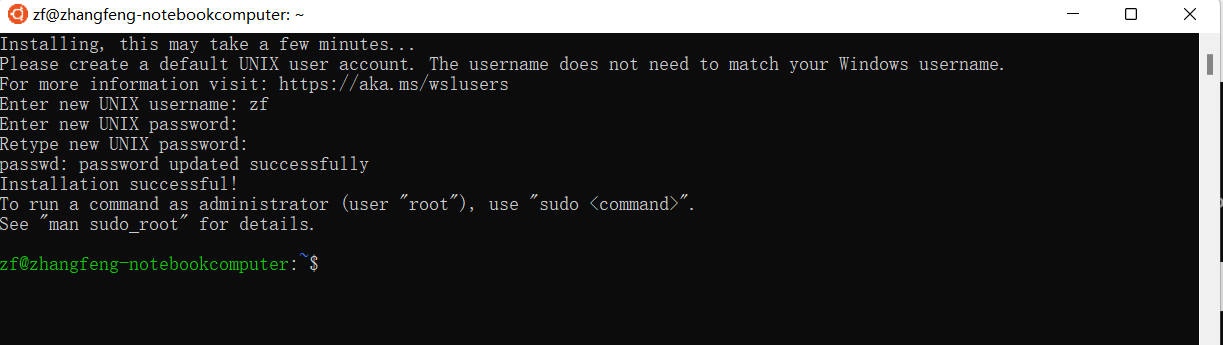
- 设置用户名和密码就可以使用了
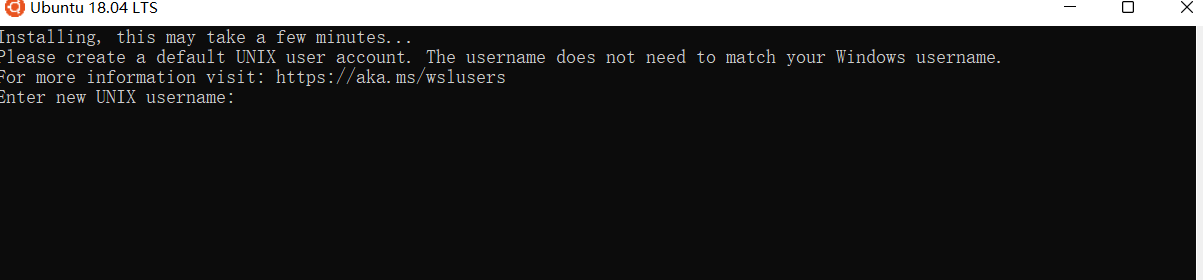
打开Ubuntu,在设置默认帐号密码时,可能会遇到了如下问题:
Installing, this may take a few minutes... The attempted operation is not supported for the type of object referenced. Please create a default UNIX user account. The username does not need to match your Windows username. For more information visit: https://aka.ms/wslusers
Enter new UNIX username:
中文版报错应该是:参考的对象类型不支持尝试的操作。
解决方案二选一:
- 关闭所有VPN,或基于VPN原理的各种加速器(比如UU加速器),然后命令行或者PowerShell中运行netsh winsock reset
- 使用https://www.proxifier.com/tmp/Test20200228/NoLsp.exe中提供的可执行文件,在命令行或PowerShell中运行NoLsp.exe C:\windows\system32\wsl.exe
- 在设置完成后,我进入Ubuntu,发现已经错过新用户添加的步骤了,只能默认以root用户登录;因此需要手动添加用户:
以下命令在Ubuntu下以root用户执行:
adduser zf
然后按照提示输入密码与详细信息即可;
用户创建完成后,需要在PowerShell中再修改一下默认登陆的用户:
ubuntu config --default-user zf
重新登陆Ubunbu,即是默认使用zf用户登陆的状态;
9、打开安装好的windows terminal
- 点击标签栏的向下箭头
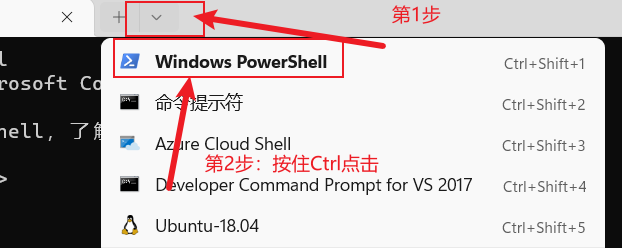
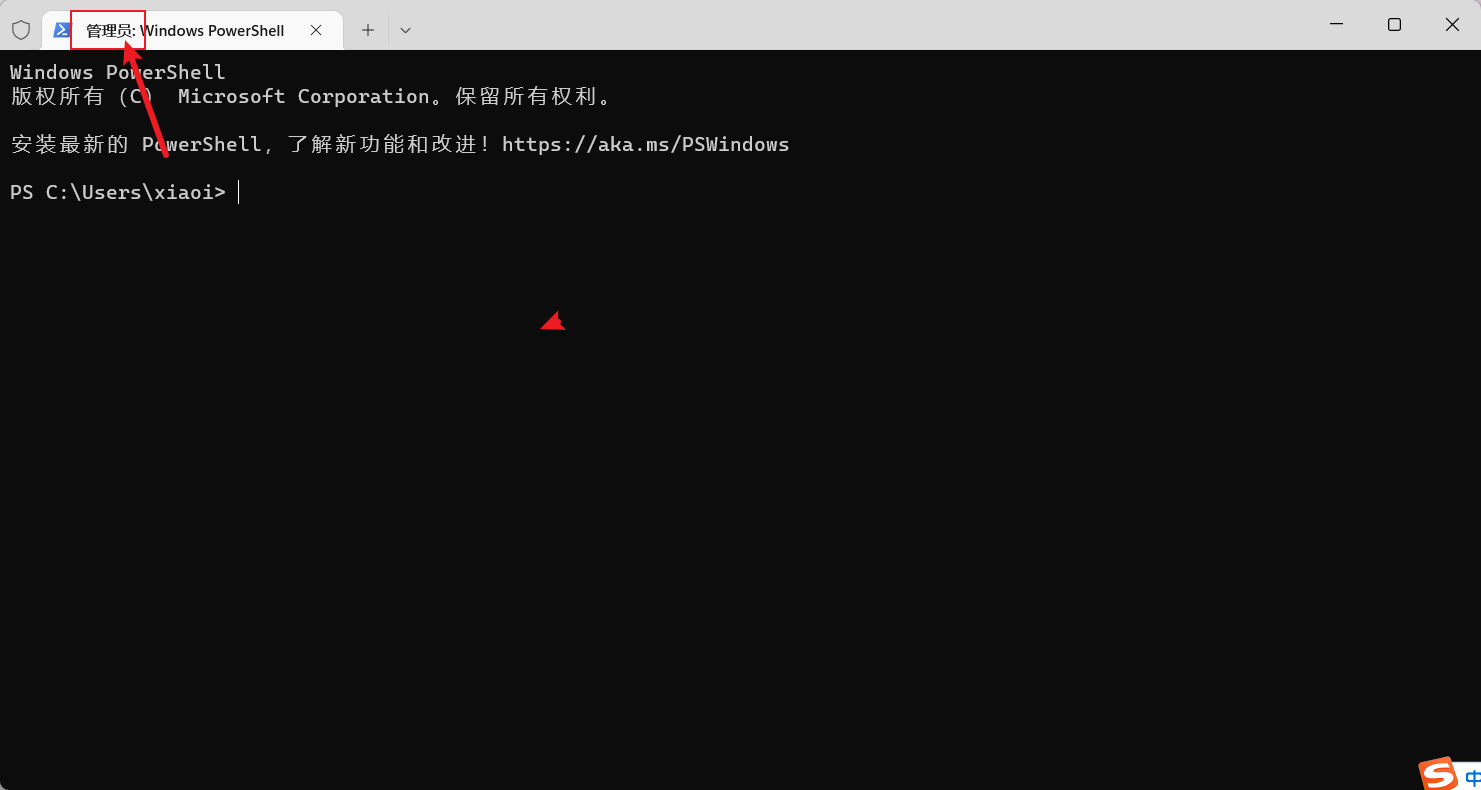
2. 标签上出现管理员,代表成功
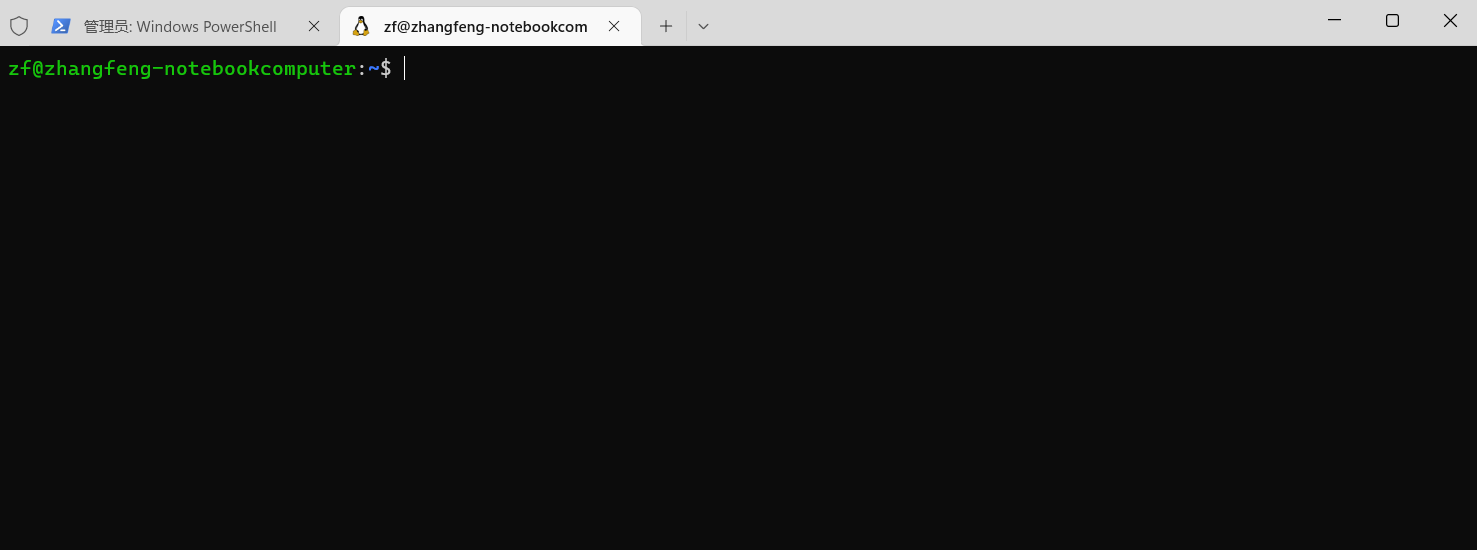
- 在下拉菜单中选择Ubuntu-18.04

10、配置启动时生成自定义域名
使用vim在ubuntu18.04上创建/etc/inithost.sh,填入如下内容,并修改权限chmod +x /etc/inithost.sh

#!/bin/bash
params=$1
ip_addr=$(ip addr | grep eth0 |grep inet | awk '{print $2}' | cut -d / -f 1)
if [ -z ${params} ]
then
system_name="zf"
else
system_name=${params}
fi
echo "host name = $host_name"
host_name=$system_name'.wsl'
host_path=/mnt/c/Windows/System32/drivers/etc/hosts
lineNo=$(nl -b a $host_path | grep $host_name | awk '{print $1}')
for line in $lineNo
do
echo '原Host位置:'$line
sed -i $line'd' $host_path
sed -i $line'd' $host_path
done
echo $ip_addr' '$host_name >> $host_path
echo "Print Windows HOSTS Contents:"$(nl $host_path | grep $host_name)
echo 'Print WSL IP Addr: '$ip_addr
echo lsrj | sudo -S service ssh restart
echo lsrj | sudo -S service smbd restart
11、在Window上创建启动脚本startLinux.vbs
将其放在C:\Windows\System32\目录中,内容如下:
Set ws = WScript.CreateObject("WScript.Shell")
ws.run "wsl -d Ubuntu-18.04 -u root /etc/inithost.sh"
其目的在于,可以在window terminal中powershell中执行startLinux.vbs脚本,来启动wsl-ubuntu18.04,并且执行ubuntu18.04上的脚本/etc/inithost.sh来生成本地域名。
12、windows terminal powershell中执行startLinux.vbs脚本,来启动wsl-ubuntu18.04
❯ startLinux.vbs
如下,执行完startLinux.vbs后,会分发ubuntu-18.04,并且会执行/etc/inithost.sh脚本,在C:\Windows\System32\drivers\etc\hosts文件的末尾生成一个自定义的域名zf.wsl与 wsl-ubuntu18.04 的 IP 172.20.38.112对应。这样即可使用自定义域名访问wsl。
# Copyright (c) 1993-2009 Microsoft Corp.
#
# This is a sample HOSTS file used by Microsoft TCP/IP for Windows.
#
# This file contains the mappings of IP addresses to host names. Each
# entry should be kept on an individual line. The IP address should
# be placed in the first column followed by the corresponding host name.
# The IP address and the host name should be separated by at least one
# space.
#
# Additionally, comments (such as these) may be inserted on individual
# lines or following the machine name denoted by a '#' symbol.
#
# For example:
#
#      102.54.94.97     rhino.acme.com          # source server
#       38.25.63.10     x.acme.com              # x client host

# localhost name resolution is handled within DNS itself.
#   127.0.0.1       localhost
#   ::1             localhost
172.16.1.58         pms.wwlihe.cn
172.20.38.112 zf.wsl
ubuntu18.04 的 IP 如下:
❯ ifconfig
eth0: flags=4163<UP,BROADCAST,RUNNING,MULTICAST>  mtu 1500
        inet 172.20.38.112  netmask 255.255.240.0  broadcast 172.20.47.255
        inet6 fe80::215:5dff:fe66:1308  prefixlen 64  scopeid 0x20<link>
        ether 00:15:5d:66:13:08  txqueuelen 1000  (Ethernet)
        RX packets 3502  bytes 740817 (740.8 KB)
        RX errors 0  dropped 0  overruns 0  frame 0
        TX packets 2355  bytes 435385 (435.3 KB)
        TX errors 0  dropped 0 overruns 0  carrier 0  collisions 0

lo: flags=73<UP,LOOPBACK,RUNNING>  mtu 65536
        inet 127.0.0.1  netmask 255.0.0.0
        inet6 ::1  prefixlen 128  scopeid 0x10<host>
        loop  txqueuelen 1000  (Local Loopback)
        RX packets 8  bytes 480 (480.0 B)
        RX errors 0  dropped 0  overruns 0  frame 0
        TX packets 8  bytes 480 (480.0 B)
        TX errors 0  dropped 0 overruns 0  carrier 0  collisions 0
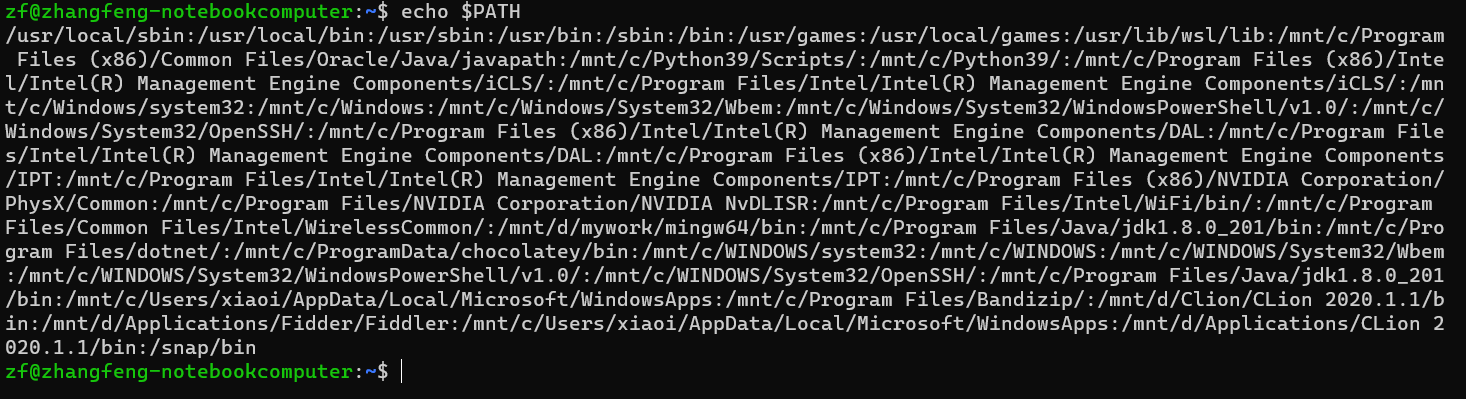
13、删除环境变量中的windows目录路径
如下,ubuntu18.04中的环境变量带有windows路径,有些路径带有空格,可能会导致某些项目,如openwrt编译失败。
$ echo $PATH
/home/shelmean/bin:/home/shelmean/.local/bin:/home/shelmean/.nvm/versions/node/v16.14.2/bin:/usr/local/sbin:/usr/local/bin:/usr/sbin:/usr/bin:/sbin:/bin:/usr/games:/usr/local/games:/usr/lib/wsl/lib:/mnt/c/Program Files (x86)/VMware/VMware Workstation/bin/:/mnt/c/WINDOWS/system32:/mnt/c/WINDOWS:/mnt/c/WINDOWS/System32/Wbem:/mnt/c/WINDOWS/System32/WindowsPowerShell/v1.0/:/mnt/c/WINDOWS/System32/OpenSSH/:/mnt/c/Program Files/Git/cmd:/mnt/c/Program Files/usbipd-win/:/mnt/c/Users/Shelmean/AppData/Local/Microsoft/WindowsApps:/mnt/c/Users/Shelmean/AppData/Local/Programs/Microsoft VS Code/bin:/snap/bin
- 环境变量去掉windows路径
ubuntu18.04在 /etc/ 下创建一个名叫 wsl.conf 的文件,添加如下内容后
sudo vim /etc/wsl.conf
[interop]
enabled = false
appendWindowsPath = false
-
重启wsl

-
重启wsl后的效果:
$ echo $PATH
/home/shelmean/bin:/home/shelmean/.local/bin:/home/shelmean/.nvm/versions/node/v16.14.2/bin:/usr/local/sbin:/usr/local/bin:/usr/sbin:/usr/bin:/sbin:/bin:/usr/games:/usr/local/games:/snap/bin

参考文章:https://www.it610.com/article/1345924284807196672.htm
本文内容由网友自发贡献,版权归原作者所有,本站不承担相应法律责任。如您发现有涉嫌抄袭侵权的内容,请联系:hwhale#tublm.com(使用前将#替换为@)