一、环境工具准备
二、zxing-cpp 编译
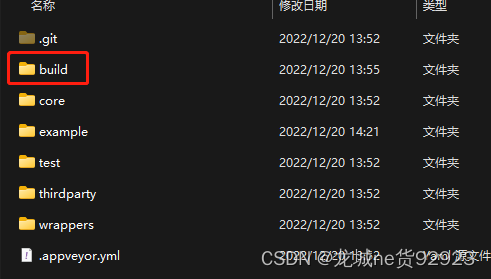
1. 源码目录下新建build文件夹存放构建目录
2. 使用cmake编译源码
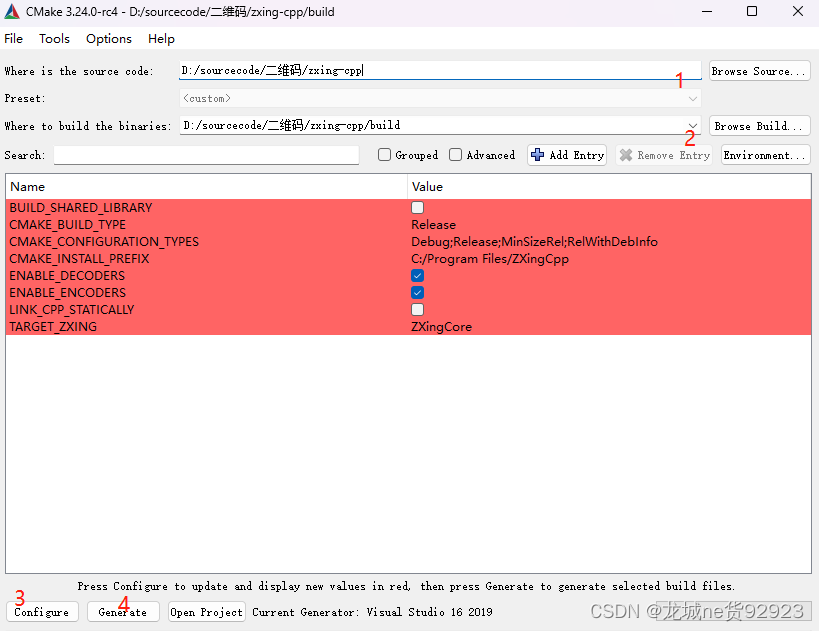
- 源码路径
- 构建目录
- 点击configure 选择 vs2019-》X64
- 点击Generate 在build目录下生成VS工程

- 用VS2019打开编译项目 生成lib库文件
build\core\Debug\ZXingCore.lib和 build\core\Realse\ZXingCore.lib
三、创建测试项目
1. VS2019创建控制台项目 TestZXing
2. 配置项目环境
- 准备zxing-cpp 头文件和lib库
- 新建
include 和 lib
- zxing-cpp项目中找出头文件:
BarcodeFormat.h BitMatrix.h ByteMatrix.h CharacterSet.h MultiFormatWriter.h stb_image.h stb_image_write.h TextUtfEncoding.h ZXConfig.h ZXStrConvWorkaround.h
- zxing-cpp中拷贝出生成的lib库:
build\core\Debug\ZXingCore.lib和 build\core\Realse\ZXingCore.lib

- 准备opencv4.2.0 头文件、dll、lib
opencv4.2.0 开发环境这里不做记录,有兴趣网上查找

- 项目配置
- 头文件包含目录:右键-》属性-》C/C+±》常规-》附加包含目录

- lib库目录:右键-》属性-》链接器-》常规-》附加库目录

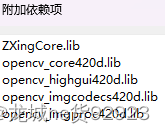
- lib库:右键-》属性-》链接器-》输入-》附加依赖项
3. 编写测试代码
#include "BarcodeFormat.h"
#include "MultiFormatWriter.h"
#include "BitMatrix.h"
#include "ByteMatrix.h"
#include "TextUtfEncoding.h"
#include "ZXStrConvWorkaround.h"

#include <iostream>
#include <cstring>
#include <string>
#include <algorithm>
#include <cctype>
#include <cstdlib>

#define STB_IMAGE_WRITE_IMPLEMENTATION
#include "stb_image_write.h"
using namespace ZXing;

#include<opencv2/opencv.hpp>
using namespace cv;


static inline std::string GetExtension(const std::string& path)
{
	auto fileNameStart = path.find_last_of("/\\");
	auto fileName = fileNameStart == std::string::npos ? path : path.substr(fileNameStart + 1);
	auto extStart = fileName.find_last_of('.');
	auto ext = extStart == std::string::npos ? "" : fileName.substr(extStart + 1);
	std::transform(ext.begin(), ext.end(), ext.begin(), [](unsigned char c) { return std::tolower(c); });
	return ext;
}

static inline void AddLogoToQRCodeImage(const std::string pngPath, const std::string logoPath)
{
	Mat srcQRCode = imread(pngPath);
	Mat srcLogo = imread(logoPath);
	Mat imageRoi = srcQRCode(Rect(srcQRCode.cols / 2 - srcLogo.cols / 2, srcQRCode.rows / 2 - srcLogo.rows / 2, srcLogo.cols, srcLogo.rows));
	Mat mask = imread(logoPath, 0);
	srcLogo.copyTo(imageRoi, mask);

	imwrite(pngPath, srcQRCode);
}

int main(int argc, char* argv[])
{
	int width = 500, height = 500;
	int margin = 10;    //空白
	int eccLevel = 8;	//纠错级别
	std::string format = "QR_CODE";
	std::string text = " {\"data\" : \"www.baidu.com\",\"type\" : \"1\"} ";
	std::string filePath = "./QrCode.png";
	std::string logoPath = "./logo.png";
	try {
		auto barcodeFormat = BarcodeFormatFromString(format);
		if (barcodeFormat == BarcodeFormat::FORMAT_COUNT)
			throw std::invalid_argument("Unsupported format: " + format);

		MultiFormatWriter writer(barcodeFormat);
		if (margin >= 0)
			writer.setMargin(margin);
		if (eccLevel >= 0)
			writer.setEccLevel(eccLevel);

		auto bitmap = writer.encode(TextUtfEncoding::FromUtf8(text), width, height).toByteMatrix();

		auto ext = GetExtension(filePath);
		int success = 0;
		if (ext == "" || ext == "png") {
			success = stbi_write_png(filePath.c_str(), bitmap.width(), bitmap.height(), 1, bitmap.data(), 0);
		}
		else if (ext == "jpg" || ext == "jpeg") {
			success = stbi_write_jpg(filePath.c_str(), bitmap.width(), bitmap.height(), 1, bitmap.data(), 0);
		}

		if (!success) {
			std::cerr << "Failed to write image: " << filePath << std::endl;
			return -1;
		}
	}
	catch (const std::exception& e) {
		std::cerr << e.what() << std::endl;
		return -1;
	}

	AddLogoToQRCodeImage(filePath, logoPath);
	return 0;
}
四、完整源码
https://download.csdn.net/download/u011780419/87326616?spm=1001.2014.3001.5503