安装Anaconda
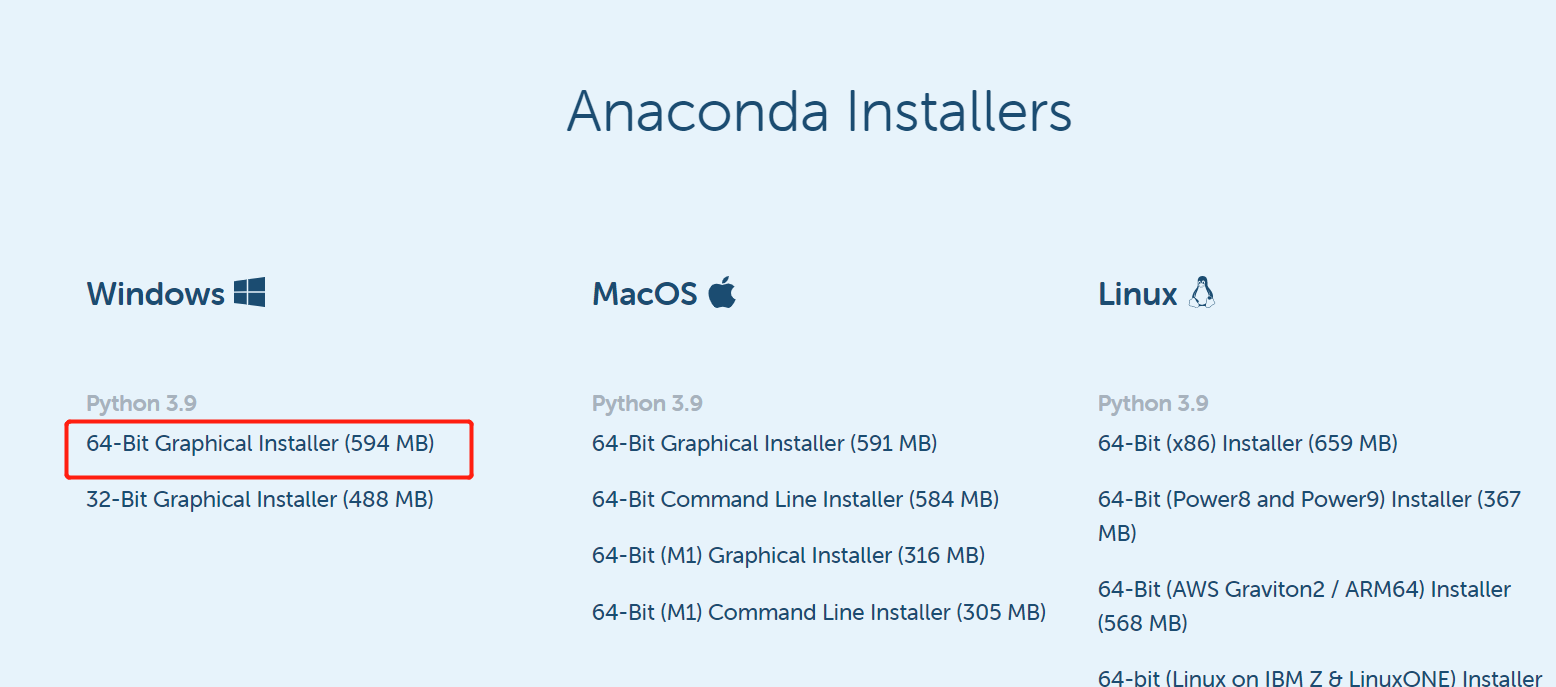
下载64位的版本
下载地址:Free Download | Anaconda

点击Windows徽标后,页面会往下滚动,选择64位的安装包。
安装步骤截图
第一步:
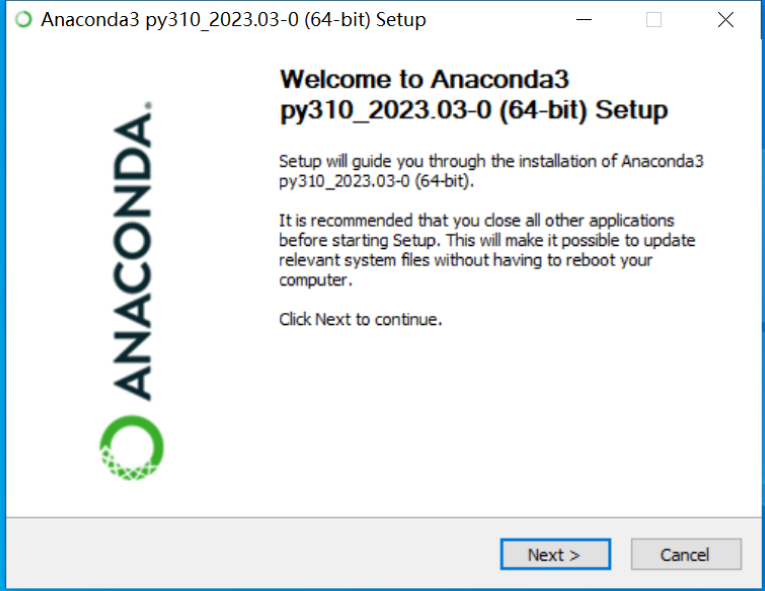
点击“Next”
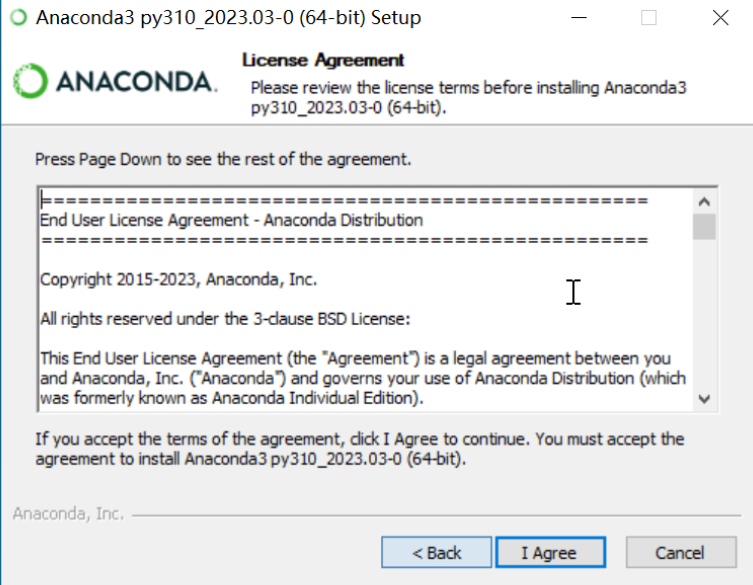
点击“I Agree”
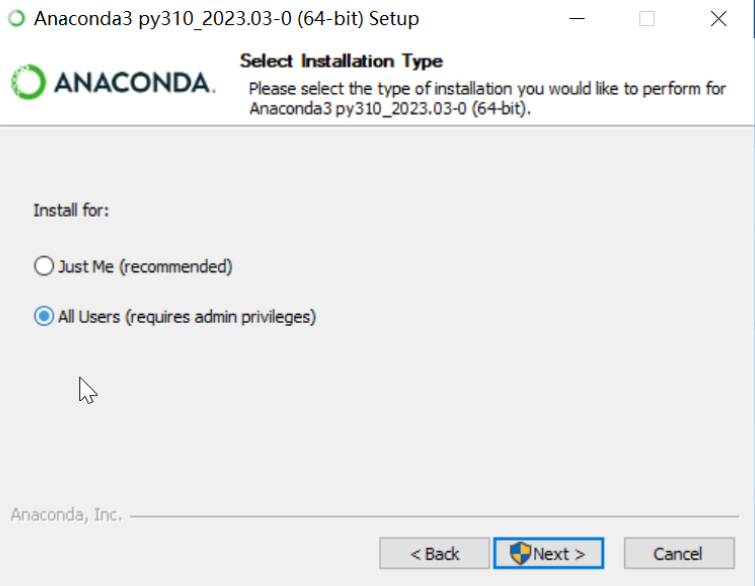
选择“All Users(requires admin privileges)”,点击“Next”
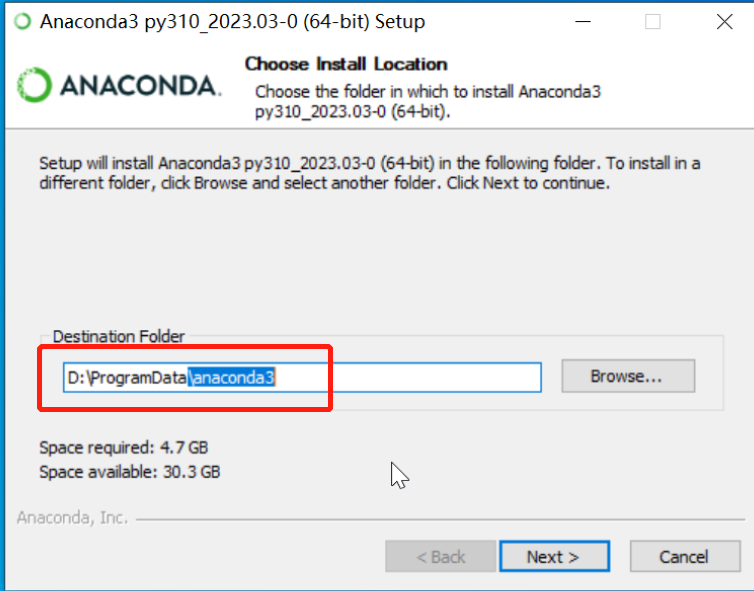
不要安装到C盘,修改完路径后点击“Next”
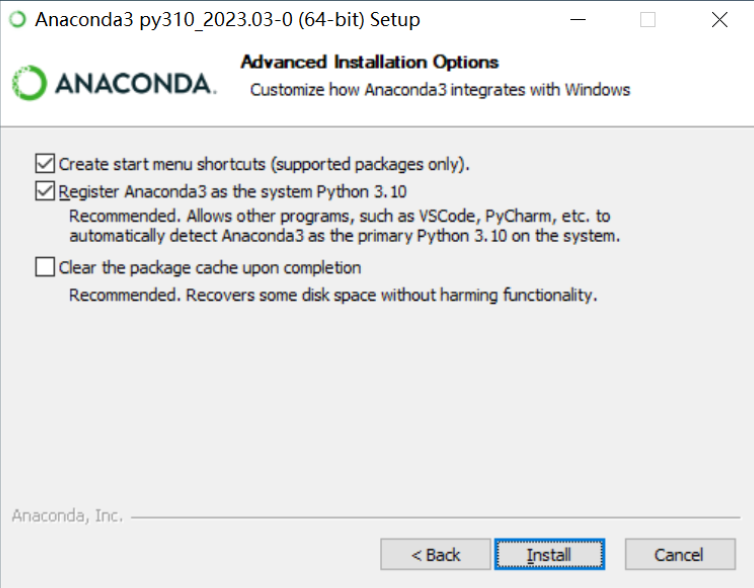
勾选上面两个就行,然后点击“Install”
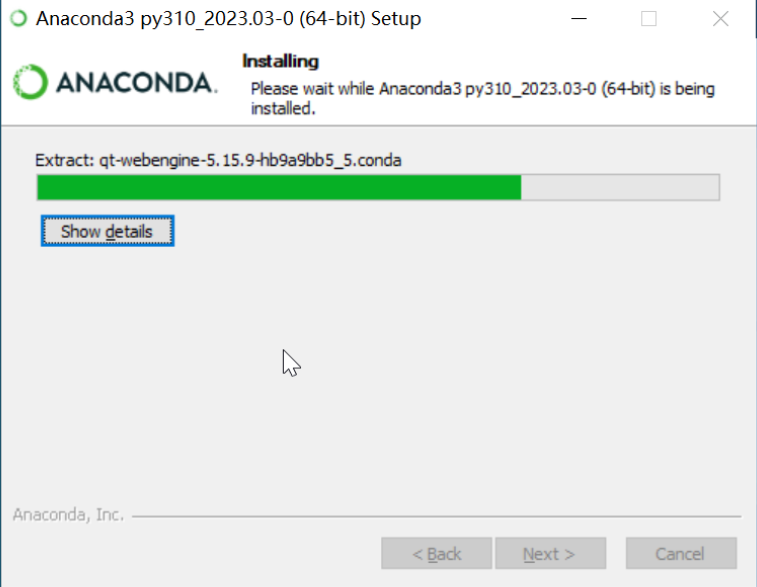
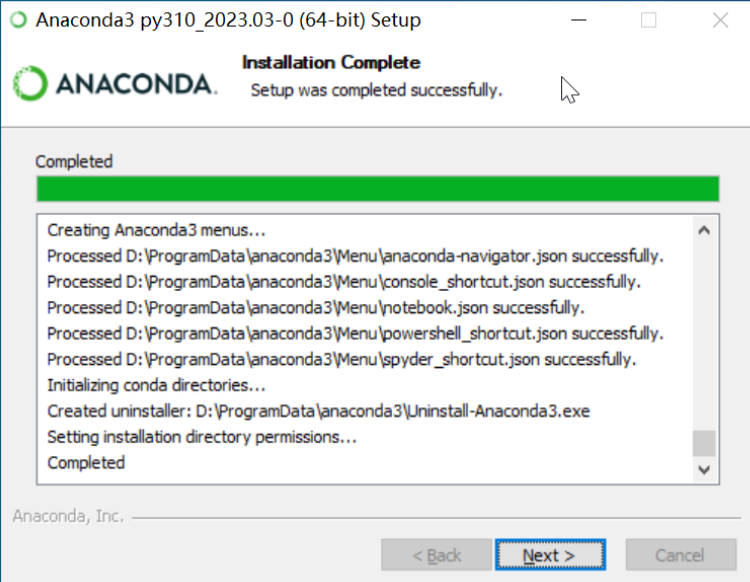
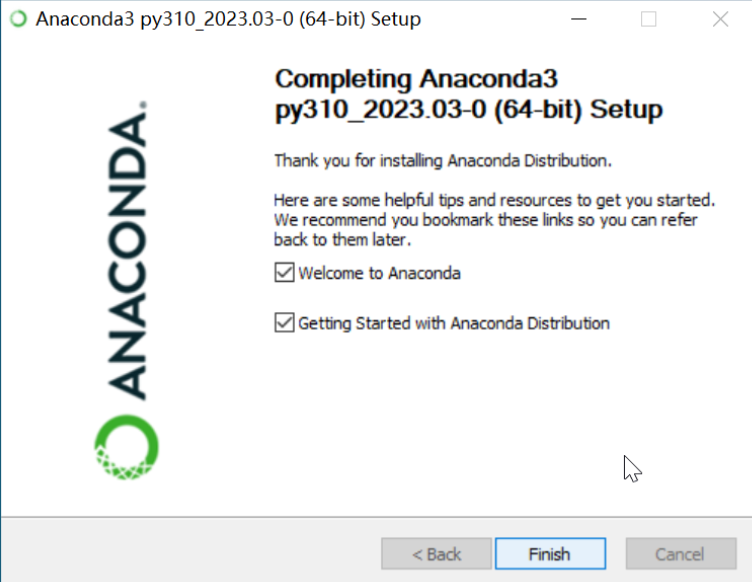
安装完成
安装完成,验证一下:
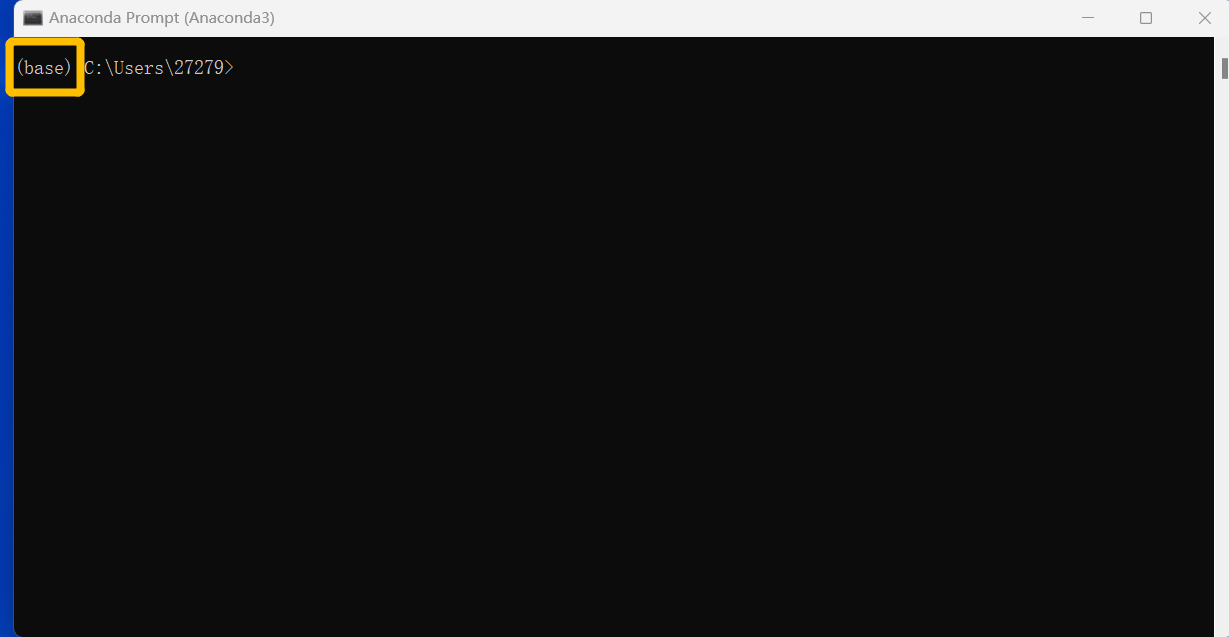
从开始菜单找到Anaconda的目录,点击Anaconda Prompt(Anaconda3)
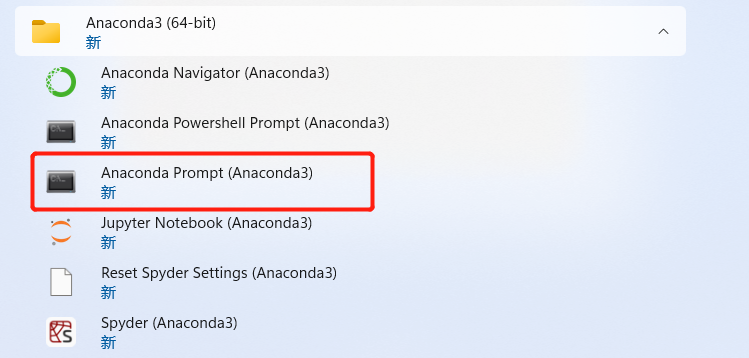
只要前面出现(base)就说明安装成功了
命令行输入python,然后回车,就可以看到python的版本了。
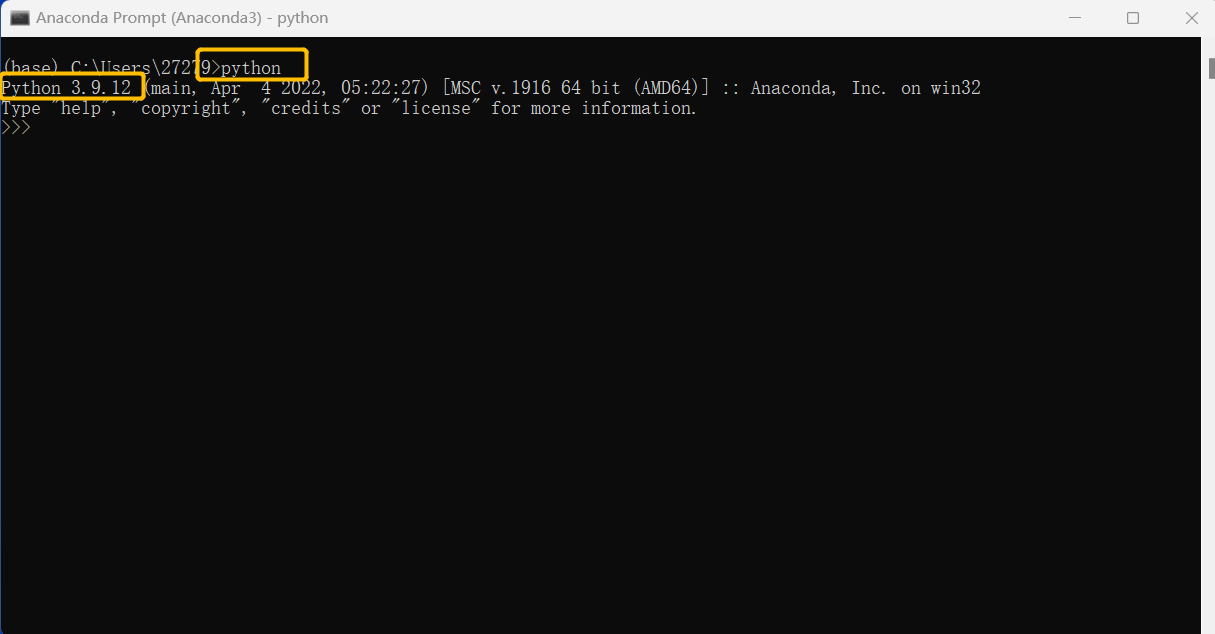
OK,表示Anaconda安装成功了。
pip不是内部或外部命令的问题
Anaconda安装后cmd窗口下输入conda list显示conda不是内部或者外部命令的解决办法
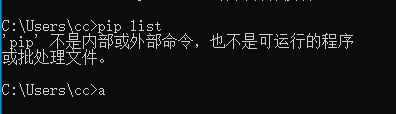
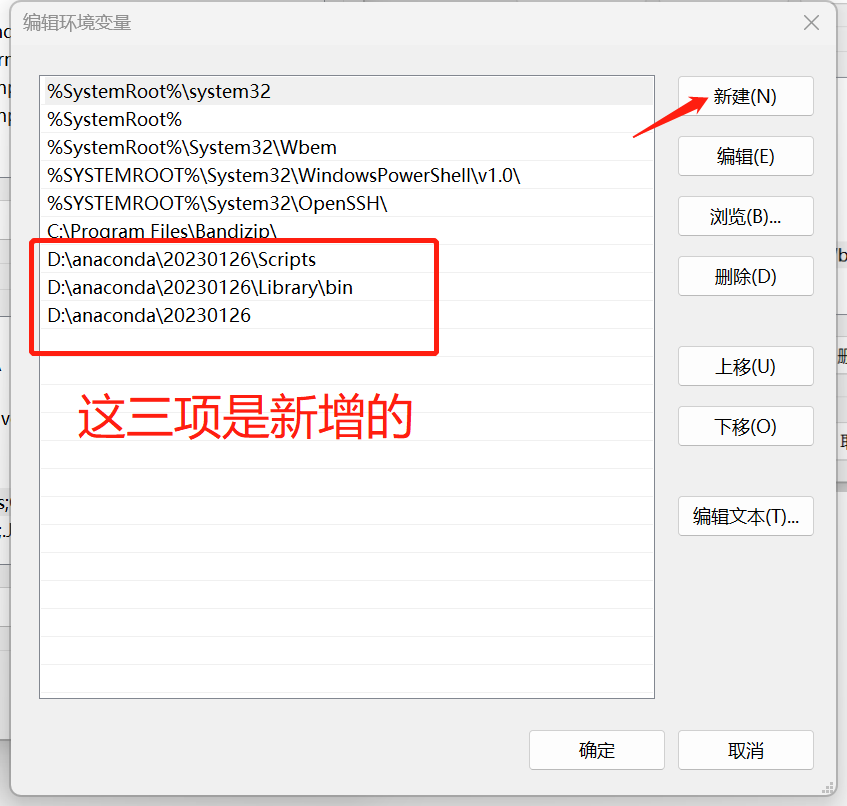
遇到这种问题,就按照下面链接进行操作,在环境变量中增加3个路径就解决了。
Anaconda安装后cmd窗口下输入conda list显示conda不是内部或者外部命令的解决办法_为什么安装anaconda后,在cmd显示不出来_JoelinJL的博客-CSDN博客
环境变量中增加Scripts、Library\bin和Anaconda3的路径。
matplotlib的配置
可能出现修改完无法保存的情况,这时候可以把matplotlibrc文件复制到其他地方进行修改,修改完保存后再复制进来,进行覆盖。
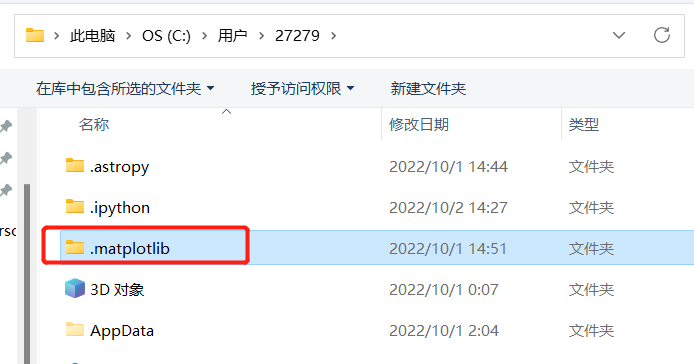
在Jupyter Notebook中输入命令,查找matplotlib所在的文件夹。

找到这个文件
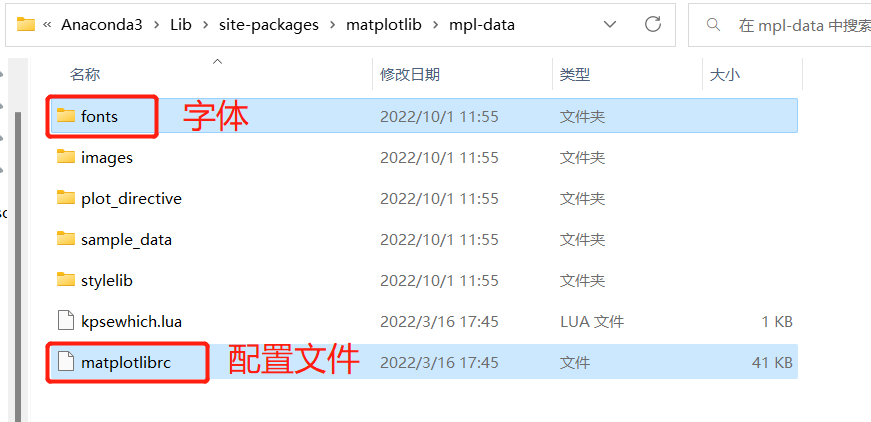
用记事本打开配置文件进行编辑。
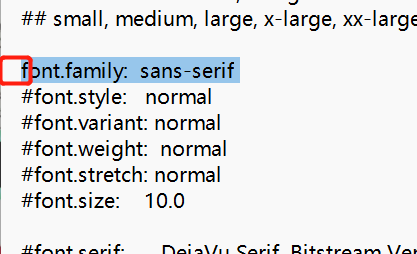
1、去掉“font.family: sans-serif”前面的#
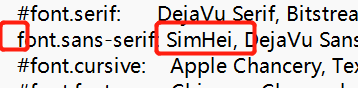
2、去掉“font.sans-serif:”前面的#,并且增加中文字体SimHei,
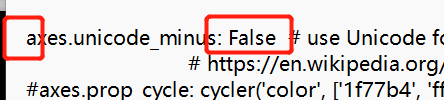
3、把“axes.unicode_minus”前面的#去掉,把后面的True改成False
4、从网上下载个字体放到fonts文件夹下的ttf文件夹即可

字体下载地址:
SimHei免费字体下载页 - 英文字体免费下载尽在字体家
5、去C盘找到缓存的目录给删掉