上机 Qt5.14.2 编程应用
关于QT
Qt是一个1991年由Qt Company开发的跨平台C++图形用户界面应用程序开发框架。它既可以开发GUI程序,也可用于开发非GUI程序,比如控制台工具和服务器。Qt是面向对象的框架,使用特殊的代码生成扩展(称为元对象编译器(Meta Object Compiler, moc))以及一些宏,Qt很容易扩展,并且允许真正地组件编程。
QT安装
通过Ubuntu进行安装:
打开https://mirrors.tuna.tsinghua.edu.cn/qt/archive/qt/5.14/5.14.2/
下载完成后,执行命令:
$ chmod a+x qt-opensource-linux-x64-5.14.2.run //为安装包执行可执行权限
$ ./qt-opensource-linux-x64-5.14.2.run // 运行安装包安装程序
第一次使用时会需要你注册一个账号,因为是开源软件,所以并不会收费,但需要进行认证。
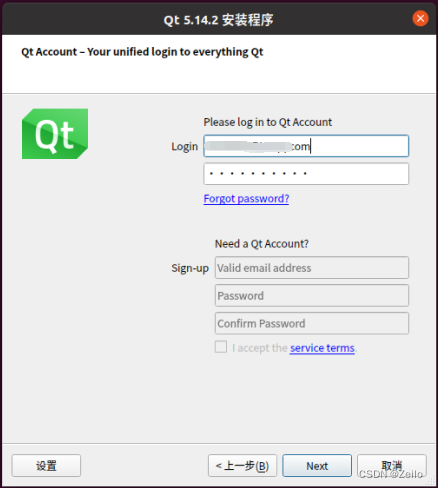
这里我已经注册完成了,所以显示在登录。如果没有账号,先在下面输入邮箱账号,输入密码,创建一个账号。具体创建过程不再演示。
Next进入到下一个界面。
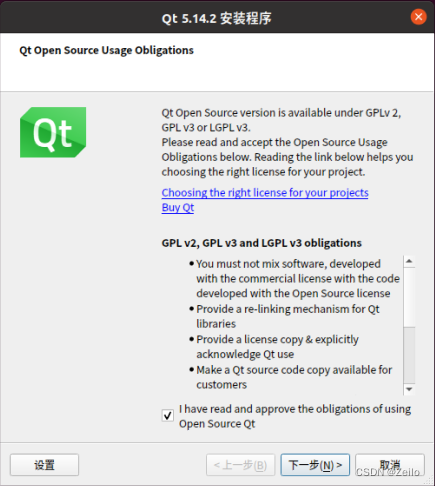
勾选同意。
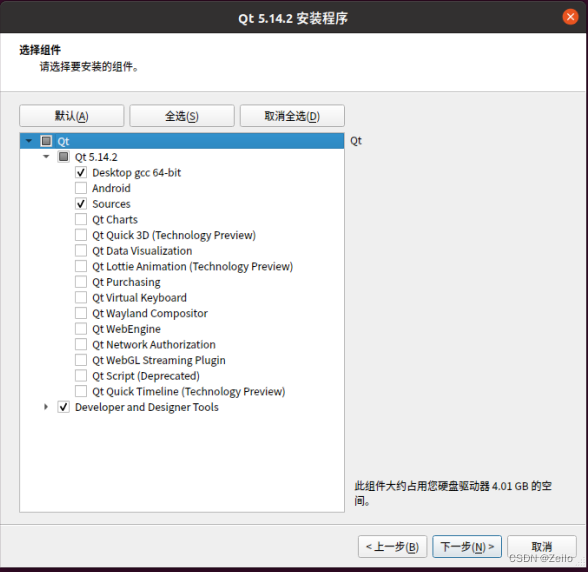
勾选上面的组件。
等待安装完成。
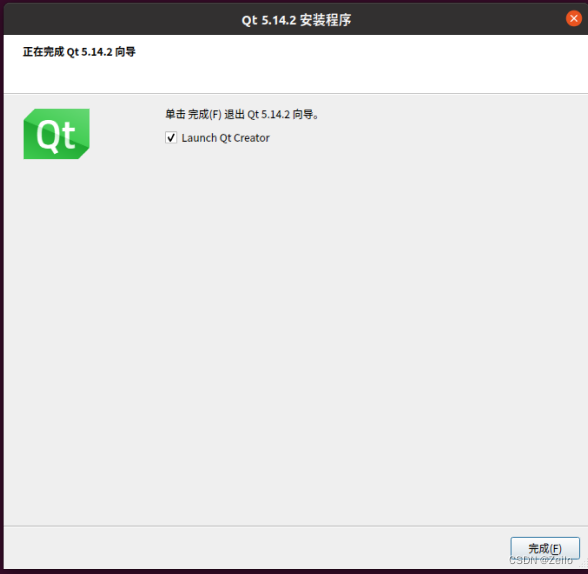
安装完成。
示例源代码(alarm)
这里我展示了一些QT官网上闹钟的源代码:
qtquickcontrols2.conf
The following snippet shows how to set the Dark theme in the Material style:
[Controls]
Style=Material
[Material]
Theme=Dark
Accent=Red
main.qml
mainWindow, an ApplicationWindow QML type, is the root item in this app.
ApplicationWindow {
    id: window
    width: 400
    height: 500
    visible: true
The ListView alarmListView combines the data from alarmModel with the layout defined in alarmDelegate.
    ListView {
        id: alarmListView
        anchors.fill: parent
        model: AlarmModel {}
        delegate: AlarmDelegate {}
    }
New alarms can be added by clicking RoundButton addAlarmButton. Clicking it opens a Dialog screen alarmDialog.
    RoundButton {
        id: addAlarmButton
        text: "+"
        anchors.bottom: alarmListView.bottom
        anchors.bottomMargin: 8
        anchors.horizontalCenter: parent.horizontalCenter
        onClicked: alarmDialog.open()
    }

    AlarmDialog {
        id: alarmDialog
        x: Math.round((parent.width - width) / 2)
        y: Math.round((parent.height - height) / 2)
        alarmModel: alarmListView.model
    }
由于其他相关代码过多,这里只展示部分主要代码,其他更多代码详见链接。
使用QT
用Qt Creator创建Qt程序
在终端中输入
$ qtcreator
第一次使用的话,会显示没有这个指令,因此输入
sudo apt install qtcreator
安装指令。等安装完成后。再输入
$ qtcreator
打开QT。
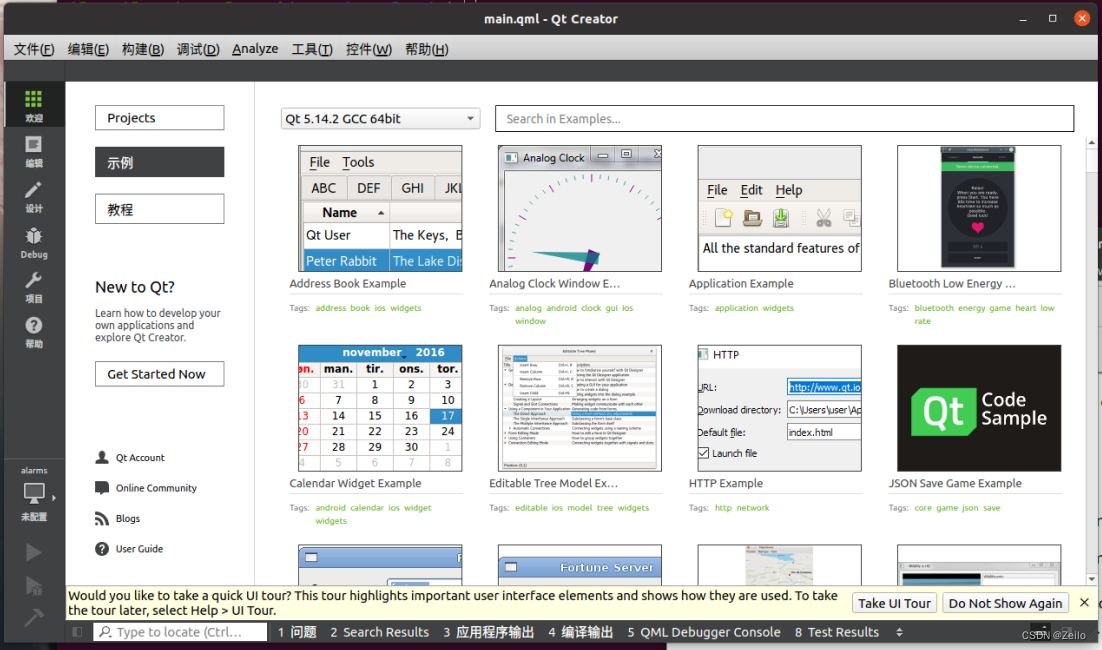
打开后的界面是这样的:
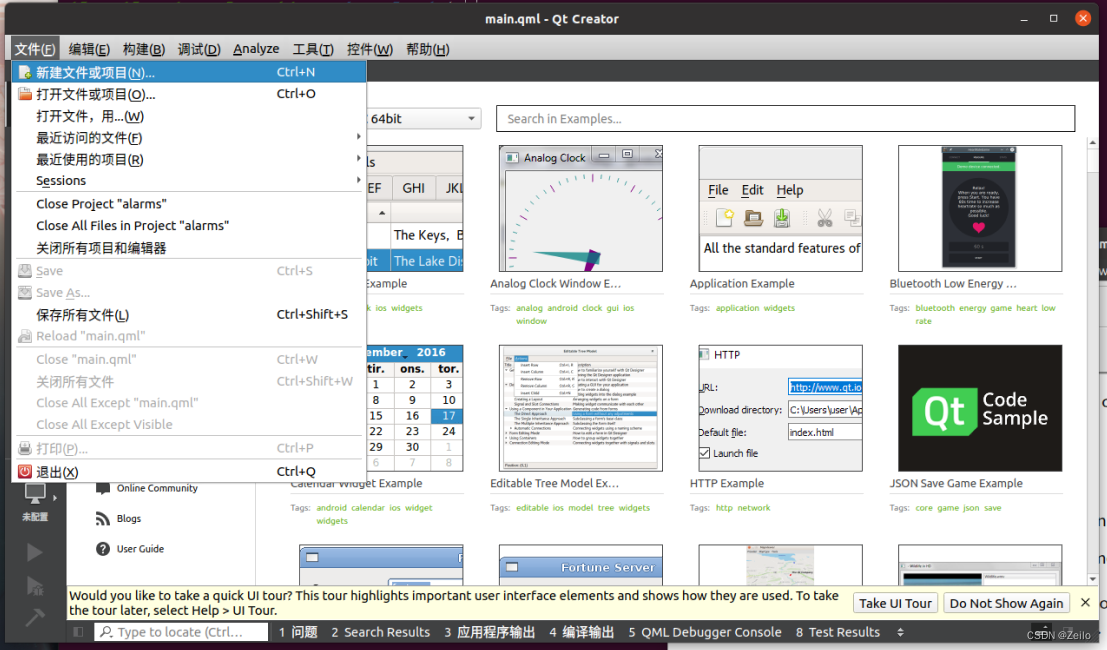
新建QT项目:
左上角文件 > 新建文件或项目
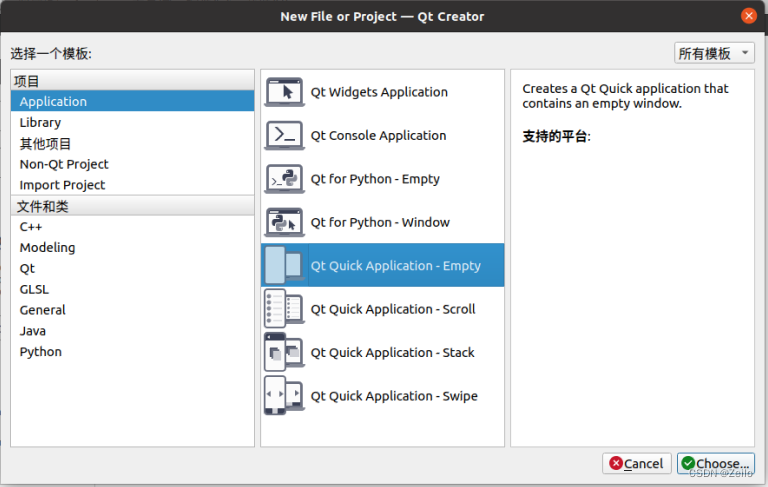
选择模板 > Application > QT Quick Application - Empty > 右下角 > Choose
输入项目名称:
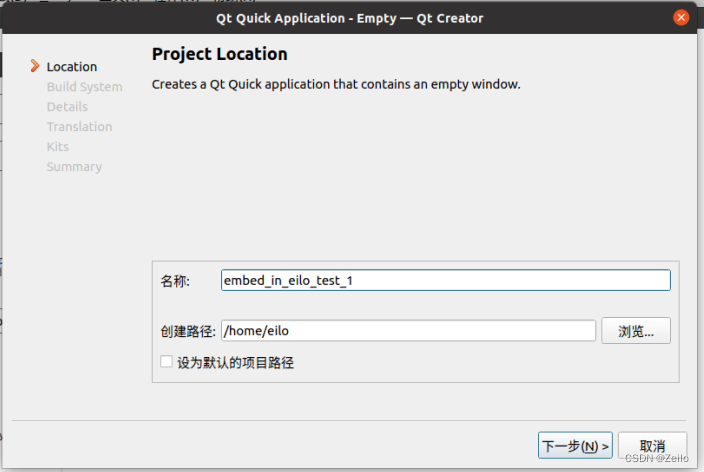
接下来全部选择下一步。
在语言选项中选择Chinese。(可以不改)
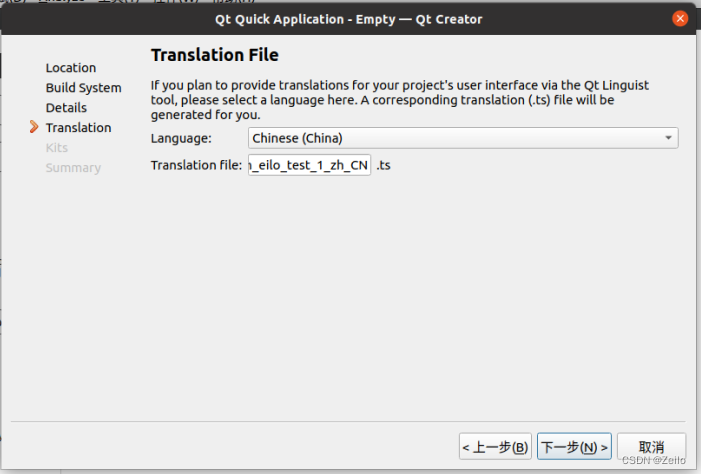
下一步:
这里需要勾选 Select all kits
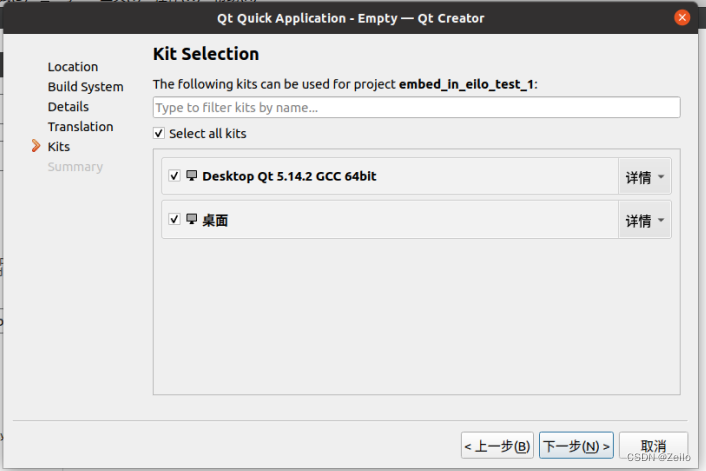
下一步。
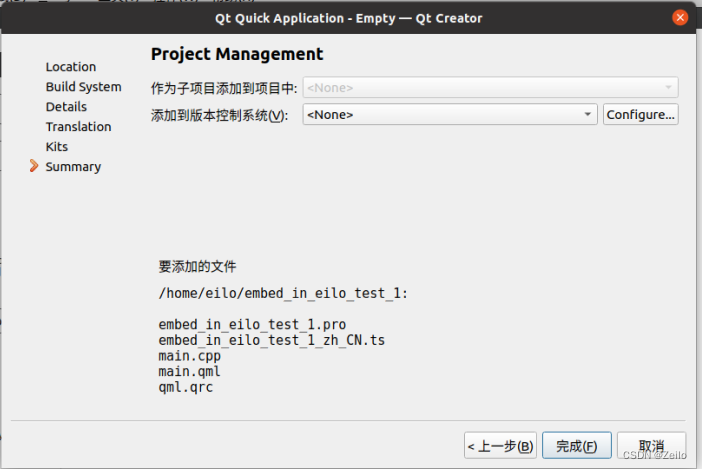
完成。
遭遇bug
bug:
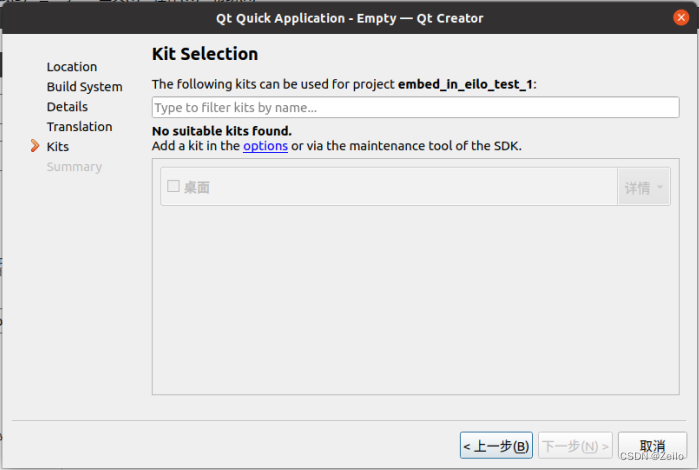
这里我出现了一个bug:在我第一次使用的时候,因为不熟悉使用方法,在创建了一个新项目后想去删除时,在左上的文件选项中点击了 关闭所有项目和编辑器 ,导致我的QT界面不显示示例,以及在之后的创建中配置Kit时显示 No suitable kits found 以至于无法创建新项目。经过在网络上查找后,我找到了两种解决方法:
关于解决办法的链接放在了参考文章里。
- ——1)重新安装并配置QT
这是最简单直接也是最麻烦的办法:
我们需要先到安装Qt5.14.2的文件夹里。
输入:
$ ./MaintenanceTool
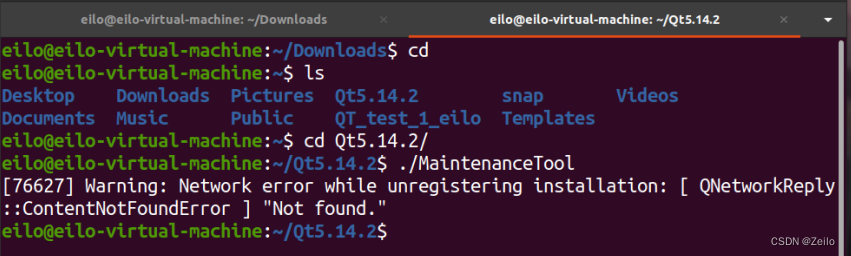
我这里是已经卸载完了。
然后会出现这个界面:
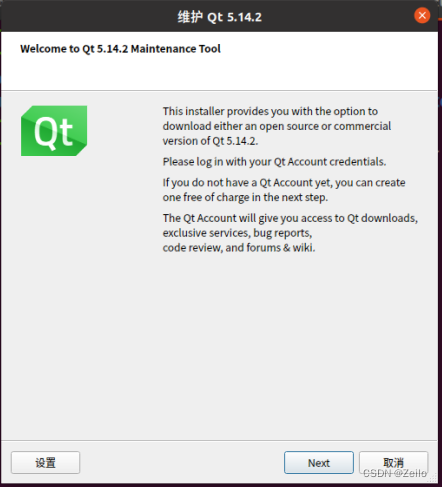
下一步:
输入你的账号密码。

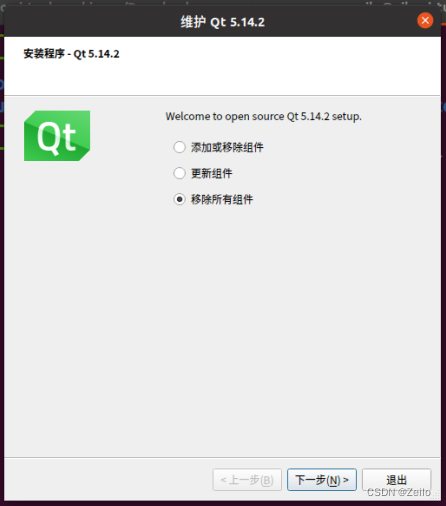
选择移除所有组件:
等待卸载完成。
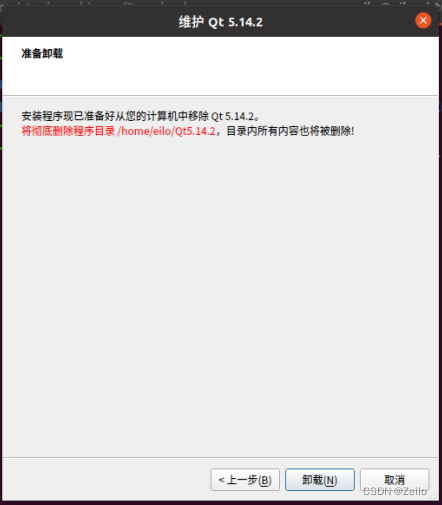
然后按照最开始的方法重新下载并配置QT即可。
- 打开QT Creator
- 选择菜单选项[工具]
- 选择[选项…]
- 选择左侧的[Kits]选项
- 选择[QT版本]标签
- 选中安装的 qtcreater版本号
- 点击ok
因为并没有采取这种方法,这里就不多展示,详情可以查看链接。
运行QT
完成如上配置后会显示:
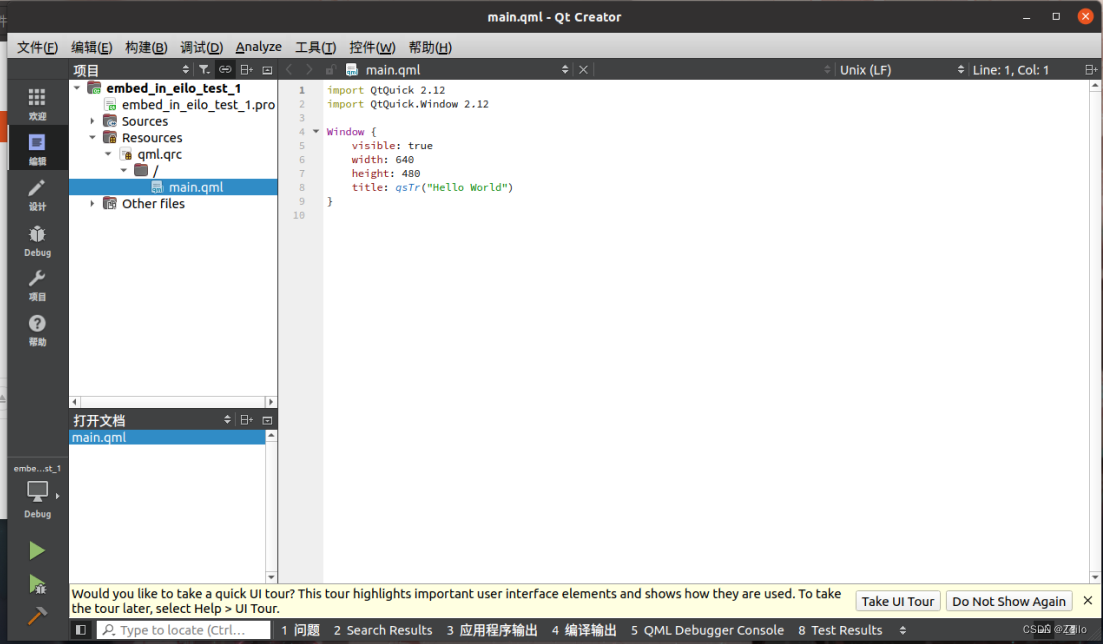
这里你可以选择查看一下里面的各种源代码。
然后点击左下角的

运行。
遭遇bug2.0
bug_1:

点击运行后,显示出现了两个错误,经过查找资料后,得知了解决办法:
解决方法一:系统安装对应的libGL库
$ sudo apt-get install libgl1-mesa-dev
在参考文章里有另外的两种解决办法,详情可以查看参考文章。
bug_2:
QML debugging is enabled.Only use this in a safe environment
在解决了上边的问题后,我再重新运行后仍然无法正常启动,又经过查找后,给出如下解决办法(更详细解决方法请看参考文章):
- 在项目文件(.pro)添加
DEFINES += QT_QML_DEBUG_NO_WARNING(只关闭打印输出,并不能关闭QML调试器)。 - 直接关闭QML调试器:
Qt4版本: CONFIG -= declarative_debug
Qt5版本: CONFIG -= qml_debug
-
在界面”项目”->”构建步骤”->”Enable QML debugging and profiling”复选框取消勾选;
-
使用左下角debug的release版本编译,因为release编译版本默认禁用QML调试器。(推荐)
运行结果
解决完上面的bug后
运行结果是这样的:
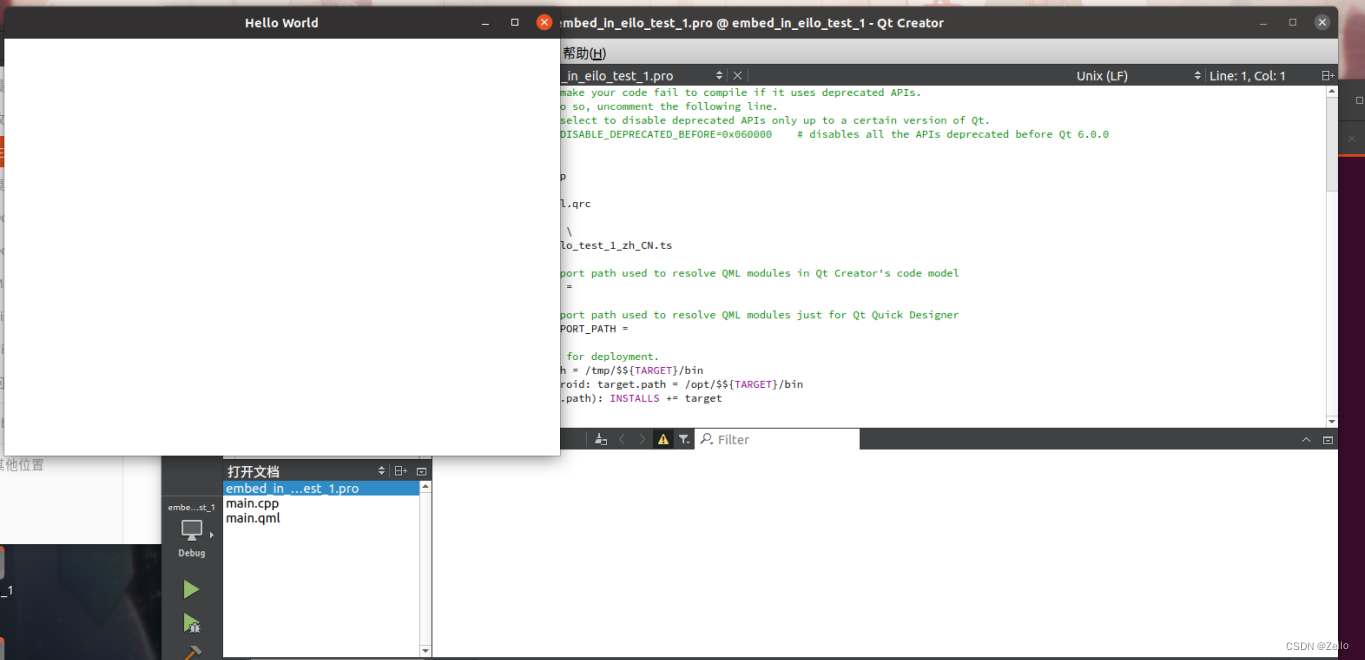
会出现一个空白的Hello world窗口。
丰富项目内容
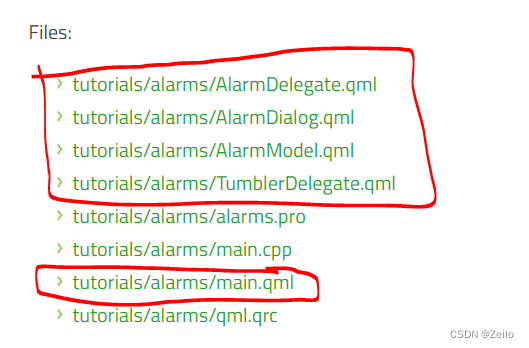
打开https://doc.qt.io/archives/qt-5.14/qtdoc-tutorials-alarms-example.html,根据官方教程新增或替换 qml 和 cpp 文件 (pro和qrc不需要手动修改)。 页面下方“Files”列出了项目所有的文件,点击各个链接,查看每个文件具体内容。
源文件和其内容:
| Source file | Purpose |
|---|
| qtquickcontrols2.conf | Selects the Material style with the Dark theme. |
| main.qml | The QML code that links AlarmDialog.qml, AlarmModel.qml, AlarmDelegate.qml and TumblerDelegate.qml. |
| AlarmDialog.qml | Defines the dialog for adding new alarms. |
| AlarmDelegate.qml | Defines the layout of the main screen of the app. |
| AlarmModel.qml | Defines the ListModel used for storing the alarms’ data. |
| TumblerDelegate.qml | Defines the graphical layout of the Tumblers. |
源文件的代码此处再不展示,请自行到官网查看。
具体步骤:
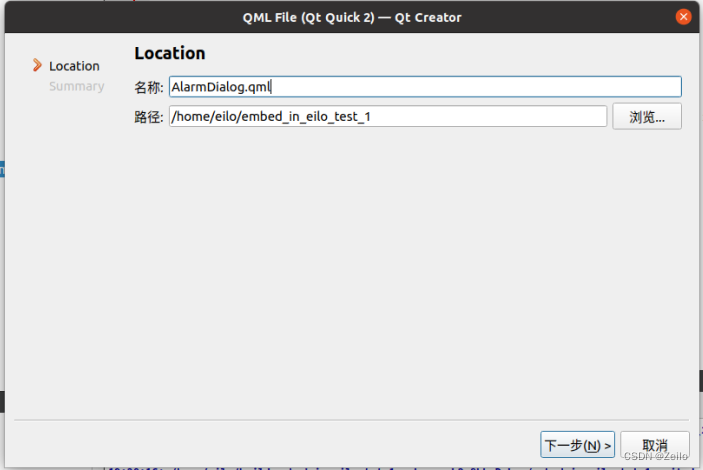
右键选中qml.qrc
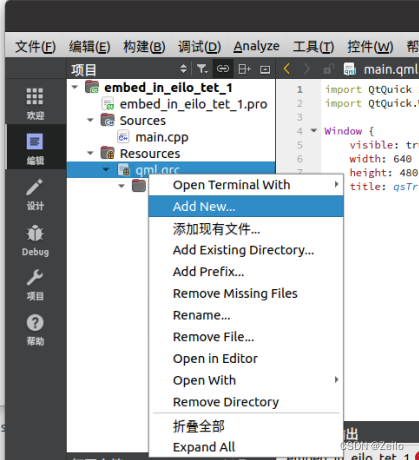
选择模板:
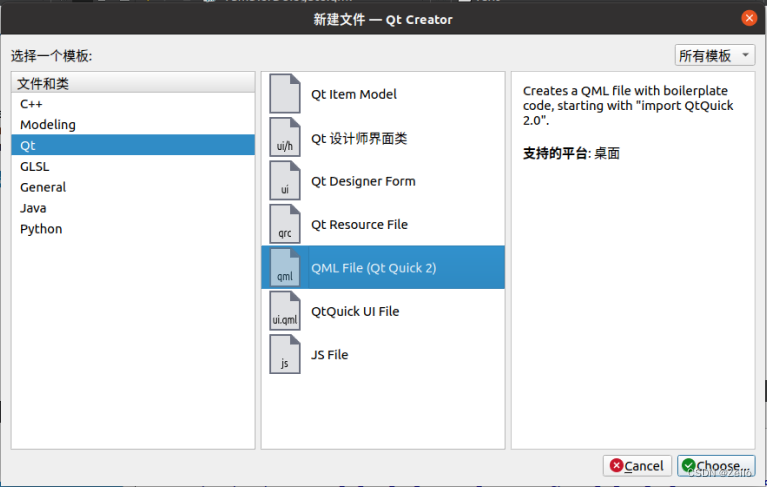
输入名称:
将官网最下方的文件源代码一个一个拷贝下来(主要是红色方框内的):
之后点左下角运行:
运行结果:
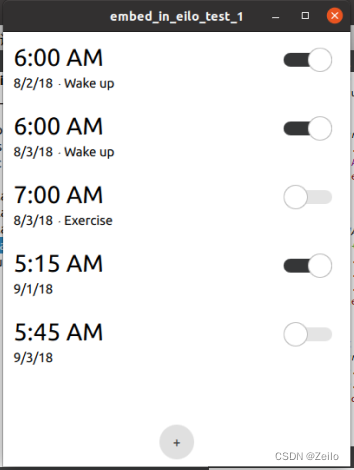
这样我们就能得到一个属于自己的闹钟了。
思考题:修改、运行应用程序
根据官网的说明和指示,我修改了闹钟程序的源代码使其更个性化:
这里展示部分过程:
[Controls]
Style=Material
[Material]
Theme=Dark
Accent=Red
使用该代码将使alarm变为深色模式。效果如下:

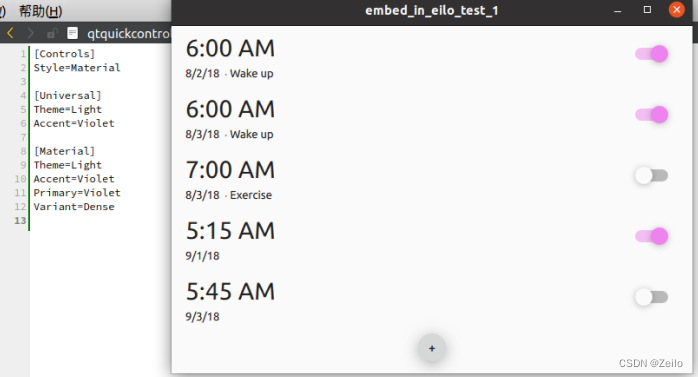
[Controls]
Style=Material

[Universal]
Theme=Light
Accent=Violet

[Material]
Theme=Light
Accent=Teal
Primary=Violet
使用上面的代码我就可以创建一个紫罗兰色的闹钟。
关于更多alarm外观设置的教程放在参考文章中。
GIT
参考文章
QT百度百科
No suitable kits found.——QT创建项目错误。解决方法_1
解决Qt creater没有示例。解决方法_2
QT下 cannot find -IGL的解决办法
解决QML debugging is enabled.Only use this in a safe environment.警告
Qt Quick控件配置文件
本文内容由网友自发贡献,版权归原作者所有,本站不承担相应法律责任。如您发现有涉嫌抄袭侵权的内容,请联系:hwhale#tublm.com(使用前将#替换为@)