Chatbot 开发记录
最近ChatGPT非常火,去体验之后确实有被惊艳到,也对OpenAI上的人工智能模型比较感兴趣,于是想着复刻一个ChatGPT,利用官方提供的包和api,可以非常简单地复刻出一个ChatGPT,下面是复盘开发过程的记录。
项目地址:https://github.com/Fangnan700/Chatbot
配置项目
项目结构:

编写代码
前端:
前端需要的框架文件:
- jquery-3.6.2.min.js
- bootstrap.min.js
- bootstrap.min.css
文件可以到官网直接下载。
index.html
<!DOCTYPE html>
<html lang="zh">
<head>
    <meta charset="UTF-8">
    <meta name="viewport" content="width=device-width, initial-scale=1.0" maximum-scale="1.0" user-scalable="0">
    <title>Chatbot.</title>
    <script src="{{ url_for('static', filename='js/bootstrap.min.js') }}"></script>
    <script src="{{ url_for('static', filename='js/jquery-3.6.2.min.js') }}"></script>
    <link rel="icon" href="{{ url_for('static', filename='img/robot.png') }}">
    <link rel="stylesheet" type="text/css" href="{{ url_for('static', filename='css/bootstrap.min.css') }}">
    <link rel="stylesheet" type="text/css" href="{{ url_for('static', filename='css/index.css') }}">
</head>
<body>

<div class="container-fluid">
    <div class="row-cols-auto">
        <div class="main">
            <img src="{{ url_for('static', filename='img/logo.png') }}" width="320px" height="100px">
        </div>
    </div>

    <div class="row-cols-auto">
        <div class="col" id="content">
            <div class="col" id="response"></div>
        </div>
    </div>

     <div class="row" id="loading_frame">
        <div class="spinner-border text-light" role="status">
            <span class="visually-hidden">Loading...</span>
        </div>
    </div>

    <div class="row-cols-auto">
        <div class="col textarea" id="input" contenteditable="true" onfocus="clear_input()">

        </div>
    </div>

    <div class="row-cols-auto" id="btn_group">
        <button class="btn btn-secondary" id="clear_btn" onclick="clear_history()" onmo>清 空</button>
        <button class="btn btn-secondary" id="send_btn" onclick="send()">发 送</button>
    </div>

    <div class="row-cols-auto" id="footer_frame">
        Copyright © 2022
        <a class="link-light" href="https://github.com/Fangnan700">Fang nan.</a>
        All rights reserved.
    </div>

</div>

</body>
<script src="{{ url_for('static', filename='js/index.js') }}"></script>
</html>
index.css
body {
    width: 100%;
    height: 100%;
    background: #333333;
}

.main {
    width: 100%;
    height: 100%;
    text-align: center;
}

#content {
    width: 100%;
    height: auto;
    min-height: 480px;
    margin-top: 20px;
    padding-top: 20px;
    padding-bottom: 80px;
    padding-left: 50px;
    padding-right: 50px;
    background: rgba(0,0,0, 1);
    backdrop-filter: blur(10px);
    border-radius: 15px;
}

#response {
    width: 100%;
    height: auto;
    min-height: 380px;
    color: #ffffff;
}

#loading_frame {
    width: 30px;
    height: 30px;
    margin-top: 20px;
    margin-left: auto;
    margin-right: auto;
    text-align: center;
    visibility: hidden;
}

#input {
    width: 100%;
    height: auto;
    min-height: 50px;
    line-height: 50px;
    margin-top: 20px;
    padding-left: 30px;
    padding-right: 10px;
    border-radius: 15px;
    background: black;
    color: #ffffff;
}

#btn_group {
    margin-top: 20px;
    margin-bottom: 30px;
    text-align: right;
}

#clear_btn {
    width: 100px;
    margin-left: auto;
    margin-right: auto;
    border-radius: 10px;
}

#send_btn {
    width: 100px;
    margin-left: 10px;
    margin-right: auto;
    border-radius: 10px;
}


#footer_frame {
    width: 230px;
    height: 30px;
    line-height: 30px;
    margin-top: 20px;
    margin-left: auto;
    margin-right: auto;
    text-align: center;
    color: #ffffff;
}
index.js
let loading_frame = document.getElementById("loading_frame");
let _input = document.getElementById("input");
let response = document.getElementById("response");
let clear_btn = document.getElementById("clear_btn");
let send_btn = document.getElementById("send_btn");
let history;
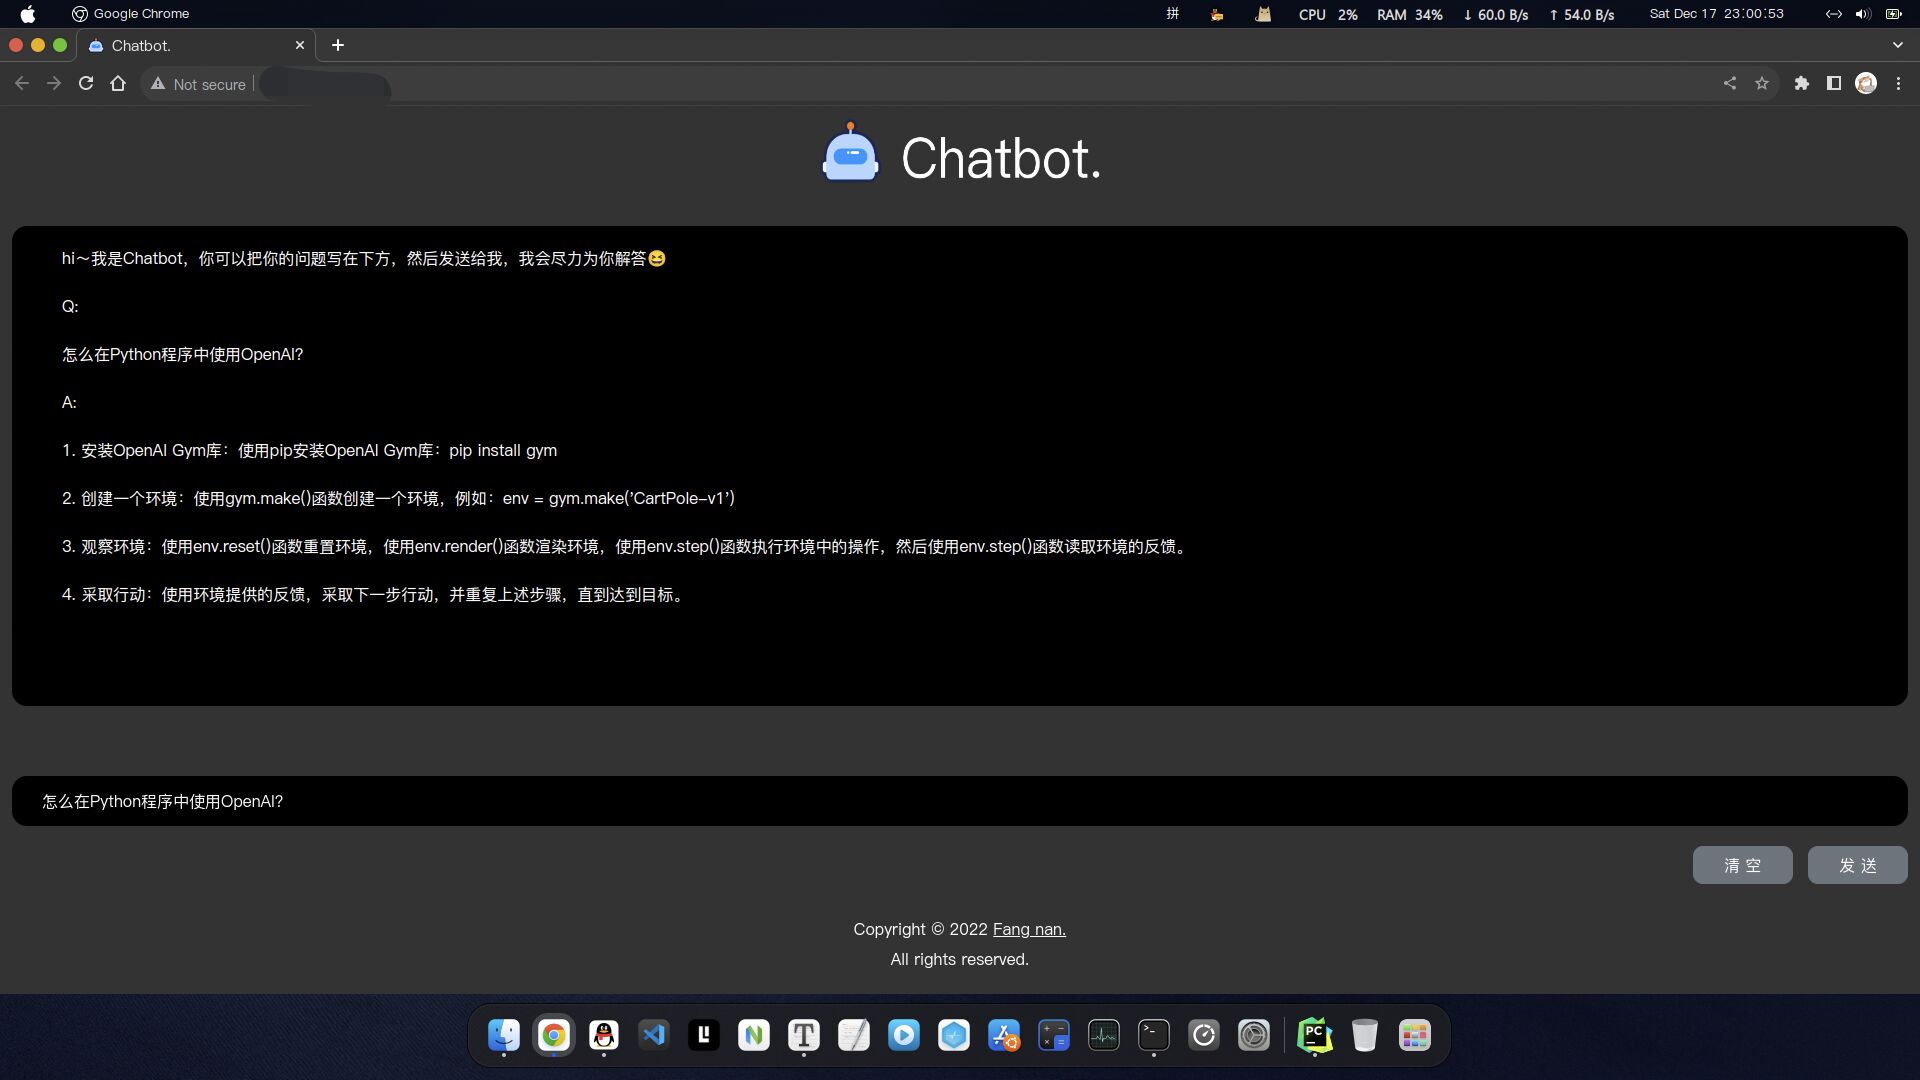
response.innerText = "hi~我是Chatbot,你可以把你的问题写在下方,然后发送给我,我会尽力为你解答😆"
_input.innerText = "请把你的问题写在这里"
function send() {
send_btn.blur();
loading_frame.style.visibility = "visible";
let value = _input.innerText;
history = document.getElementById("response").innerText;
response.innerText = history + "\n\nQ:\n\n" + value;
let data = {"content": value};
$.ajax({
url: "/send",
type: "post",
contentType: 'application/json',
data: JSON.stringify(data),
success: function (result) {
history = document.getElementById("response").innerText;
response.innerText = history + "\n\nA:" + result;
loading_frame.style.visibility = "hidden";
},
error: function () {
loading_frame.style.visibility = "hidden";
response.innerText = "好像出了点问题哦,稍后再试试吧~";
}
})
}
function clear_input() {
_input.innerText = "";
}
function clear_history() {
clear_btn.blur();
_input.innerText = "";
response.innerText = "";
}
后端:
后端使用Python+Flask实现,同时需要引入几个包:
- openai(OpenAI官方提供的包,可以非常方便地发送请求)
- dotenv(用于读取环境变量,OpenAI的api-key将在环境变量文件中设置)
以上两个包可以直接用pip进行安装。
在项目根目录创建.flaskenv文件并写入配置:
FLASK_APP=app
FLASK_ENV=development
OPENAI_API_KEY=xxxxxxxxxxxxxxxxxxxxxxxxxxxxxxxxxxxxxxxxxxx
其中OPENAI_API_KEY填写的是从OpenAI官网申请到的api-key,申请网址:
https://beta.openai.com/api
app.py
from flask import *
import os
import openai
app = Flask(__name__)
openai.api_key = os.environ.get('OPENAI_API_KEY')
@app.route('/', methods=('GET', 'POST'))
def index():
return render_template('index.html')
@app.route('/send', methods=('GET', 'POST'))
def send():
recv = request.json
data = recv['content']
response = openai.Completion.create(
model="text-davinci-003",
prompt=data + '.',
temperature=0.8,
n=1,
max_tokens=2048
)
return response.choices[0].text
if __name__ == '__main__':
app.run()
部署项目
这里推荐使用境外的服务器,国内可以通过http请求访问到,将输入的内容发送到服务器,再由服务器转发到OpenAI的服务器上,由此可以在不使用科学上网的情况下,实现与AI机器人的交互。
为了便于在服务器上启动项目,我使用shell脚本来完成项目的启动:
run.sh
#! /bin/bash
./venv/bin/python -m flask run --host 0.0.0.0 --port 80
编写好的脚本放在项目根目录下。
将项目连同虚拟环境一起打包,上传到服务器:
scp Chatbot.zip username@host:/path
上传完成后解压:
unzip Chatbot.zip
进入项目文件下并给脚本赋予权限:
cd Chatbot
chmod +x run.sh
开放80端口:
ufw allow 80
在后台不中断地启动项目:
setsid ./run.sh &
这么启动在ssh连接断开后项目不会停止。

至此,通过服务器的公网IP就可以访问到项目了,如果访问不到,就要到服务器的管理面板查看端口是否开放。

在不使用vpn的情况下也能正常使用:
手机端也能正常使用:

本文内容由网友自发贡献,版权归原作者所有,本站不承担相应法律责任。如您发现有涉嫌抄袭侵权的内容,请联系:hwhale#tublm.com(使用前将#替换为@)