具体解决步骤
1、在src的目录下,和page同级,新建一个wrappers文件夹(这个名称是固定的),在文件夹下新建 Auth.tsx文件,
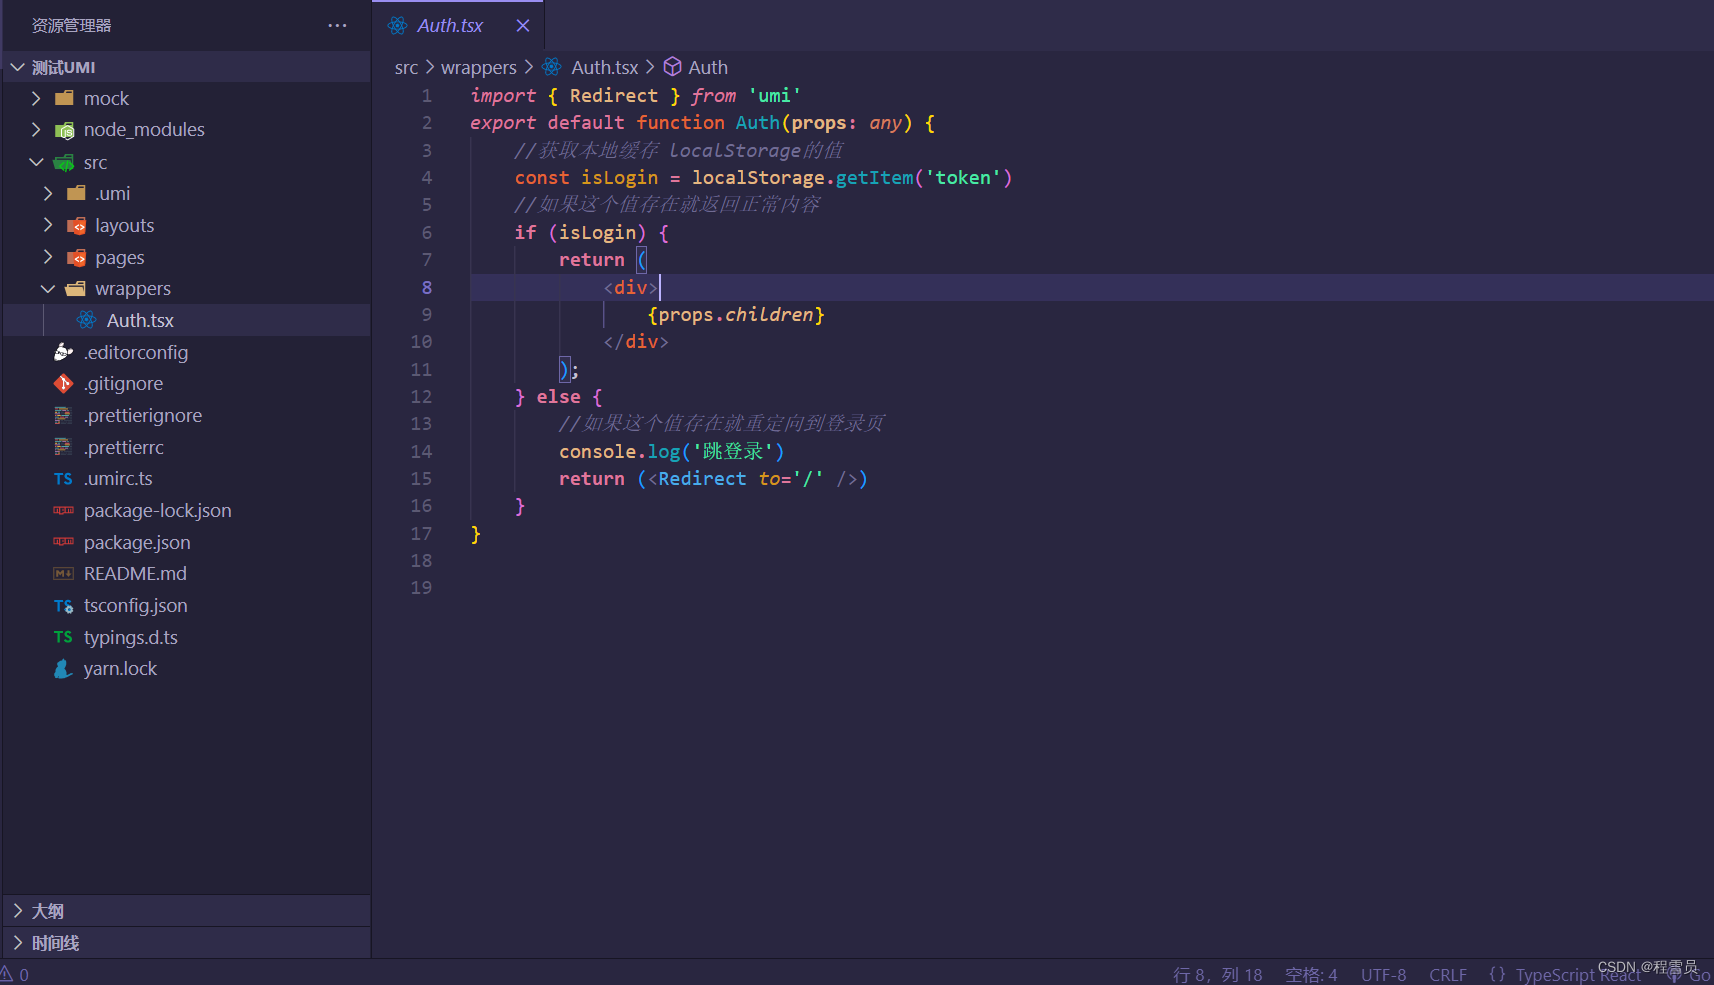
2、在文件里面的写入以下内容:
import {Redirect} from 'umi'
export default function Auth(props:any) {
//获取本地缓存 localStorage的值
  const isLogin = localStorage.getItem('role')
//如果这个值存在就返回正常内容
  if(isLogin){
    return (
      <div>
        {props.children}
      </div>
    );
  }else {
  //如果这个值存在就重定向到登录页
    console.log('跳登录')
      return (  <Redirect to='/login' />)
  }
}
3、在配置路由的地方加上 wrappers: [‘@/wrappers/auth’],需要拦截的都必须添加,如图

4.在完成路由鉴权之后,接下来就是来完成css动画路由跳转
在src目录下创建layouts文件夹,并在文件夹下创建两个文件

在index.less文件中复制如下代码
.in-enter-active{  // 入场的过渡状态类
  transition: all 3s;
  transform: translate(0, 0)!important;
}

.in-enter-done { // 入场的动画的结束状态类
    // opacity: 0.5;
    transform: translate(0, 0) !important;
}

.in-enter {  // 入场的动画开始状态类
  z-index: 5 !important;
  transform: translate(100%, 0);
}

.in-exit-active {    // 离场动画
    opacity:0;
    transition: all 3s;
    transform: translate(-100%, 0)!important;
}

.in-exit {  // 离场动画开始
    // transform: translate(0, 0)!important;
}
.in-exit-done { // 离场动画结束

}

// 返回动画
.back-enter-active{  // 入场的过渡状态类
    transition: all 3s;
    transform: translate(0, 0)!important;

  }
.back-enter-done { // 入场的动画的结束状态类
    // opacity: 0.5;
    transform: translate(0, 0) !important;
}

.back-enter {  // 入场的动画开始状态类
    z-index: 5 !important;
    transform: translate(-100%, 0);
}

.back-exit-active {    // 离场动画
    opacity:0;
    transition: all 3s;
    transform: translate(100%, 0)!important;
}

.back-exit {  // 离场动画开始
    // transform: translate(0, 0)!important;
}
.back-exit-done { // 离场动画结束

}
在index.tsx文件中复制如下代码
import React, { useState, useEffect } from 'react'
import { TransitionGroup, CSSTransition } from 'react-transition-group'
import { history as Router, withRouter } from 'umi'
import { Switch } from 'react-router'
import './index.less'

const routerType = {
        'POP': 'back',
        'PUSH': 'in',
        'REPLACE': 'in'
    }

export default withRouter(({ location, children, history }) => {
return (
   <TransitionGroup style={{height:'100%'}} className='transition_wrapper' childFactory={(child) => (
         React.cloneElement(child, { classNames: routerType[history.action] })
   )}>
      <CSSTransition key={location.pathname} appear timeout={3000}>
         <Switch location={location}>{(children as any)?.props?.children}</Switch>
      </CSSTransition>
    </TransitionGroup>
)
})
在pages文件中创建自己需要的页面,页面中需要体现路由跳转
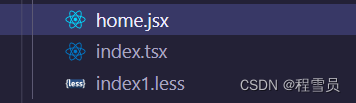
页面1:home.jsx
import React from 'react'
import { history } from 'umi'
import './index1.less'
// import { FloatButton } from 'antd'

export default function Home() {
  return (
    <div>
      home页面
      <button onClick={() => { history.push('/index') }}>跳转到index页面</button>
    </div>
  )
}
页面2:index.tsx
import './index1.less'
import { history } from 'umi';


export default function Index() {
  return (
    <div className='index'>
      index
      <button onClick={() => { history.push('/home') }}>跳转到home页面</button>
    </div>
  );
}
样式:index.less
.index,#root,.home{
    height: 100%;
}
.index{
    background-color: pink;
}
.home{
    background-color: antiquewhite;
}
将umirc.ts文件中配置路由
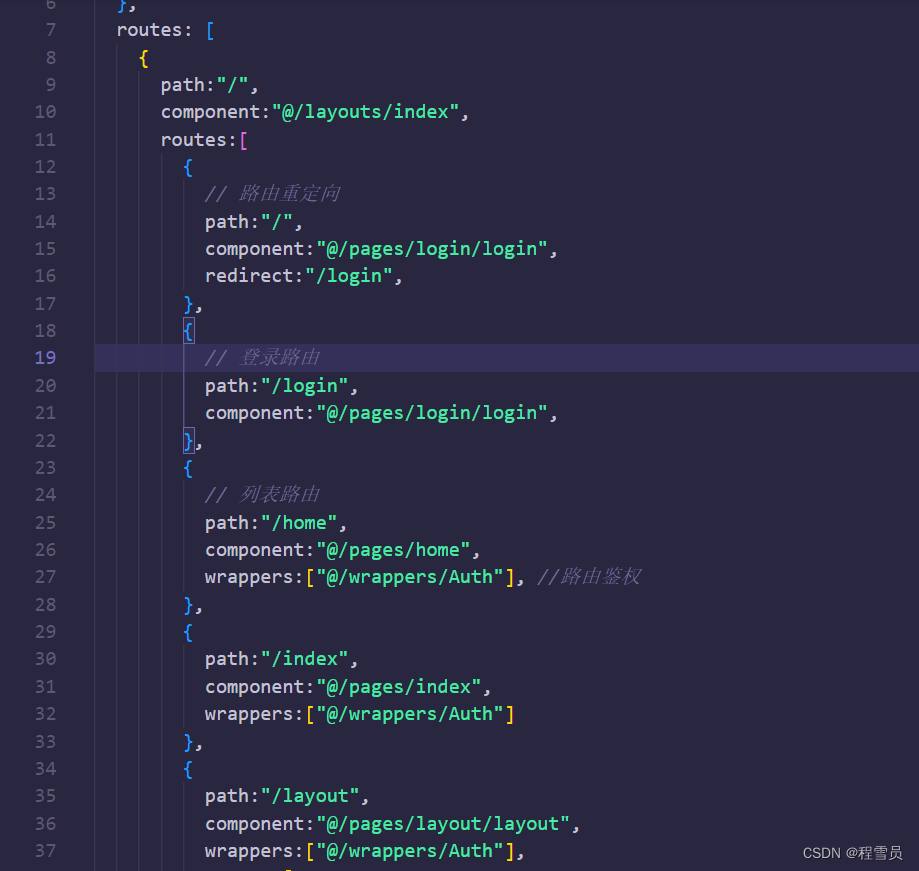
在我们配置路由的时候切记一定要首先配置css动画样式的文件路径,否则当我们进行路由跳转的时候,是没有路由动画的。接下来就跟我图中一样,就可以直接添加你想添加的文件路由。