十六、windows11下VSCode配置C/C++编译环境
- 1.安装VSCode
- 2.中文插件
- 3.MinGW编译器下载和配置
- 4.VSCode配置c/c++编译环境
- 5.测试是否配置成功
- 6.使用万能头文件 #include <bits/stdc++.h>
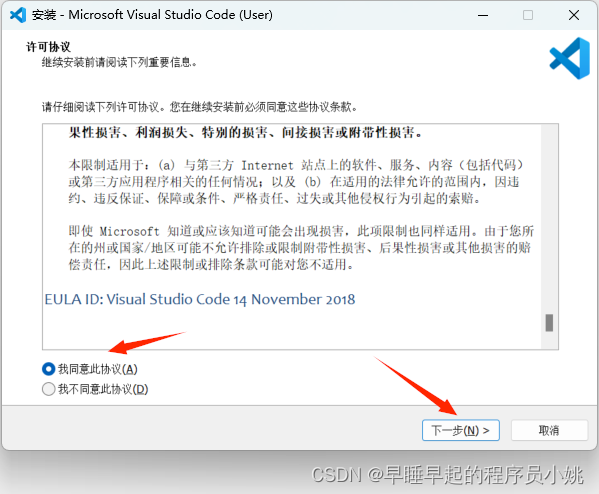
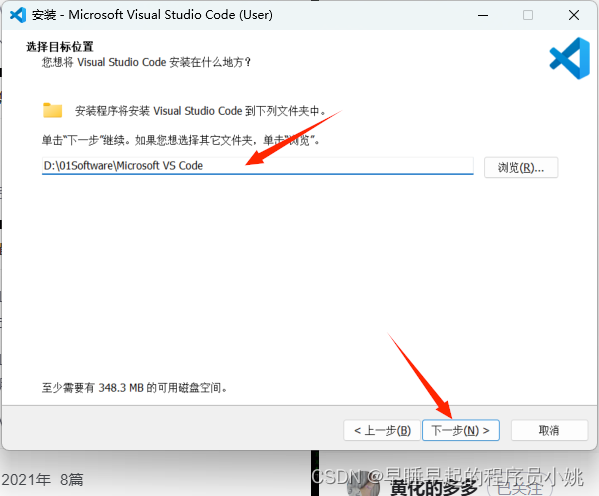
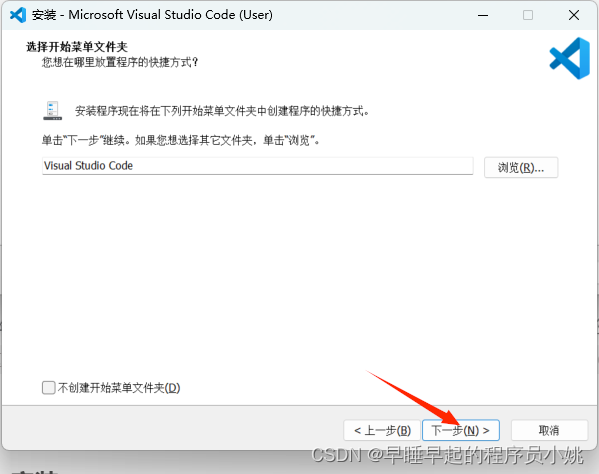
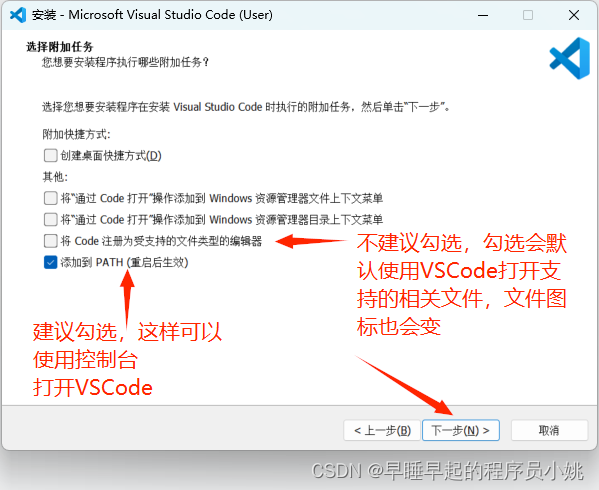
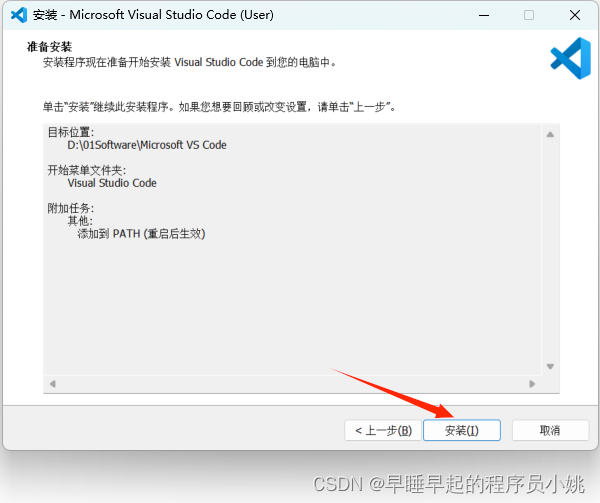
1.安装VSCode
下载安装
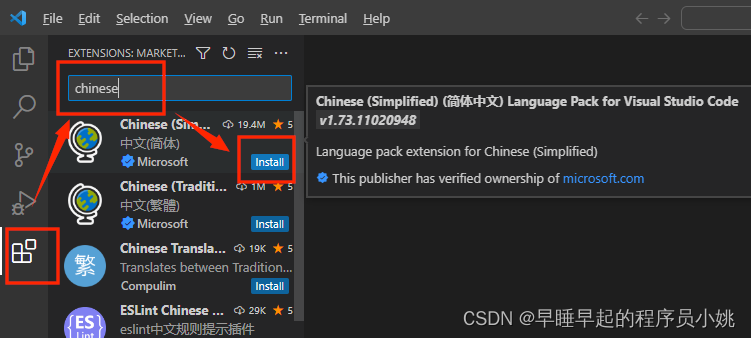
2.中文插件
3.MinGW编译器下载和配置
Windows和Ubuntu不同,Ubuntu是自带gcc的,但是Windwos并没有自带C/C++的编译器,需要自己下载
MinGW 的全称是:Minimalist GNU on Windows
它实际上是将经典的开源 C语言 编译器 GCC 移植到了 Windows 平台下,并且包含了 Win32API ,因此可以将源代码编译为可在 Windows 中运行的可执行程序。而且还可以使用一些 Windows 不具备的,Linux平台下的开发工具。一句话来概括:MinGW 就是 GCC 的 Windows 版本 。
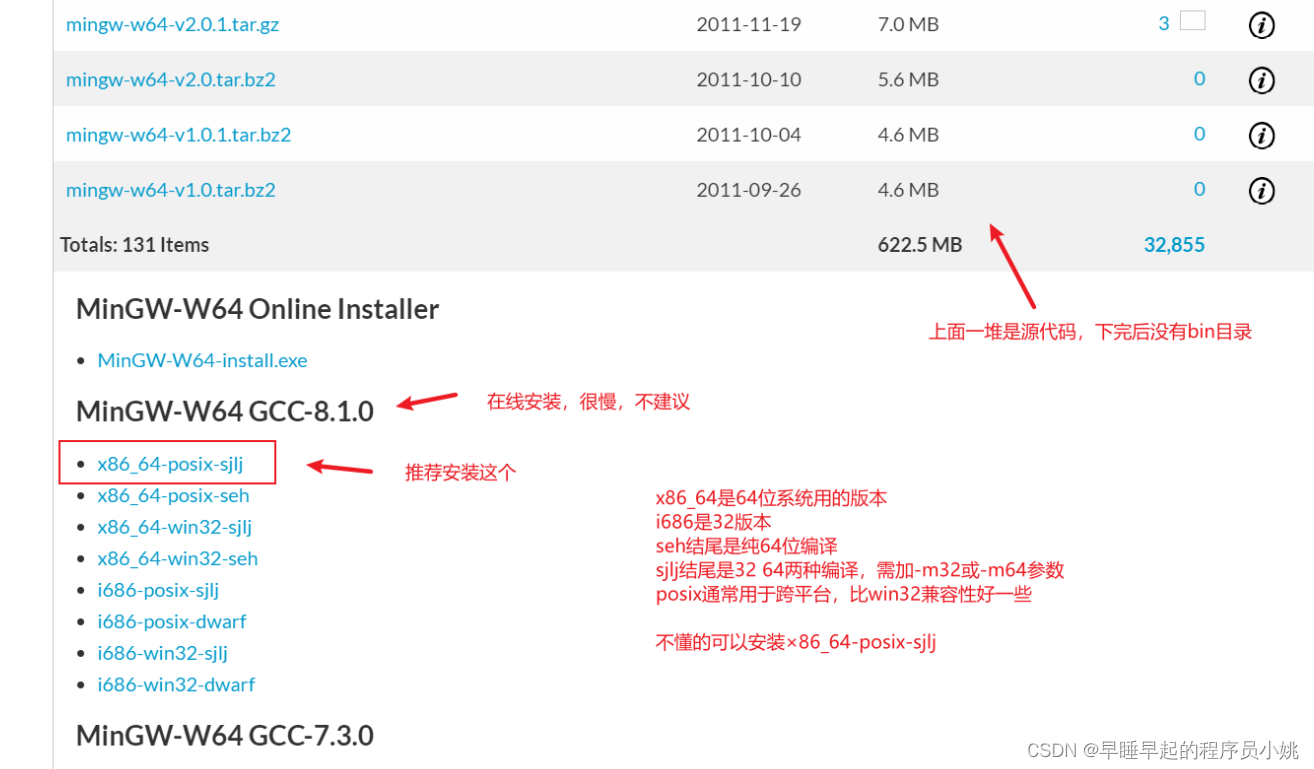
MinGW-w64 与 MinGW 的区别在于 MinGW 只能编译生成32位可执行程序,而 MinGW-w64 则可以编译生成 64位 或 32位 可执行程序。正因为如此,MinGW 现已被 MinGW-w64 所取代。
下载 MinGW-w64 编译器
下载好这个压缩包之后,解压
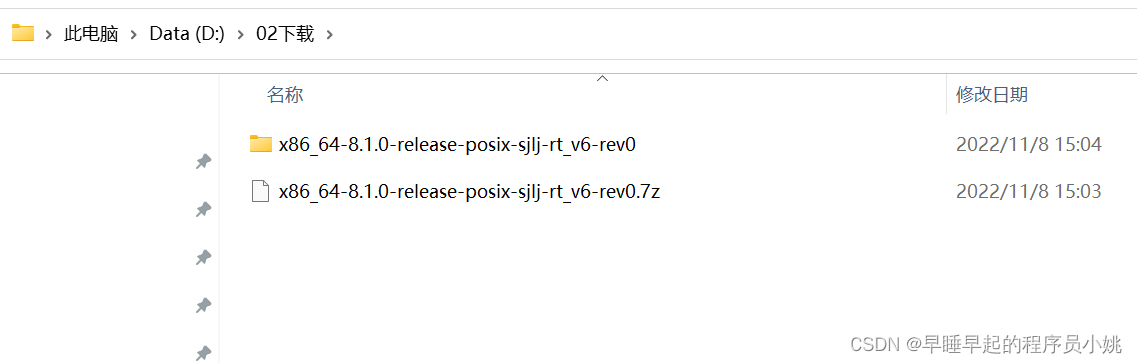
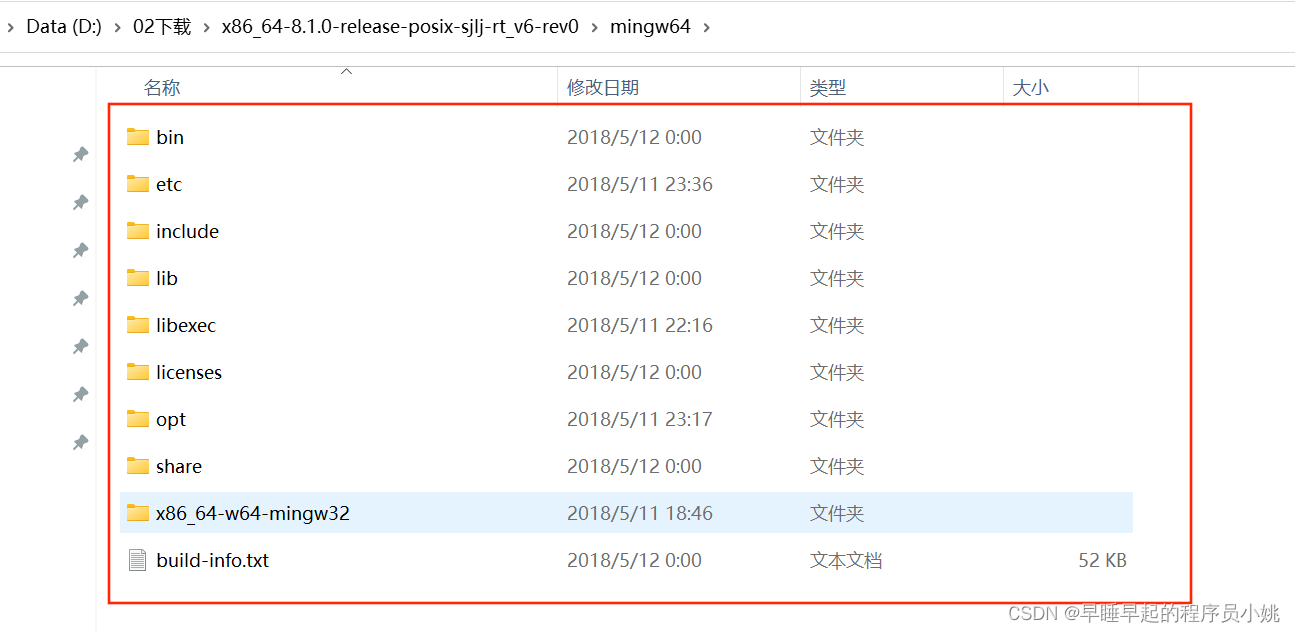
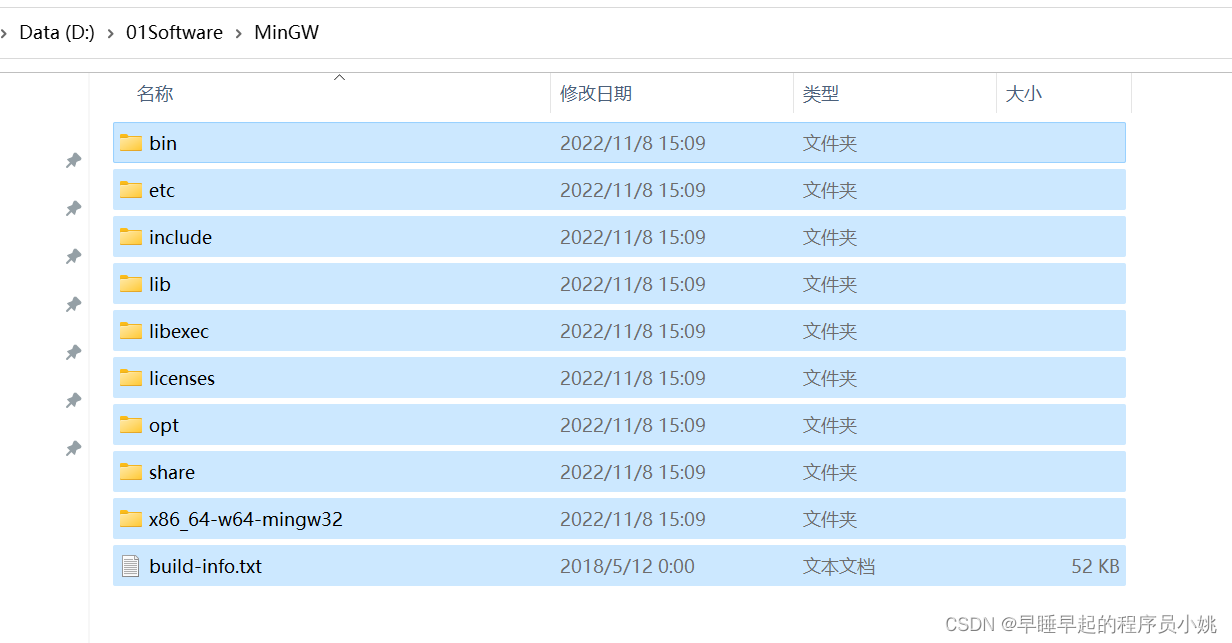
然后将里面的文件,放到一个不含中文路径的目录,比如我这里将这些文件复制到D:\01Software\MinGW
然后复制文件里bin目录的路径(后面配置环境变量时用得到)
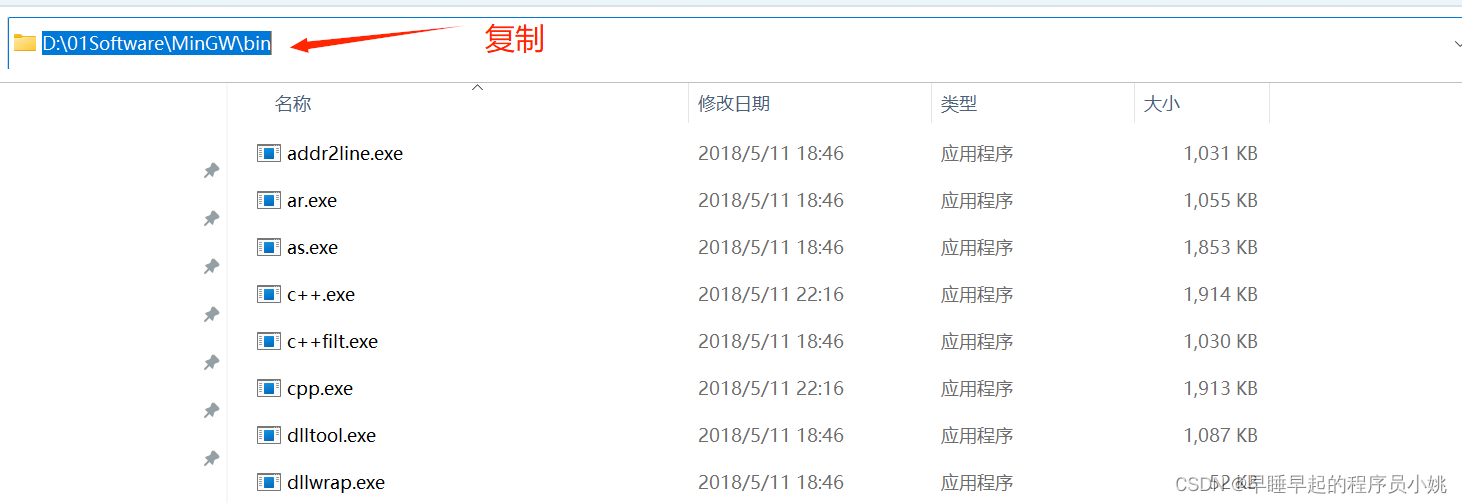
bin目录下的这两个可执行文件,分别是C++的编译器、C的编译器,我们就是需要这两个东西
后面安装VSCode的C/C++插件,也是去调用这两个可执行文件

然后这个 gdb.exe 就是调试器

在系统环境变量配置path变量:Win + Q,在搜索栏中输入环境变量
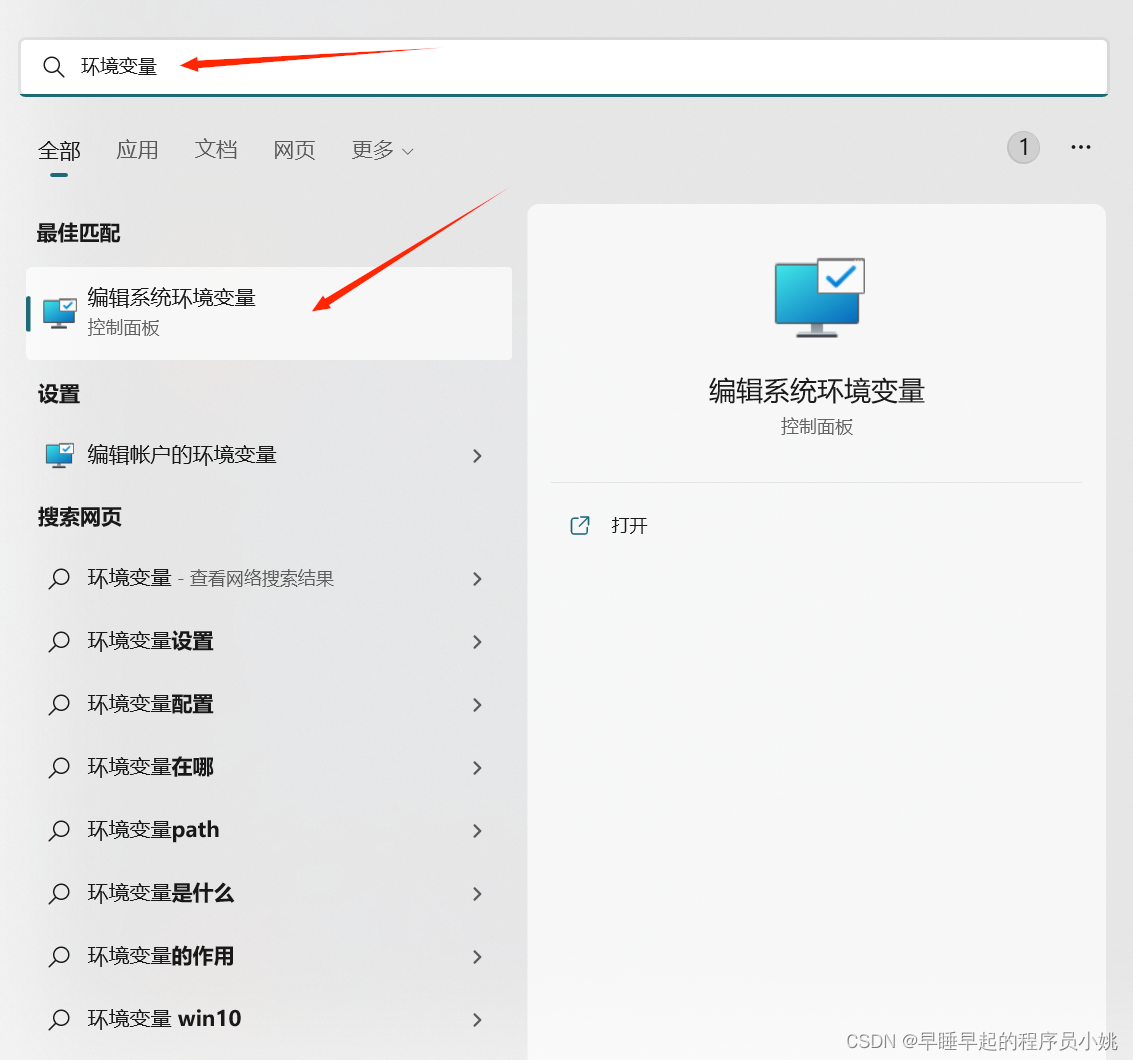
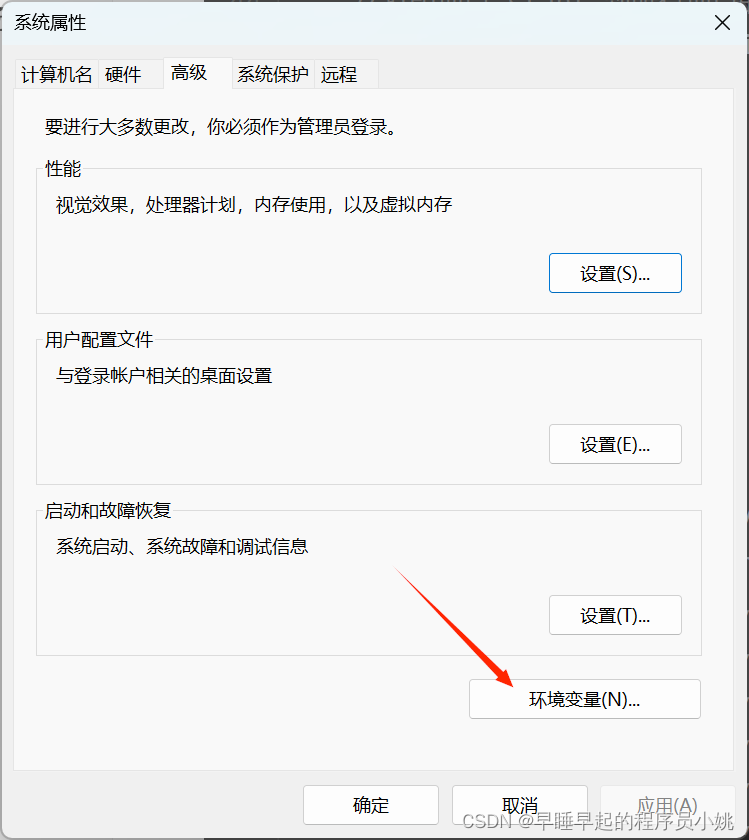
找到Path——编辑
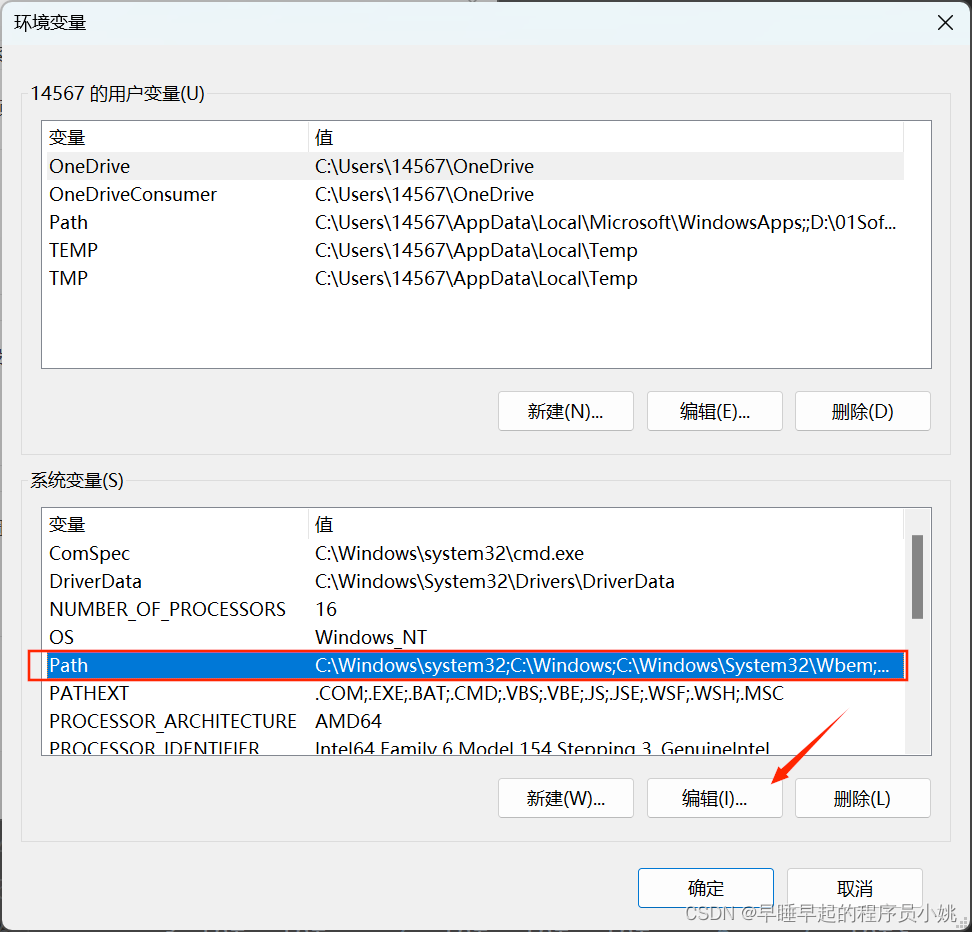
新建
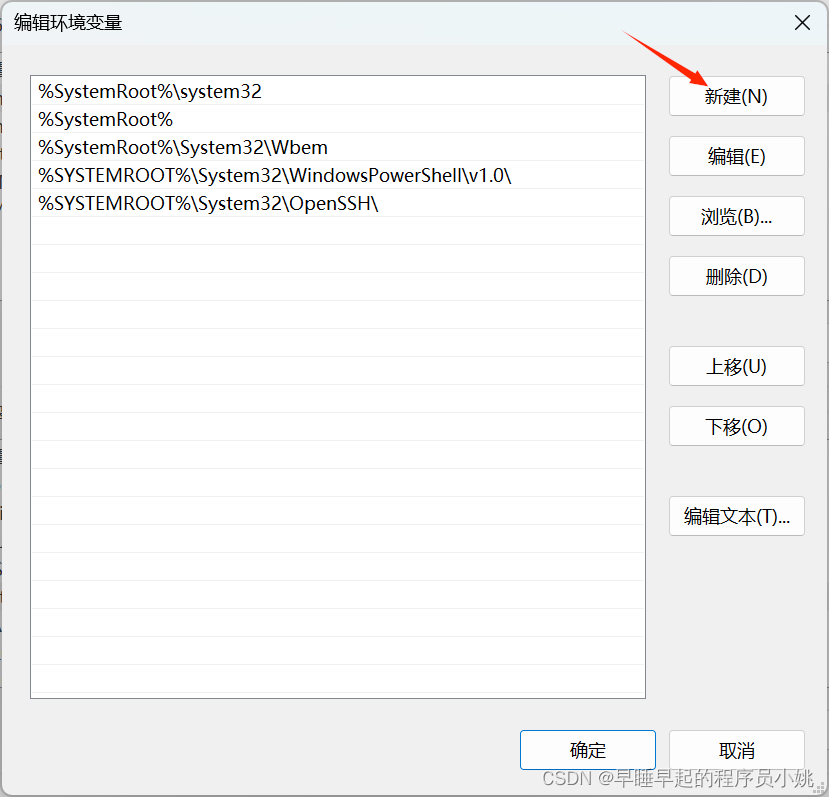
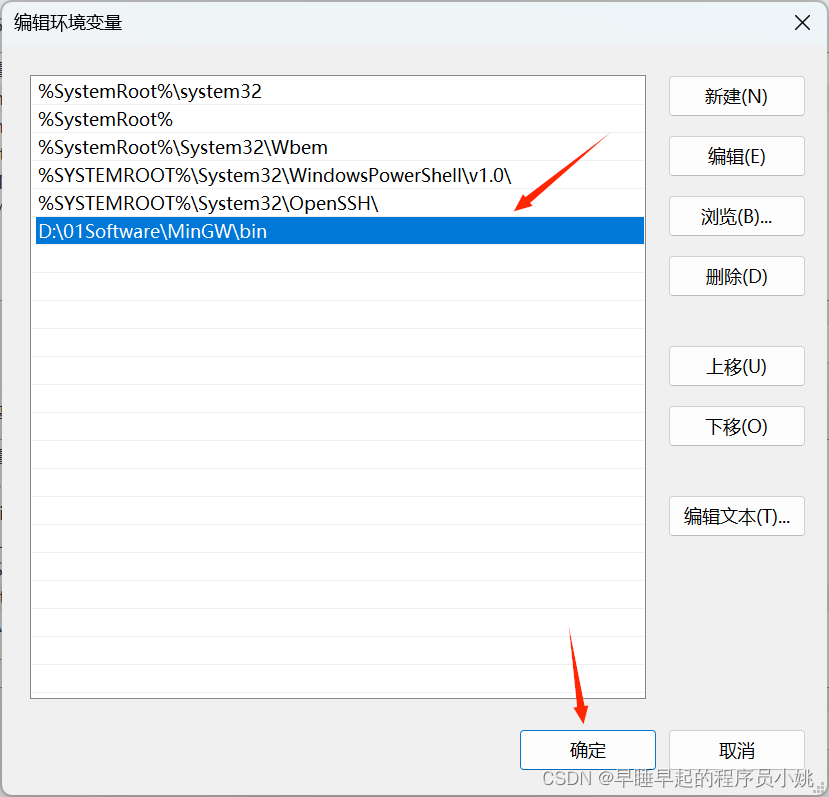
把下载的MinGW里的bin目录路径粘贴在这里,我的电脑是D:\01Software\MinGW\bin
检查是否配置成功
-
打开cmd,
-
进入bin目录
-
输入gcc -v或gcc -v或g++ -v
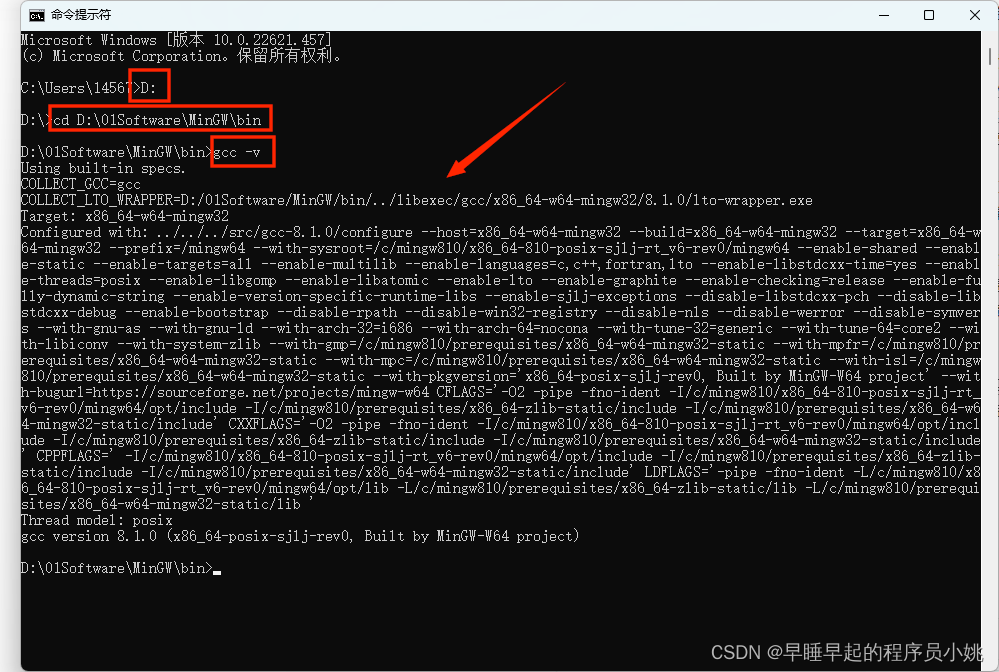
OK,MinGW-w64 配置成功
实际上配置环境变量的目的就是:让你更好的打开软件,和操作软件,其实如果不配置,进入到软件的安装位置,同样可以打开的,但是配置了环境变量之后,当我们需要调用这些软件时,系统会自动帮我们去寻找环境变量中的资源
所以,其实现在我们在任何一个目录下,输入 gcc -v 都是 OK 的

4.VSCode配置c/c++编译环境
下载C/C++插件
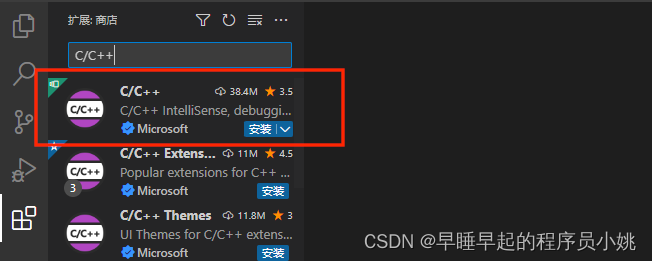
安装之后重启一下VSCode
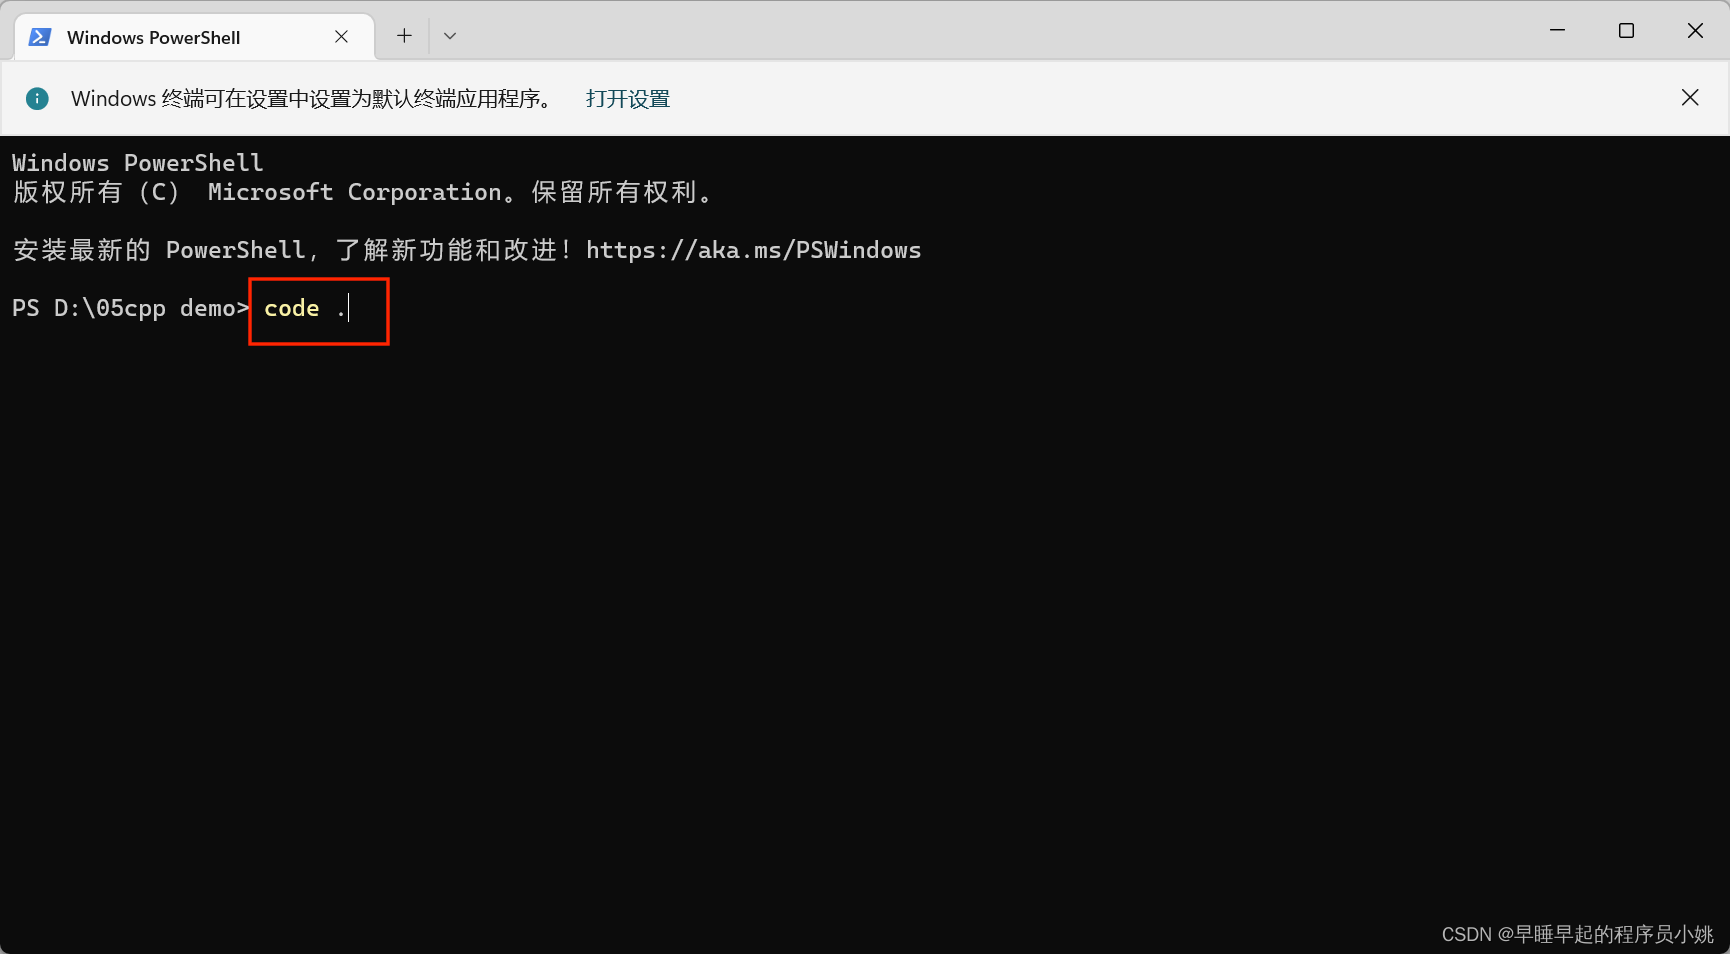
然后我们新建一个文件夹,用于放置我们的工程,文件名cpp demo
进入这个文件夹,右键在终端打开,输入code .
即可快速在VSCode中打开这个工程
可以看到目前这个文件夹里面是空的,啥也没有

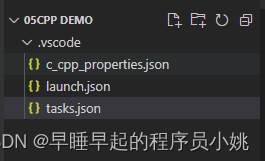
在vsCode文件夹下创建一个.vscode文件夹并创建3个文件
分别是c_cpp_properties.json,launch.json,tasks.json
然后分别复制下面的内容到这三个文件中
c_cpp_properties.json:
{
"configurations": [
{
"name": "Win32",
"includePath": ["${workspaceFolder}/**"],
"defines": ["_DEBUG", "UNICODE", "_UNICODE"],
"windowsSdkVersion": "10.0.17763.0",
"compilerPath": "D:\\01Software\\MinGW\\bin\\g++.exe",
"cStandard": "c11",
"cppStandard": "c++17",
"intelliSenseMode": "${default}"
}
],
"version": 4
}
launch.json:
{
"version": "0.2.0",
"configurations": [
{
"name": "g++.exe build and debug active file",
"type": "cppdbg",
"request": "launch",
"program": "${fileDirname}\\${fileBasenameNoExtension}.exe",
"args": [],
"stopAtEntry": false,
"cwd": "${workspaceFolder}",
"environment": [],
"externalConsole": true,
"MIMode": "gdb",
"miDebuggerPath": "D:\\01Software\\MinGW\\bin\\gdb.exe",
"setupCommands": [
{
"description": "为 gdb 启用整齐打印",
"text": "-enable-pretty-printing",
"ignoreFailures": true
}
],
"preLaunchTask": "task g++"
}
]
}
tasks.json:
{
"version": "2.0.0",
"tasks": [
{
"type": "shell",
"label": "task g++",
"command": "D:\\01Software\\MinGW\\bin\\g++.exe",
"args": [
"-g",
"${file}",
"-o",
"${fileDirname}\\${fileBasenameNoExtension}.exe",
"-I",
"D:\\05cpp demo",
"-std=c++17"
],
"options": {
"cwd": "D:\\01Software\\MinGW\\bin"
},
"problemMatcher":[
"$gcc"
],
"group": "build",
}
]
}
5.测试是否配置成功
新建一个helloworld.cpp,按F5运行
#include <stdio.h>
#include <windows.h>
int main()
{
    printf("Hello World\n");
    system("pause");
    return 0;
}

可以看到安装了插件之后,就可以调用g++.exe这个编译器了!!!很方便,不需要手动输入编译指令了

6.使用万能头文件 #include <bits/stdc++.h>
#ifndef _GLIBCXX_NO_ASSERT
#include <cassert>
#endif
#include <cctype>
#include <cerrno>
#include <cfloat>
#include <ciso646>
#include <climits>
#include <clocale>
#include <cmath>
#include <csetjmp>
#include <csignal>
#include <cstdarg>
#include <cstddef>
#include <cstdio>
#include <cstdlib>
#include <cstring>
#include <ctime>
#if __cplusplus >= 201103L
#include <ccomplex>
#include <cfenv>
#include <cinttypes>
#include <cstdalign>
#include <cstdbool>
#include <cstdint>
#include <ctgmath>
#include <cuchar>
#include <cwchar>
#include <cwctype>
#endif
#include <algorithm>
#include <bitset>
#include <complex>
#include <deque>
#include <exception>
#include <fstream>
#include <functional>
#include <iomanip>
#include <ios>
#include <iosfwd>
#include <iostream>
#include <istream>
#include <iterator>
#include <limits>
#include <list>
#include <locale>
#include <map>
#include <memory>
#include <new>
#include <numeric>
#include <ostream>
#include <queue>
#include <set>
#include <sstream>
#include <stack>
#include <stdexcept>
#include <streambuf>
#include <string>
#include <typeinfo>
#include <utility>
#include <valarray>
#include <vector>
#if __cplusplus >= 201103L
#include <array>
#include <atomic>
#include <chrono>
#include <codecvt>
#include <condition_variable>
#include <forward_list>
#include <future>
#include <initializer_list>
#include <mutex>
#include <random>
#include <ratio>
#include <regex>
#include <scoped_allocator>
#include <system_error>
#include <thread>
#include <tuple>
#include <typeindex>
#include <type_traits>
#include <unordered_map>
#include <unordered_set>
#endif
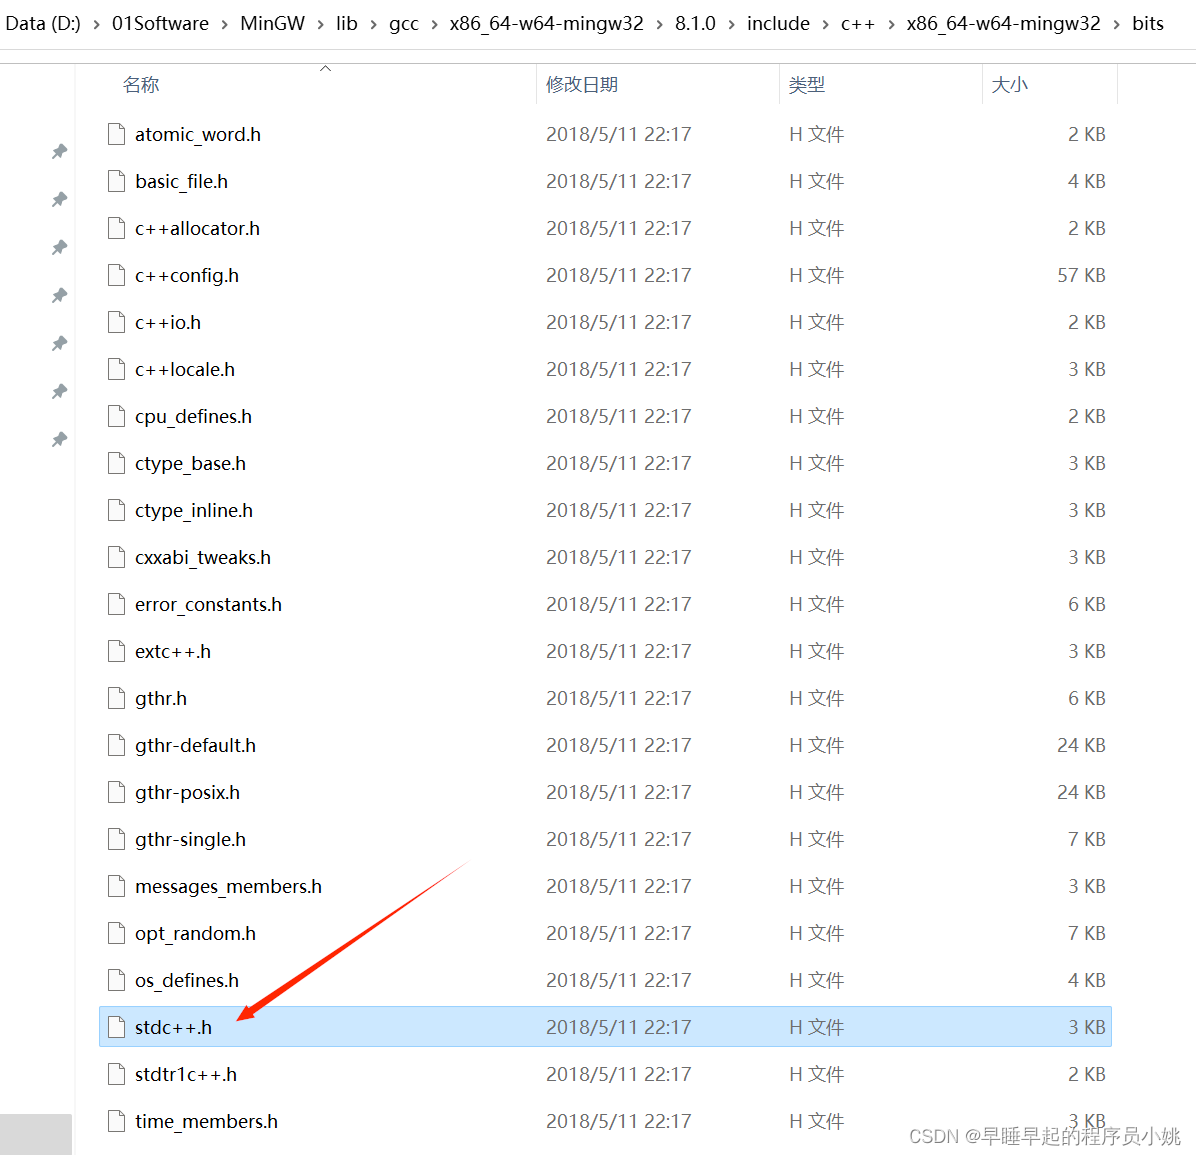
MinGW中是自带这个万能头文件的,路径如下
D:\01Software\MinGW\lib\gcc\x86_64-w64-mingw32\8.1.0\include\c++\x86_64-w64-mingw32\bits
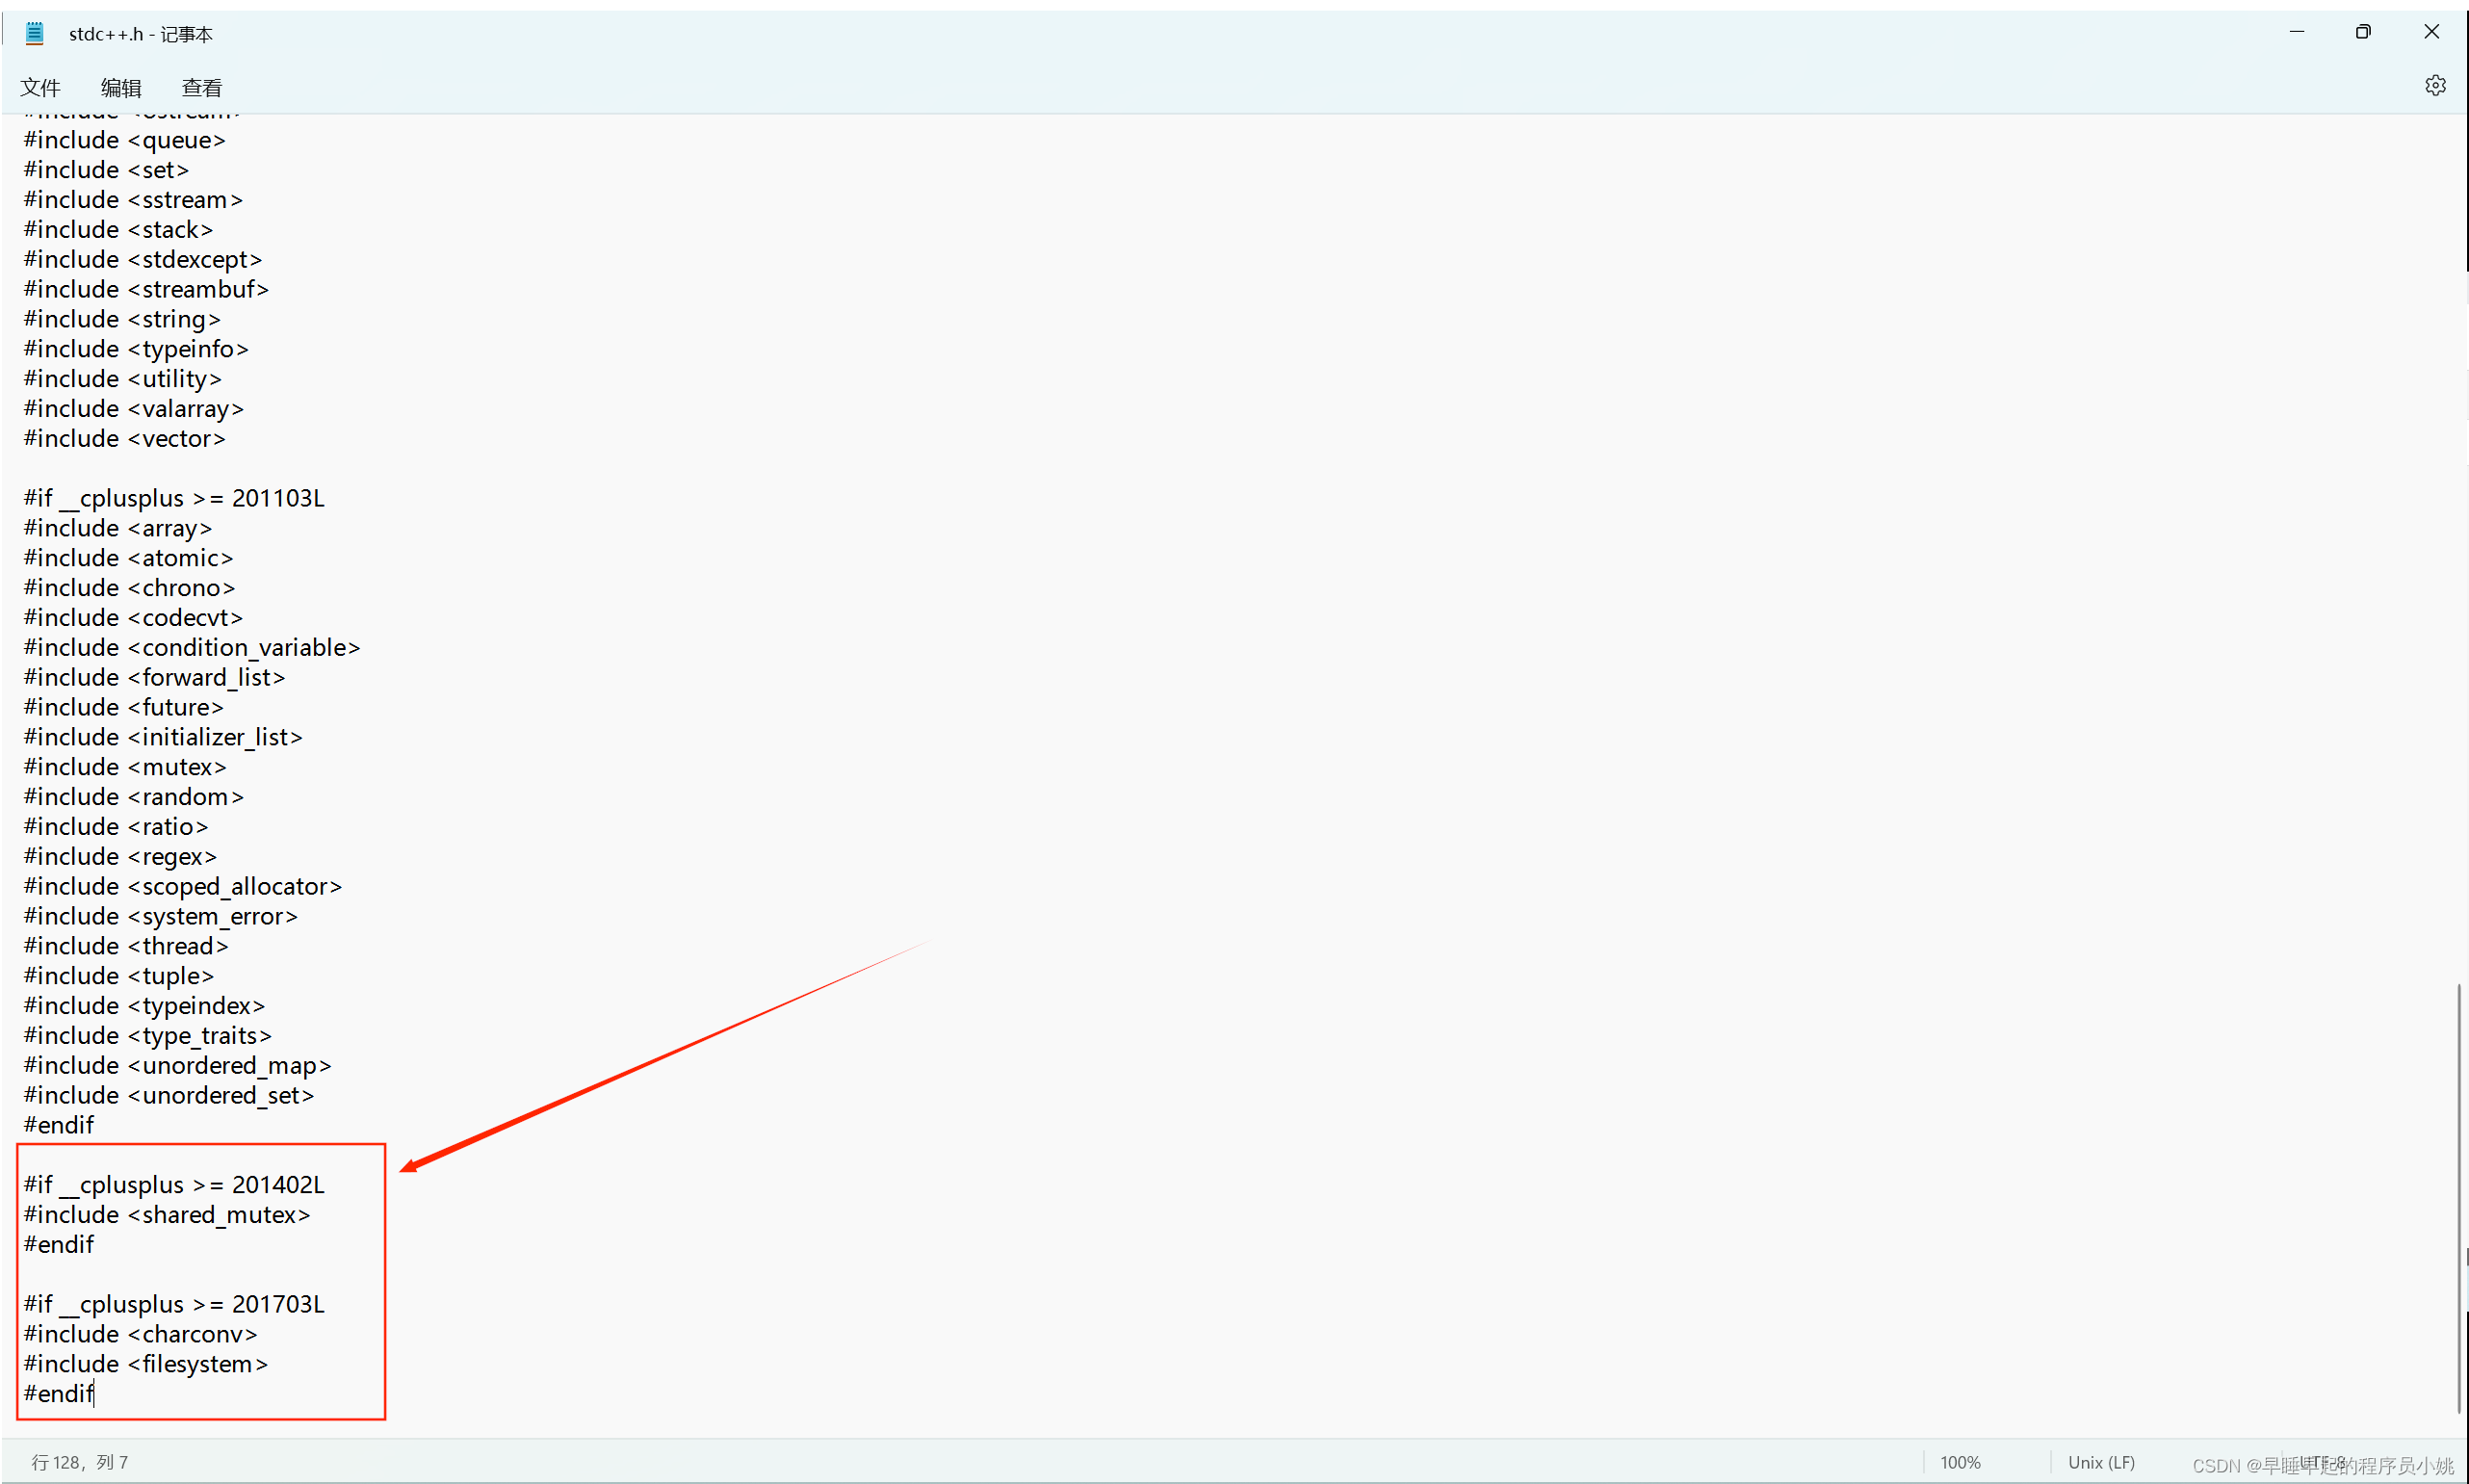
但是在 helloworld.cpp 中直接#include <bits/stdc++.h>是用不了的,编译会报错,这是为什么呢?
打开bits/stdc++.h,我们会看到
这个头文件最后面:和网上的万能头文件相比,多了一块儿这个声明,导致报错,删除这一块儿进行了
本文内容由网友自发贡献,版权归原作者所有,本站不承担相应法律责任。如您发现有涉嫌抄袭侵权的内容,请联系:hwhale#tublm.com(使用前将#替换为@)