

目录
1. 版本对应
查看CUDA版本与NVIDIA驱动的关系
2. 下载安装
2.1 下载CUDA文件
Download Installer for Linux Ubuntu 20.04 x86_64
2.2 下载cudnn文件
3. 配置测试
参考连接:
1. 版本对应
无论采用哪一种方式,首先都需要更新 Ubuntu 软件源和升级到最新版本的软件包。由于国内从 Ubuntu 官方软件源下载速度比较慢,所以,建议采用国内 Ubuntu 镜像源,比如阿里 Ubuntu 软件源或清华大学 Ubuntu 软件源。具体的配置方式是修改配置文件 /etc/apt/sources.list,将其中的 archive.ubuntu.com 替换为 mirrors.alibaba.com 或 mirrors.tuna.tsinghua.edu.cn 。也可以在图形界面应用 "Software & Update" 中,修改 Ubuntu Software 标签页中的 Download from 后的软件源地址。
配置软件源后,采用如下命令进行软件源的更新和软件包的升级。
sudo apt update
查看CUDA版本与NVIDIA驱动的关系

也可以到官网查看,点击查看链接 https://docs.nvidia.com/cuda/cuda-toolkit-release-notes/index.html
2. 下载安装
2.1 下载CUDA文件
CUDA Toolkit 11.1 Update 1 Downloads | NVIDIA Developerhttps://developer.nvidia.com/cuda-11.1.1-download-archive?target_os=Linux&target_arch=x86_64&target_distro=Ubuntu&target_version=1804&target_type=runfilelocal
Download Installer for Linux Ubuntu 20.04 x86_64
The base installer is available for download below.
| Base Installer | |
| Installation Instructions: |
wget https://developer.download.nvidia.com/compute/cuda/11.1.1/local_installers/cuda_11.1.1_455.32.00_linux.run
|
sudo sh cuda_11.1.1_455.32.00_linux.run
The CUDA Toolkit contains Open-Source Software. The source code can be found here.
- 打开主目录下的 .bashrc文件添加如下路径,.bashrc文件在/home下,如果没有找到,则按Ctrl+H键显示隐藏文件。将以下命令添加至文件末尾,保存退出。
export LD_LIBRARY_PATH=$LD_LIBRARY_PATH:/usr/local/cuda/lib64
export PATH=$PATH:/usr/local/cuda/bin
export CUDA_HOME=$CUDA_HOME:/usr/local/cuda
source ~/.bashrc
需要注意,安装时,选择不安装 CUDA 驱动,安装记录如下:
===========
= Summary =
===========

Driver:   Not Selected
Toolkit:  Installed in /usr/local/cuda-11.0/
Samples:  Installed in /home/klchang/, but missing recommended libraries

Please make sure that
 -   PATH includes /usr/local/cuda-11.0/bin
 -   LD_LIBRARY_PATH includes /usr/local/cuda-11.0/lib64, or, add /usr/local/cuda-11.0/lib64 to /etc/ld.so.conf and run ldconfig as root

To uninstall the CUDA Toolkit, run cuda-uninstaller in /usr/local/cuda-11.0/bin
***WARNING: Incomplete installation! This installation did not install the CUDA Driver. A driver of version at least .00 is required for CUDA 11.0 functionality to work.
To install the driver using this installer, run the following command, replacing <CudaInstaller> with the name of this run file:
    sudo <CudaInstaller>.run --silent --driver

Logfile is /var/log/cuda-installer.log
安装结束后,添加环境变量到 ~/.bashrc 文件的末尾,具体添加内容如下:
export LD_LIBRARY_PATH=$LD_LIBRARY_PATH:/usr/local/cuda/lib64
export PATH=$PATH:/usr/local/cuda/bin
export CUDA_HOME=$CUDA_HOME:/usr/local/cuda
保存后退出。
在 Terminal 中,激活环境变量命令为 source ~/.bashrc 。
注:上述命令中的cuda也可以改为cuda11.1,因为在系统目录中有cuda和cuda11.1两个文件夹,其中cuda文件夹是cuda11.1的链接,二者内容相同。

2.2 下载cudnn文件
- 在NVIDIA官网下载与cuda11.1版本对应的cudnn8.0.4,下载地址为:https://developer.nvidia.com/rdp/cudnn-archive。建议下载cuDNN Library for Linux (x86_64)安装包。
- 安装cudnn v8.0.4
sudo cp cudnn-11.1-linux-x64-v8.0.4.30.solitairetheme8 cudnn-11.1-linux-x64-v8.0.4.30.tgz
tar -xzvf cudnn-11.1-linux-x64-v8.0.4.30.tgz
sudo cp cuda/include/* /usr/local/cuda/include/
sudo cp cuda/lib64/libcudnn* /usr/local/cuda/lib64/
sudo chmod a+r /usr/local/cuda/include/cudnn.h
sudo chmod a+r /usr/local/cuda/lib64/libcudnn*
注:此处必须使用sudo cp cuda/include/* /usr/local/cuda/include/,而不是sudo cp cuda/include/cudnn.h /usr/local/cuda/include/
3. 配置测试
测试 CUDA Toolkit 。 通过编译自带 Samples并执行, 以验证是否安装成功。具体命令如下所示:
cd /usr/local/cuda/samples/1_Utilities/deviceQuery
sudo make
./deviceQuery
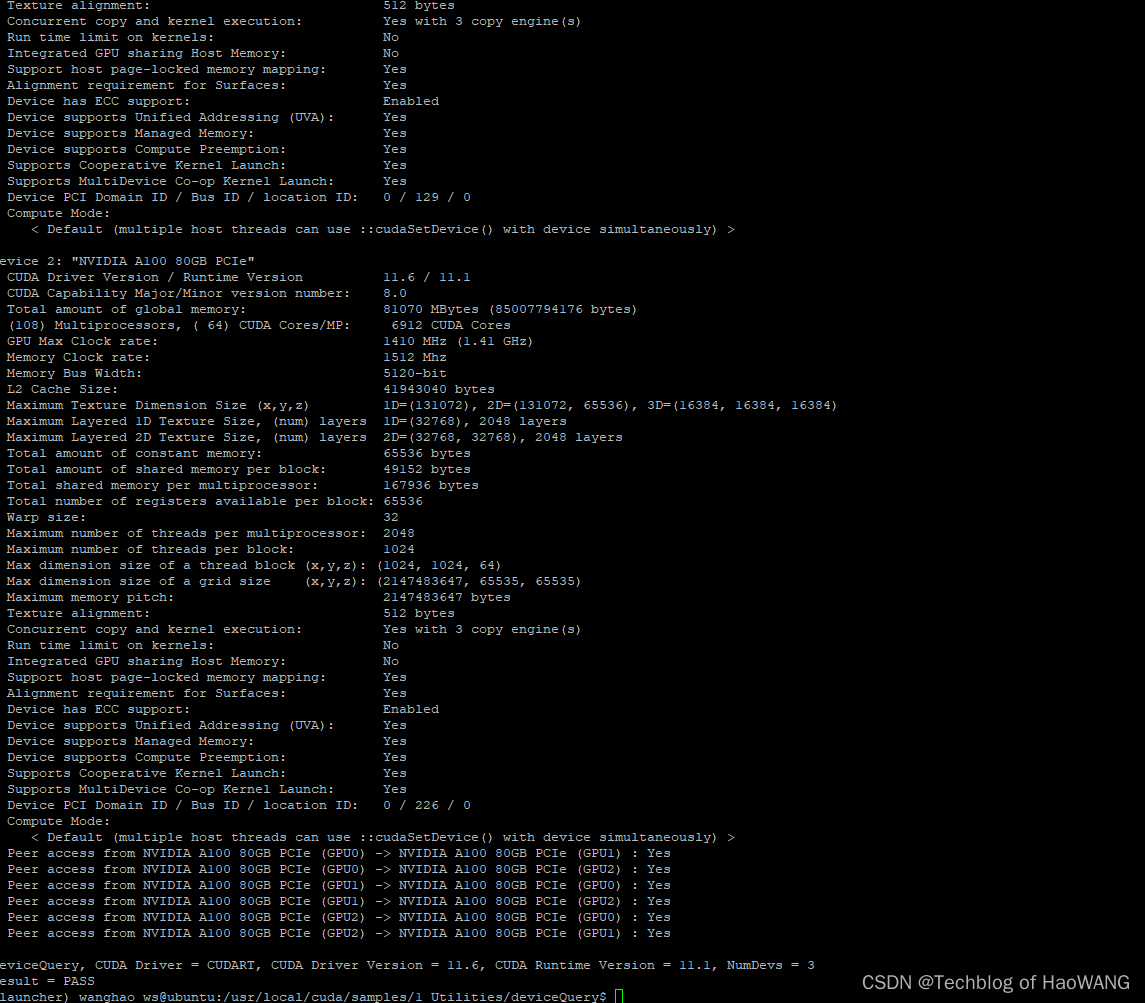
如果安装成功,则输出类似于如下信息:
3块 "NVIDIA A100 80GB PCIe"显卡,豪华套装
./deviceQuery Starting...

 CUDA Device Query (Runtime API) version (CUDART static linking)

Detected 3 CUDA Capable device(s)

Device 0: "NVIDIA A100 80GB PCIe"
  CUDA Driver Version / Runtime Version          11.6 / 11.1
  CUDA Capability Major/Minor version number:    8.0
  Total amount of global memory:                 81070 MBytes (85007794176 bytes)
  (108) Multiprocessors, ( 64) CUDA Cores/MP:     6912 CUDA Cores
  GPU Max Clock rate:                            1410 MHz (1.41 GHz)
  Memory Clock rate:                             1512 Mhz
  Memory Bus Width:                              5120-bit
  L2 Cache Size:                                 41943040 bytes
  Maximum Texture Dimension Size (x,y,z)         1D=(131072), 2D=(131072, 65536), 3D=(16384, 16384, 16384)
  Maximum Layered 1D Texture Size, (num) layers  1D=(32768), 2048 layers
  Maximum Layered 2D Texture Size, (num) layers  2D=(32768, 32768), 2048 layers
  Total amount of constant memory:               65536 bytes
  Total amount of shared memory per block:       49152 bytes
  Total shared memory per multiprocessor:        167936 bytes
  Total number of registers available per block: 65536
  Warp size:                                     32
  Maximum number of threads per multiprocessor:  2048
  Maximum number of threads per block:           1024
  Max dimension size of a thread block (x,y,z): (1024, 1024, 64)
  Max dimension size of a grid size    (x,y,z): (2147483647, 65535, 65535)
  Maximum memory pitch:                          2147483647 bytes
  Texture alignment:                             512 bytes
  Concurrent copy and kernel execution:          Yes with 3 copy engine(s)
  Run time limit on kernels:                     No
  Integrated GPU sharing Host Memory:            No
  Support host page-locked memory mapping:       Yes
  Alignment requirement for Surfaces:            Yes
  Device has ECC support:                        Enabled
  Device supports Unified Addressing (UVA):      Yes
  Device supports Managed Memory:                Yes
  Device supports Compute Preemption:            Yes
  Supports Cooperative Kernel Launch:            Yes
  Supports MultiDevice Co-op Kernel Launch:      Yes
  Device PCI Domain ID / Bus ID / location ID:   0 / 33 / 0
  Compute Mode:
     < Default (multiple host threads can use ::cudaSetDevice() with device simultaneously) >

Device 1: "NVIDIA A100 80GB PCIe"
  CUDA Driver Version / Runtime Version          11.6 / 11.1
  CUDA Capability Major/Minor version number:    8.0
  Total amount of global memory:                 81070 MBytes (85007794176 bytes)
  (108) Multiprocessors, ( 64) CUDA Cores/MP:     6912 CUDA Cores
  GPU Max Clock rate:                            1410 MHz (1.41 GHz)
  Memory Clock rate:                             1512 Mhz
  Memory Bus Width:                              5120-bit
  L2 Cache Size:                                 41943040 bytes
  Maximum Texture Dimension Size (x,y,z)         1D=(131072), 2D=(131072, 65536), 3D=(16384, 16384, 16384)
  Maximum Layered 1D Texture Size, (num) layers  1D=(32768), 2048 layers
  Maximum Layered 2D Texture Size, (num) layers  2D=(32768, 32768), 2048 layers
  Total amount of constant memory:               65536 bytes
  Total amount of shared memory per block:       49152 bytes
  Total shared memory per multiprocessor:        167936 bytes
  Total number of registers available per block: 65536
  Warp size:                                     32
  Maximum number of threads per multiprocessor:  2048
  Maximum number of threads per block:           1024
  Max dimension size of a thread block (x,y,z): (1024, 1024, 64)
  Max dimension size of a grid size    (x,y,z): (2147483647, 65535, 65535)
  Maximum memory pitch:                          2147483647 bytes
  Texture alignment:                             512 bytes
  Concurrent copy and kernel execution:          Yes with 3 copy engine(s)
  Run time limit on kernels:                     No
  Integrated GPU sharing Host Memory:            No
  Support host page-locked memory mapping:       Yes
  Alignment requirement for Surfaces:            Yes
  Device has ECC support:                        Enabled
  Device supports Unified Addressing (UVA):      Yes
  Device supports Managed Memory:                Yes
  Device supports Compute Preemption:            Yes
  Supports Cooperative Kernel Launch:            Yes
  Supports MultiDevice Co-op Kernel Launch:      Yes
  Device PCI Domain ID / Bus ID / location ID:   0 / 129 / 0
  Compute Mode:
     < Default (multiple host threads can use ::cudaSetDevice() with device simultaneously) >

Device 2: "NVIDIA A100 80GB PCIe"
  CUDA Driver Version / Runtime Version          11.6 / 11.1
  CUDA Capability Major/Minor version number:    8.0
  Total amount of global memory:                 81070 MBytes (85007794176 bytes)
  (108) Multiprocessors, ( 64) CUDA Cores/MP:     6912 CUDA Cores
  GPU Max Clock rate:                            1410 MHz (1.41 GHz)
  Memory Clock rate:                             1512 Mhz
  Memory Bus Width:                              5120-bit
  L2 Cache Size:                                 41943040 bytes
  Maximum Texture Dimension Size (x,y,z)         1D=(131072), 2D=(131072, 65536), 3D=(16384, 16384, 16384)
  Maximum Layered 1D Texture Size, (num) layers  1D=(32768), 2048 layers
  Maximum Layered 2D Texture Size, (num) layers  2D=(32768, 32768), 2048 layers
  Total amount of constant memory:               65536 bytes
  Total amount of shared memory per block:       49152 bytes
  Total shared memory per multiprocessor:        167936 bytes
  Total number of registers available per block: 65536
  Warp size:                                     32
  Maximum number of threads per multiprocessor:  2048
  Maximum number of threads per block:           1024
  Max dimension size of a thread block (x,y,z): (1024, 1024, 64)
  Max dimension size of a grid size    (x,y,z): (2147483647, 65535, 65535)
  Maximum memory pitch:                          2147483647 bytes
  Texture alignment:                             512 bytes
  Concurrent copy and kernel execution:          Yes with 3 copy engine(s)
  Run time limit on kernels:                     No
  Integrated GPU sharing Host Memory:            No
  Support host page-locked memory mapping:       Yes
  Alignment requirement for Surfaces:            Yes
  Device has ECC support:                        Enabled
  Device supports Unified Addressing (UVA):      Yes
  Device supports Managed Memory:                Yes
  Device supports Compute Preemption:            Yes
  Supports Cooperative Kernel Launch:            Yes
  Supports MultiDevice Co-op Kernel Launch:      Yes
  Device PCI Domain ID / Bus ID / location ID:   0 / 226 / 0
  Compute Mode:
     < Default (multiple host threads can use ::cudaSetDevice() with device simultaneously) >
> Peer access from NVIDIA A100 80GB PCIe (GPU0) -> NVIDIA A100 80GB PCIe (GPU1) : Yes
> Peer access from NVIDIA A100 80GB PCIe (GPU0) -> NVIDIA A100 80GB PCIe (GPU2) : Yes
> Peer access from NVIDIA A100 80GB PCIe (GPU1) -> NVIDIA A100 80GB PCIe (GPU0) : Yes
> Peer access from NVIDIA A100 80GB PCIe (GPU1) -> NVIDIA A100 80GB PCIe (GPU2) : Yes
> Peer access from NVIDIA A100 80GB PCIe (GPU2) -> NVIDIA A100 80GB PCIe (GPU0) : Yes
> Peer access from NVIDIA A100 80GB PCIe (GPU2) -> NVIDIA A100 80GB PCIe (GPU1) : Yes

deviceQuery, CUDA Driver = CUDART, CUDA Driver Version = 11.6, CUDA Runtime Version = 11.1, NumDevs = 3
Result = PASS
参考连接:
Ubuntu 20.04 安装 CUDA Toolkit 的三种方式 - klchang - 博客园
Linux安装CUDA的正确姿势[通俗易懂] - 全栈程序员必看
cuda11.1 + cuDNN v8.0.4 for CUDA 11.1 配置流程 - 知乎
本文内容由网友自发贡献,版权归原作者所有,本站不承担相应法律责任。如您发现有涉嫌抄袭侵权的内容,请联系:hwhale#tublm.com(使用前将#替换为@)